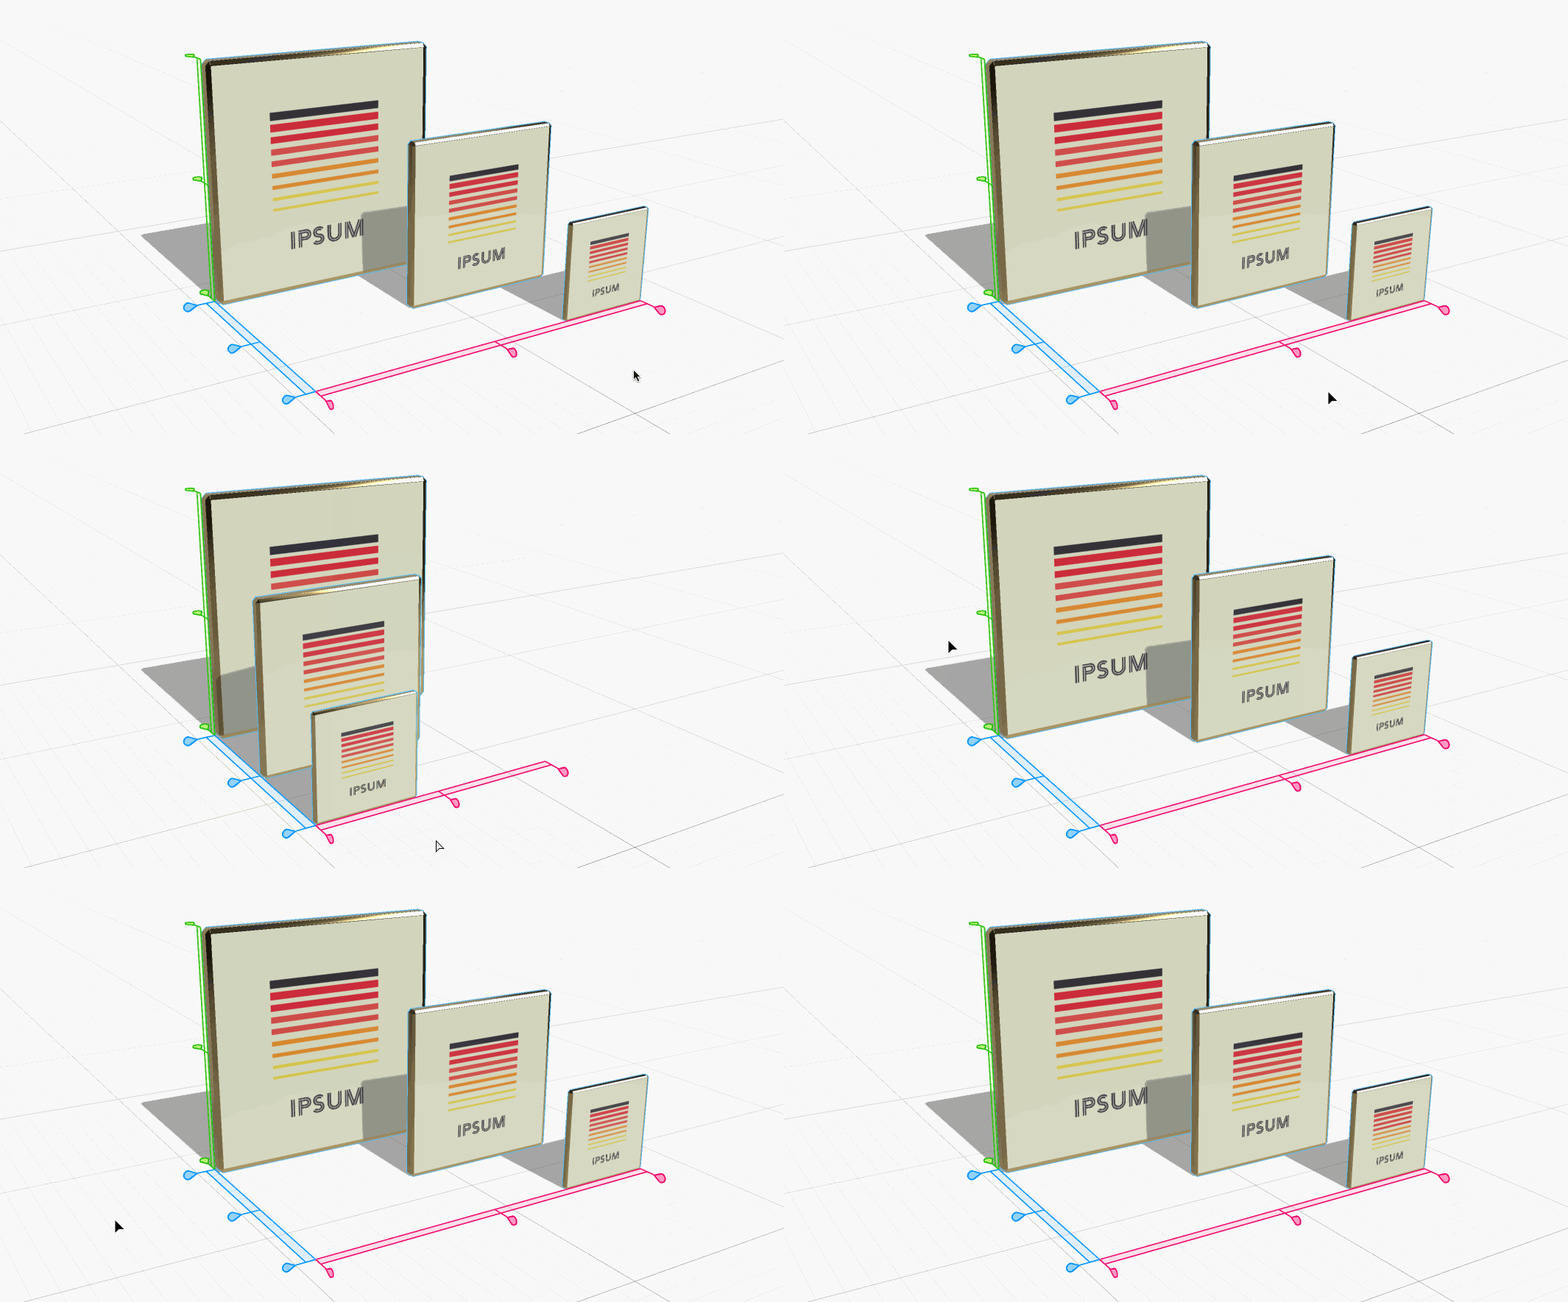
Create a selection of at least two objects.
- Substance 3D home
- Home
- Getting Started
- Interface
- Objects
- Using Stager
- Features
- Common issues
- Release notes


Using the Align and Distribute action
To use the Align and Distribute action, do the following:
-
-
In the Toolbar, click on the Align and Distribute action or use keyboard shortcut D. A 3D widget appears in the canvas.
-
Click on the various handles to use the align and distribute actions. See Aligning objects and Distributing objects to understand how handles work.
Aligning objects
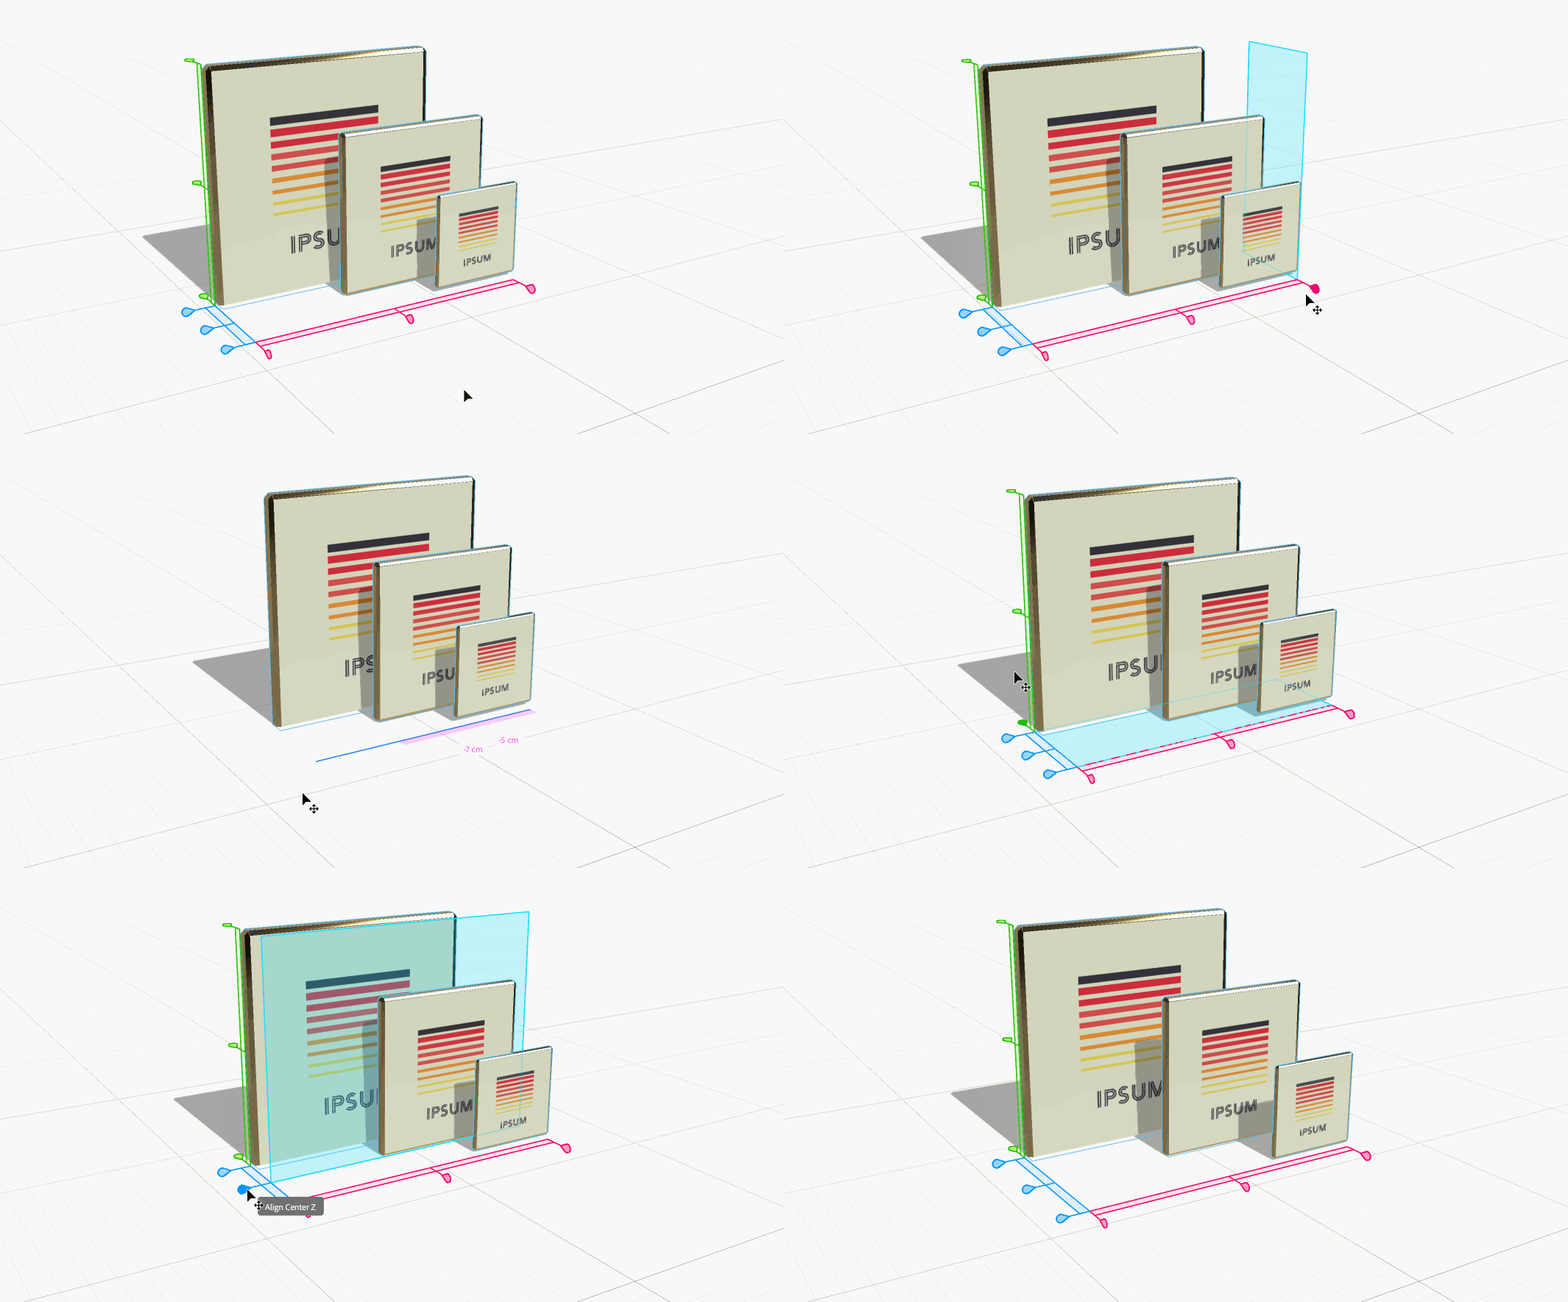
There are several ways to interact with Align and Distribute. The teardrop handles manage alignment. Each handle represents the outer bounds of your current selection along the X (left/right), Y (up/down), and Z (front/back) axes. The handles are also color coded by axis: red for X, green for Y, and blue for Z.
Hovering over a handle will show a cyan plane that represents the side or center of the selection bounds that your objects will be aligned to. Click on the handle to confirm the movement and the selected objects will move to the displayed plane. Objects will be aligned with their edges aligned for a side handle or with their centers aligned for a center handle.


Distributing objects
Distribution is the act of adjusting the space of objects. There are several ways to distribute and re-space objects using the Align and Distribute action:
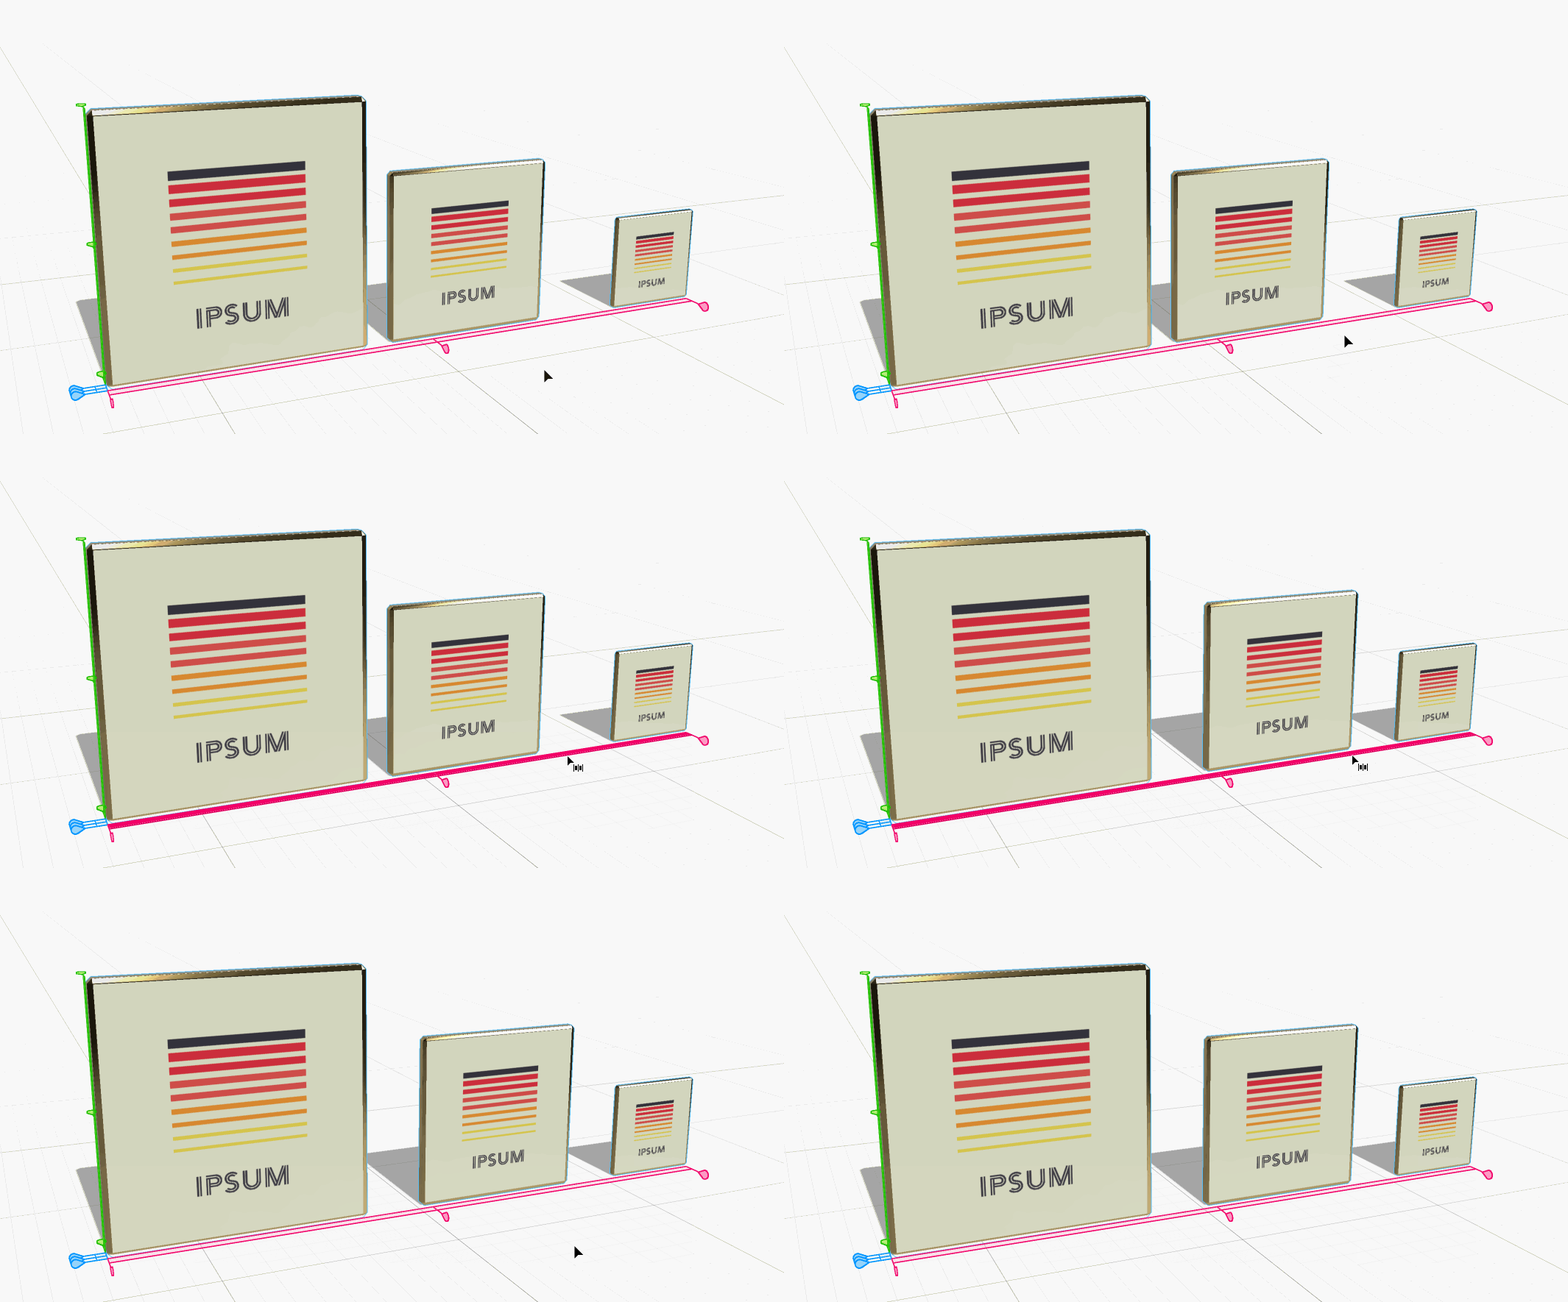
- Single-click on the bar shaped handle to apply basic distribution along any axis. This action will set the spacing of all objects to an even value. Spacing is adjusted based on the bounds of the object, not their center points, so distribution gives even ‘gaps’ between multiple objects of different sizes.


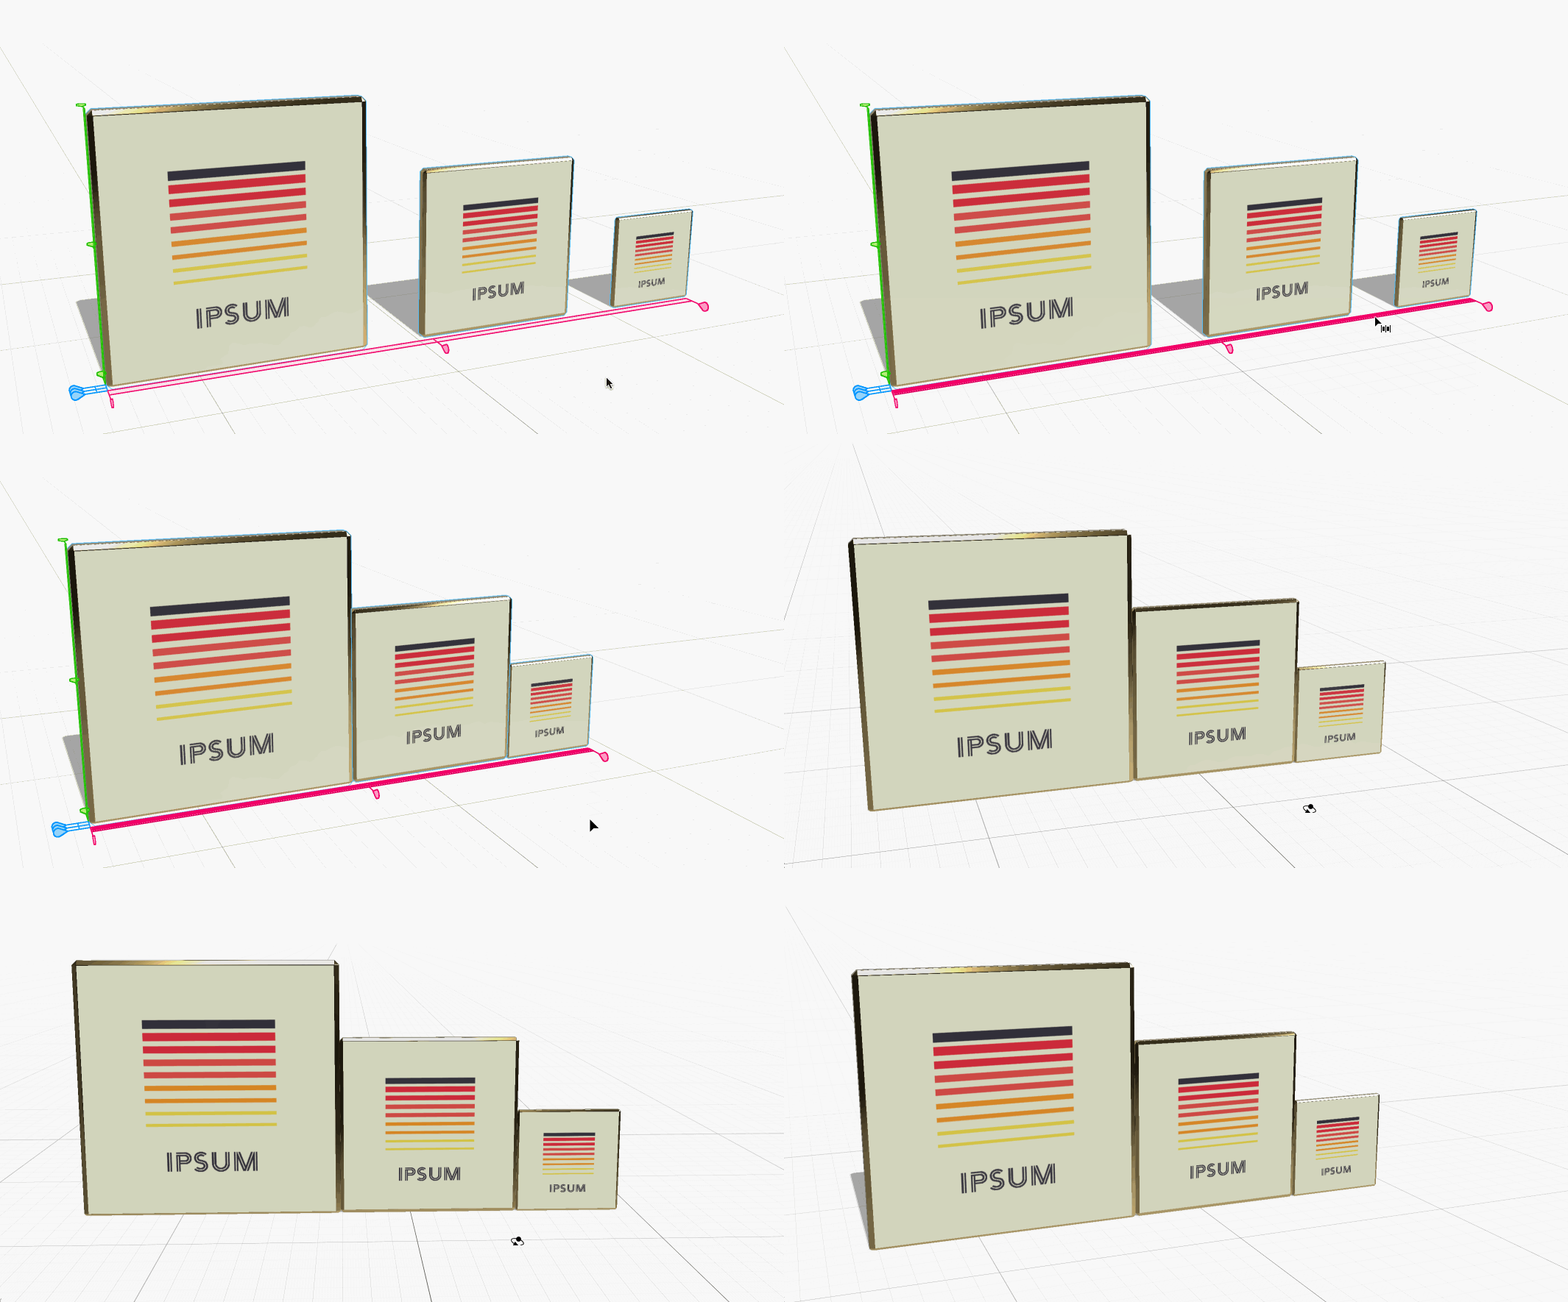
- Double-click on a distribution bar to apply zero spacing distribution along any axis. This action will set the spacing of all objects to zero. This is best if you want your objects perfectly touching each other with no spacing between them. This action will work whether your objects originally had spacing or were overlapping.


- Single-click and drag on the teardrop handles to adjust the spacing of your active selection along any axis. This action will move the spacing out from the handle you clicked on. This is great for quickly adjusting the overall space objects take.

