- Substance 3D home
- Home
- Getting Started
- Interface
- Objects
- Using Stager
- Features
- Common issues
- Release notes
Animation presets
Adobe Substance 3D Stager helps you easily generate simple animations with parametric orbit and spin presets. These can easily be used to showcase your 3D products, packaging, and assets.
To use animation presets
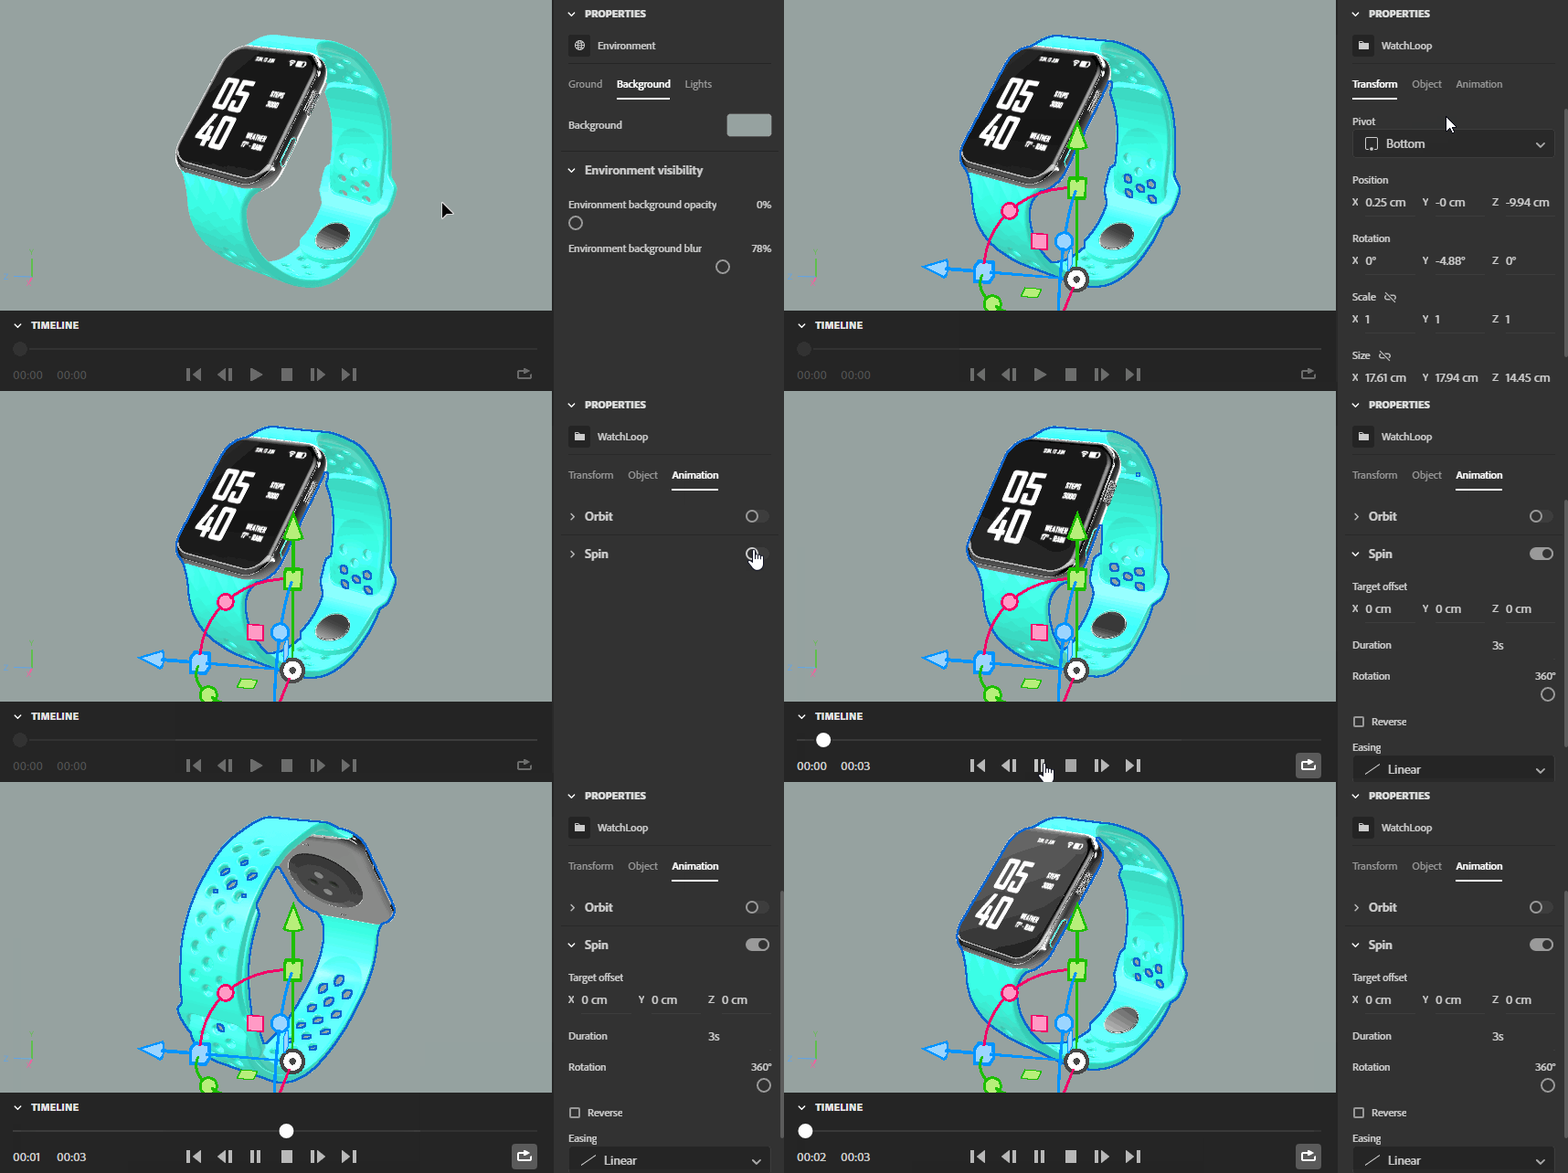
- Select an object you want to animate (model, group, physical light, or camera)
- In the Properties panel, switch to Animation
- Enable Orbit or Spin preset
- Adjust the animation properties such as duration, angle, easing, and target (for orbit)
- Use the Timeline to preview your animation
- Go to Render mode to output your animation as an image sequence

Preset types
Stager uses animation presets to generate motion for objects using high level property based controls. This means that there is no keyframing in Stager. Each preset type has different behaviors and properties that control the object and generate the motion.
Spin
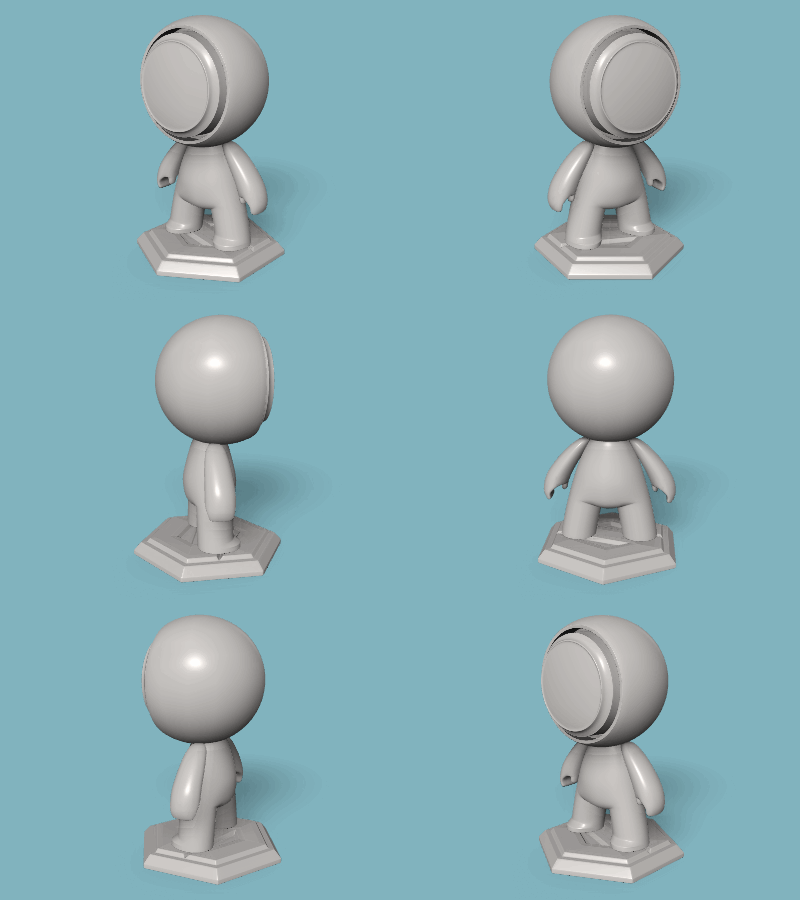
Spin will rotate an object around in place.

Orbit
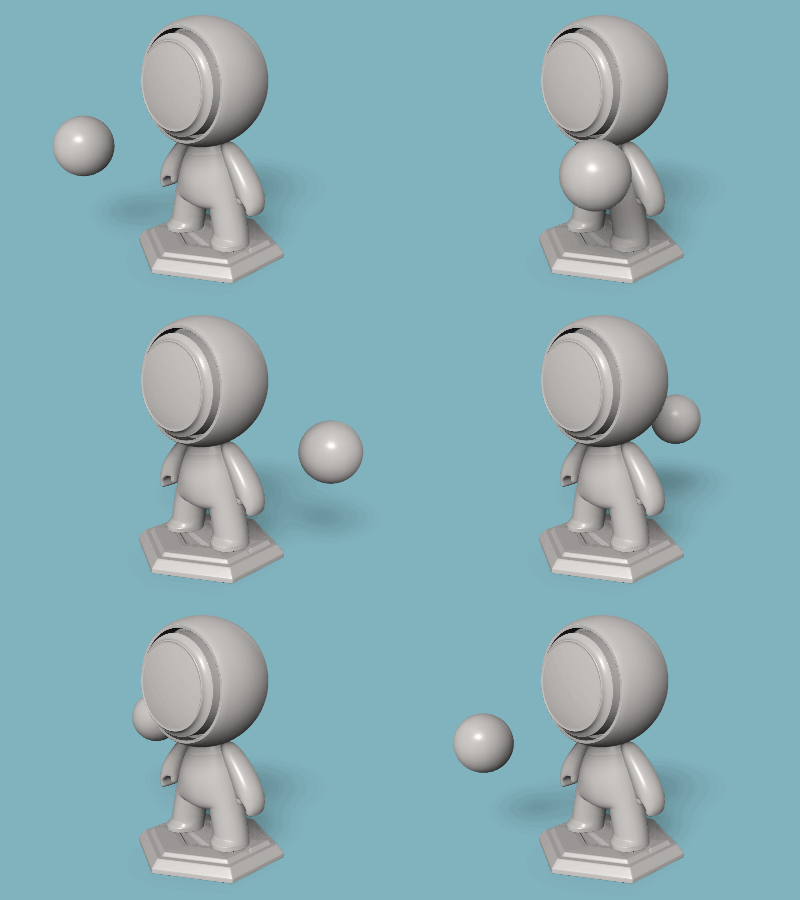
Orbit will rotate an object around a second target object.

Animation properties
Target
Available for the orbit preset only.
Sets a target object that the animated object will rotate around.

Look at target
Available for the orbit preset only.
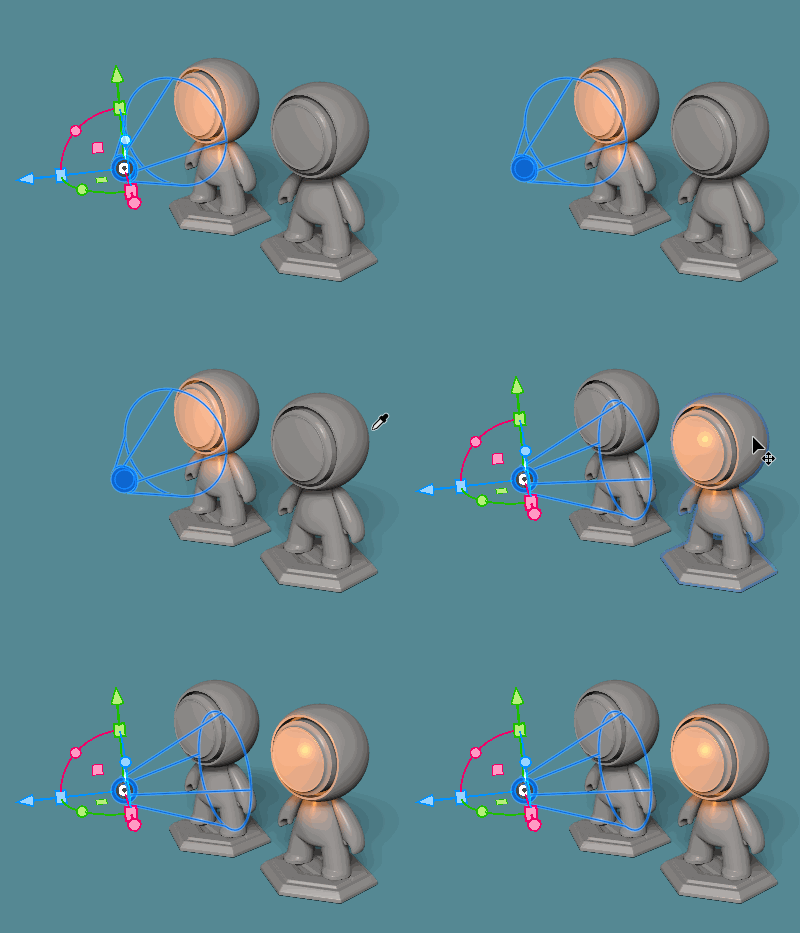
When enabled the orbiting object will always face the target object. The Z positive axis of the object is used as the "forward" direction.
Target offset
By default, spin will use the center of the animated object's bounding box as its pivot. Orbit will default to the center of the target object's bounding box. Use the target offset to adjust the pivot of the animation.
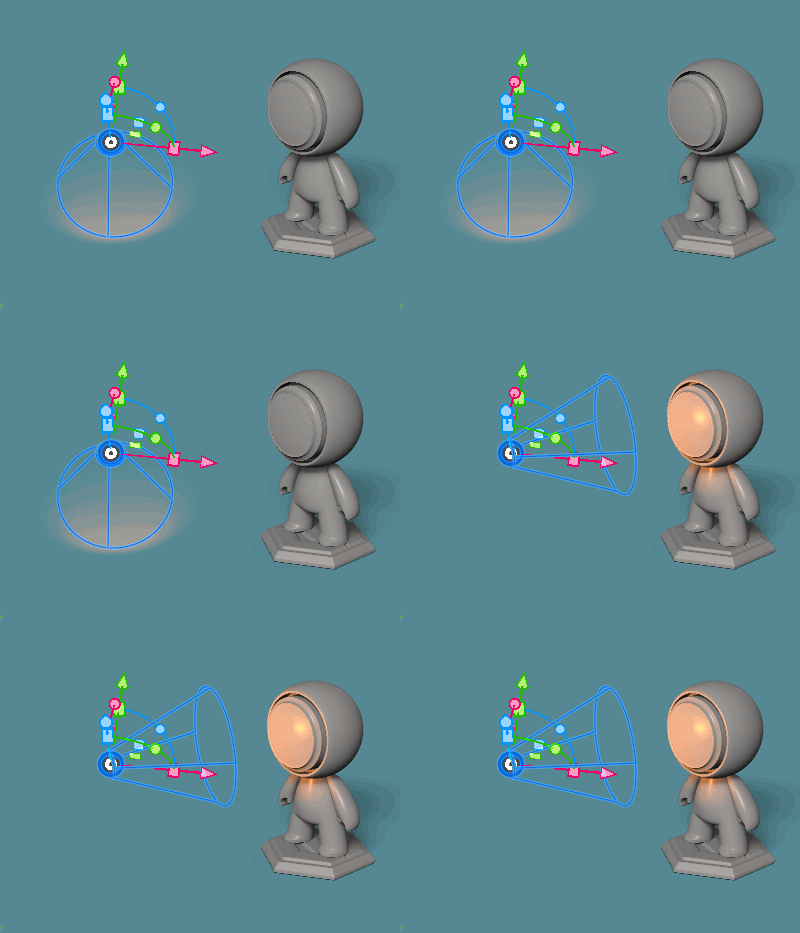

Duration
The total time the animation will take to play,
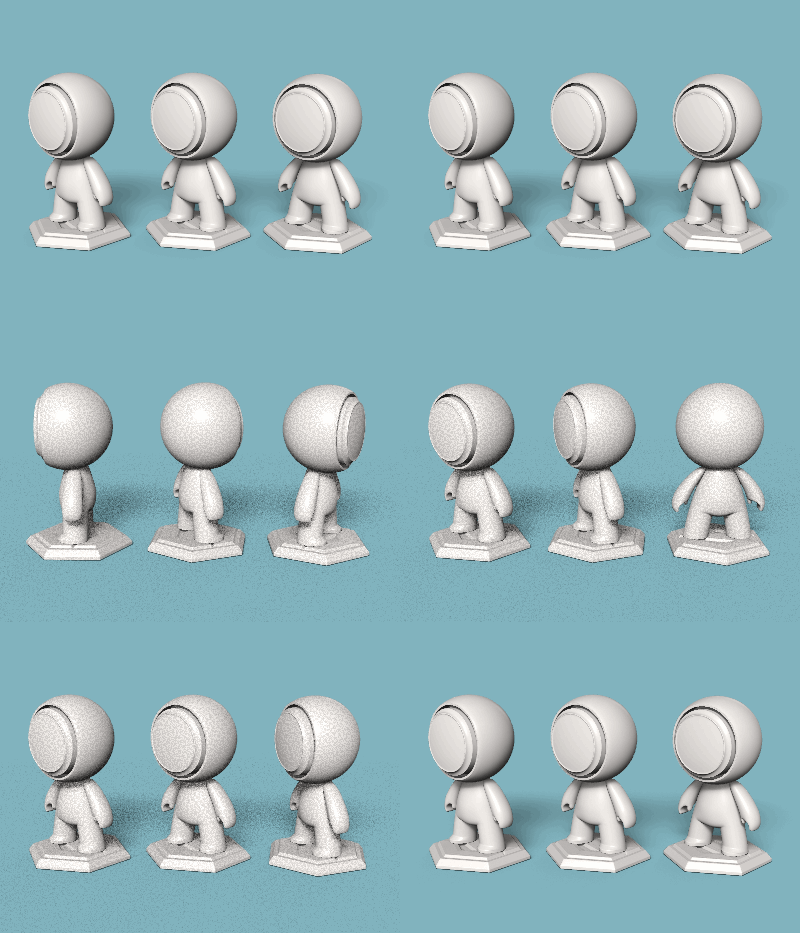

Rotation
The degrees the object will spin or rotate. Can be set above 360.
The animation will complete over the time set for the duration property.
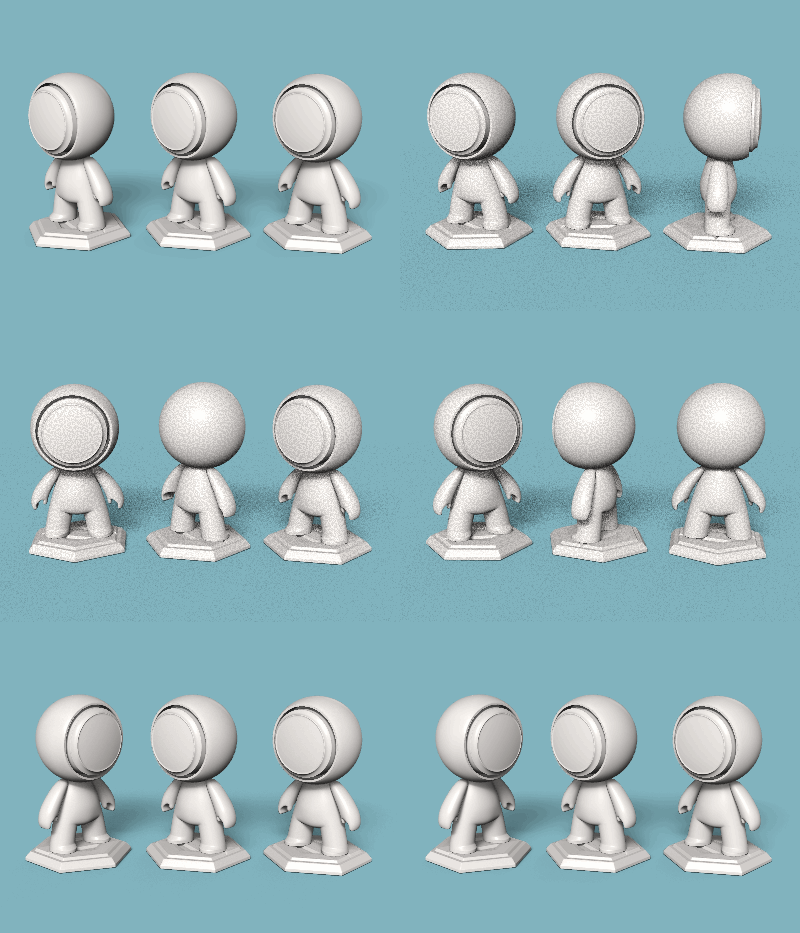

Reverse
When enabled, the direction of the animation will play backwards.
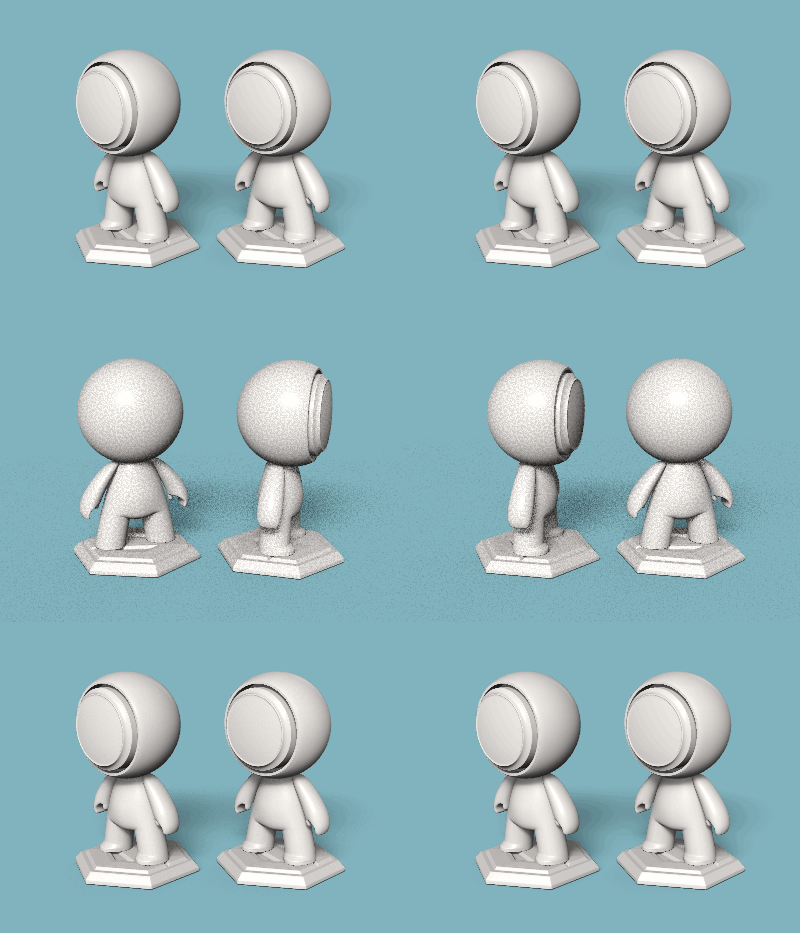

Easing
Determines if the animation plays at a constant speed or with different speed effects across its duration.
- Linear has a constant speed with no easing.
- Quadratic and Exponential slows the speed at the beginning and end, at different rates.
- Elastic, Back, and Bounce have creative easing effects.
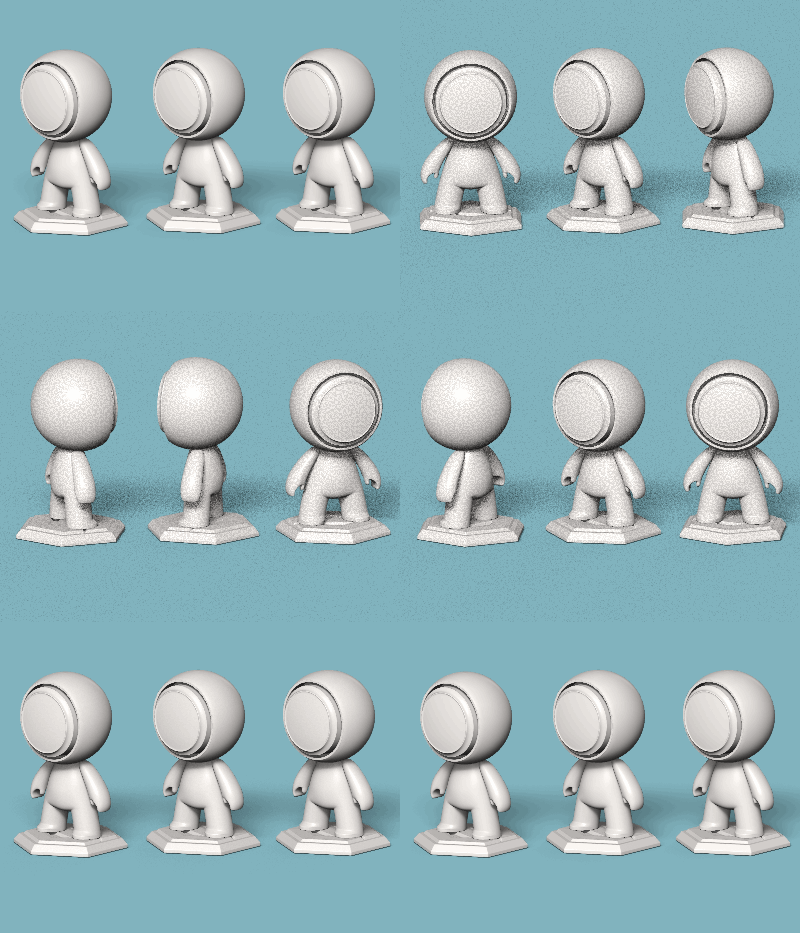

Previewing animation
You can use the Timeline panel to preview, play, and control your animation in Design mode. See the Timeline panel page for more information.
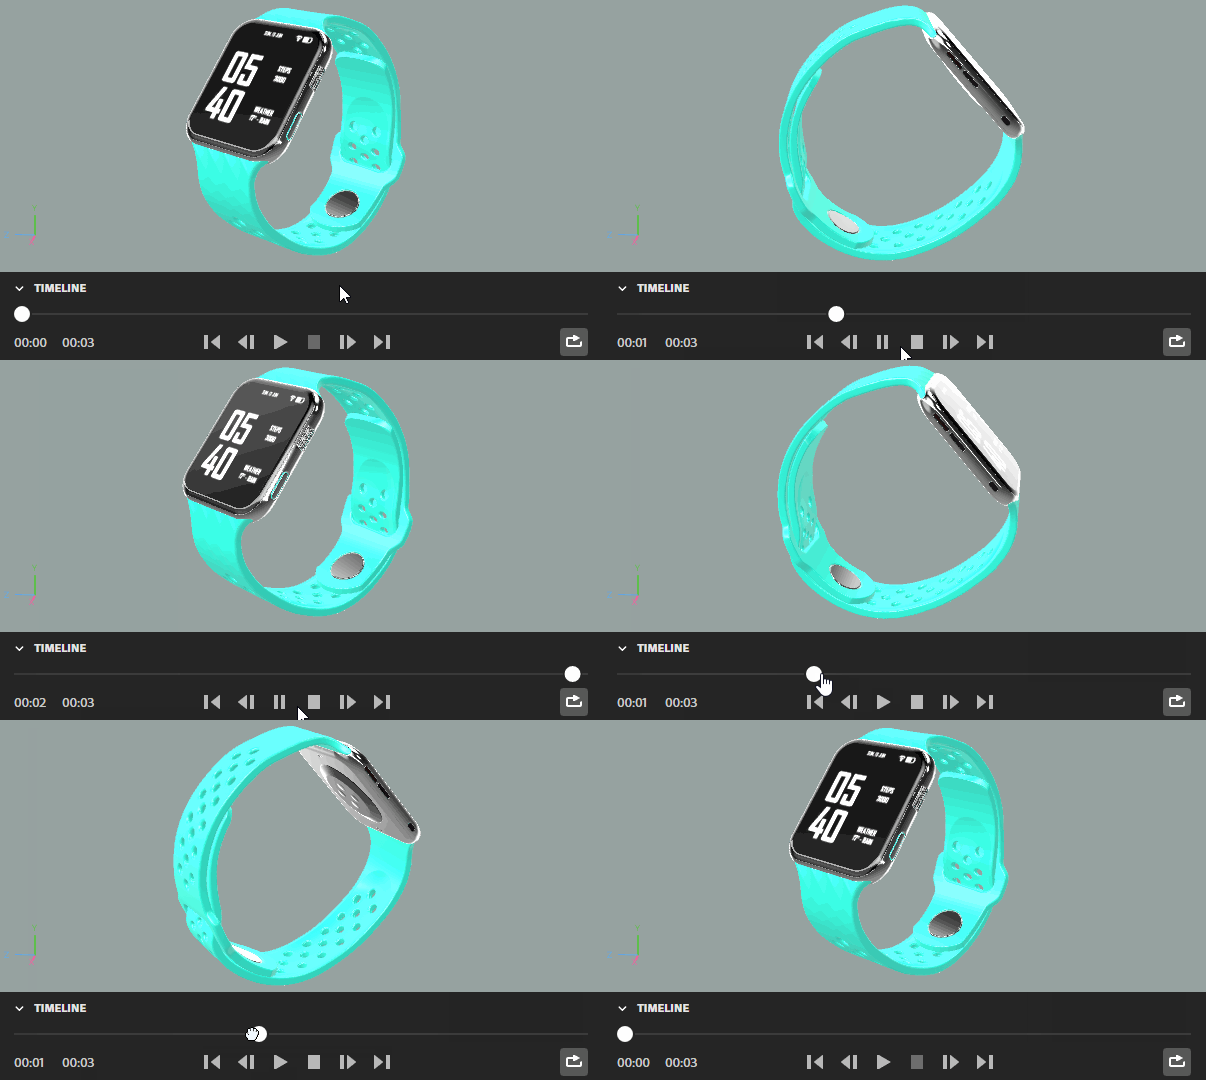

Rendering animations as image sequences
Just like still images, you can use render mode to create final outputs for animation. If your scene has any animated elements present, you will see additional render settings available. The workflow for rendering remains the same.
- Choose your render settings
- Choose which cameras you want to render (or the viewport camera will be used by default if no camera objects are added)
- Choose your export settings, such as format and save location
- Press the render button to begin rendering
Stager will iterate through each camera. For animations, a folder will be automatically created and each frame of animation will be rendered as a new image and saved within the folder. This is referred to as an image sequence.
Each frame of animation will use the file name chosen in the export settings, with a prefix appended numbering each frame. For example, frames 001, 002, 003, etc. This automatic numbering is helpful for keeping images in correct order and automatically importing them into tools to create videos.
Render export settings for animation
Frame rate: Determines how many frames will be rendered for each second of animation (FPS).
Time range
- Current frame: Exports the frame at the current time on the timeline.
- Frame range: Specify a range of frames to export, defaults to the entire range. The range is editable to allow you to render a specific set of frames if desired.
After selecting your export settings, you will also see a list of the cameras to be rendered, the duration of animation for that camera, and the total frames based on duration and frame rate settings.


Converting image sequences to video
Video/GIF export
- Stager can create an MP4 or GIF of your animation by selecting the respective option from the format dropdown.
- The export directory will contain both the rendered frames and MP4 or GIF.


Adobe Premiere
- Create a new Premiere project
- Choose File > Import and browse to your rendered Stager image sequence
- Select the first image in the sequence exports
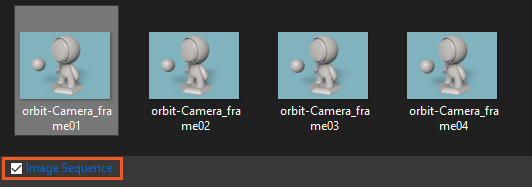
- Turn on the "Image Sequence" option
- Press Open to import the files and Premiere will automatically convert the images to a clip in your project panel

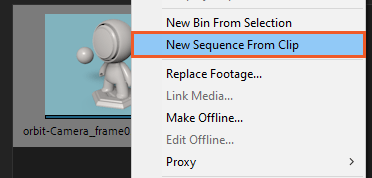
- Right-click the clip and choose "new sequence from clip"
- This will automatically create a sequence at the right size and settings
- Adjust your video as desired
- Use File > Export Media to export a GIF or video

FAQ and known animation issues
What limitations are there with animation presets in Stager?
Animation can behave oddly if using nested hierarchies sometimes. There can also be issues if an object is animated with orbit and targeting another object that is also animating, or if targets are looping between the same objects.
You cannot currently edit your scene while previewing animation. Use the stop button to return to frame 0 and continue editing.
Only 3D objects can be animated: groups, models, lights, and cameras. The environment cannot use animation presets.
Animation presets always use local object Y-up and the object center pivot point as their pivot for spinning or orbiting.
What other types of animation can I create in Stager?
At this time Stager currently has orbit and spin presets for generating animation. Importing animation or keyframe animation by properties is not currently supported.