Create a composition, select Composition > New Composition.
OR
Click the New Composition tile in the home screen.
OR
Click the Comp icon in the Projects panel.


Path operations are similar to effects. These live operations act nondestructively on a shape’s path to create a modified path that other shape operations (such as fills and strokes) can apply to. The original path is not modified. One of them is Offset Paths - it expands or contracts a shape by offsetting the path from the original path. For a closed path, a positive amount value expands the shape; a negative amount value contracts it.
You can select from the following properties:


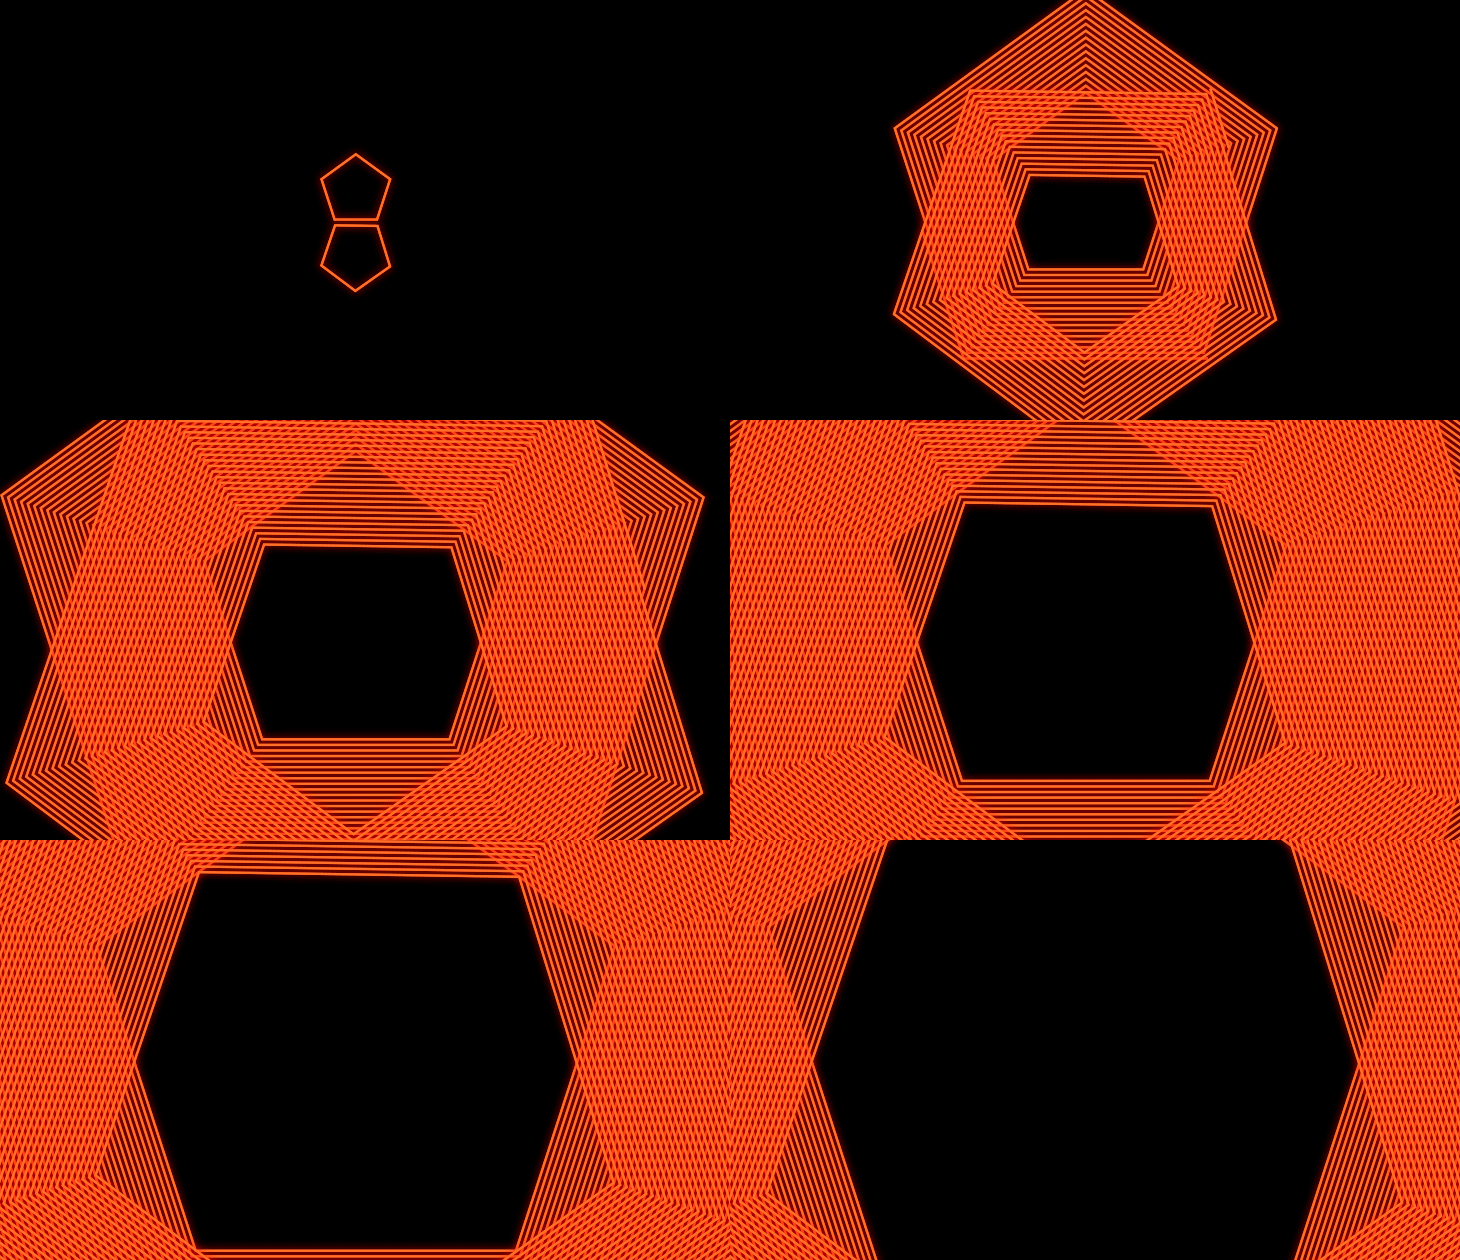
Create concentric duplicates of a single shape path
Saves time and enables you to create experimental animations.


Animate their position relative to one another
Irrespective of how you animate all the copies, the position is relative to one another. They share the same anchor point and thus, animate at the same size and position.


Offset the copies to create nesting or expanding animations
You can create a collapsing or an expanding effect with the Copies Offset property. For example, an animation where the shape appears from outside the frame and ends up collapsing entirely in the center.


Apply other Shape customization features
In addition, you can also use other shape modifications such as dashes, trim paths to create different looks.
Use the following steps to create repeating shapes:
Create a composition, select Composition > New Composition.
OR
Click the New Composition tile in the home screen.
OR
Click the Comp icon in the Projects panel.
Click the Shape tool icon and add the Star tool. In the Comp panel, draw the shape.
It adds a shape layer in the Timeline panel. Click the triangle to reveal the components. Under it, on the right, click ADD and select Offset Paths from the dropdown.


If you want to expand the shape, set the amount to a positive value. To contract, set it to a negative value. 0 keeps it unchanged.
To retain the style of edges of the shape, in the Line Join property, select Miter Join from the dropdown.
If you want to add motion to this, use keyframes. Click the stopwatch next to the Copies Offset property and adjust the values. You can start with smaller values and gradually increase them. Every time you change the value, a keyframe gets added – based on the current time indicator.
You can chose from the different line join options that control the roundness of the edges. When you create copies and offset them with bevel or round joins, you can get different designs from your shape. Miter Join retains the original shape. It is best to experiment and see what works for you!


Miter Join gies you pointed connection.


Round Join gives you rounder, soft edges.


Bevel Join gives you squared or rectangular edges.
If you want to create and experiment with this animation, download the sample .aep project to get started. You can play around with the offset path shape effect and build on top of this animation.


Download
Now that you have understood how this feature works, come to the community for some real-life examples, and to share your work. We would love to hear from you and see what you create with offset path shape effect!
Create stunning 3D animations in After Effects
Animate characters and illustrations, add motion to text, and more.