Select File > Import > File or use the Import option in the Project panel.
- After Effects User Guide
- Beta releases
- Getting started
- Workspaces
- Projects and compositions
- Importing footage
- Preparing and importing still images
- Importing from After Effects and Adobe Premiere Pro
- Importing and interpreting video and audio
- Preparing and importing 3D image files
- Importing and interpreting footage items
- Import SVG files
- Working with footage items
- Detect edit points using Scene Edit Detection
- XMP metadata
- Text and Graphics
- Text
- Motion Graphics
- Work with Motion Graphics templates in After Effects
- Use expressions to create drop-down lists in Motion Graphics templates
- Work with Essential Properties to create Motion Graphics templates
- Replace images and videos in Motion Graphics templates and Essential Properties
- Animate faster and easier using the Properties panel
- Variable Font Axes
- Drawing, Painting, and Paths
- Overview of shape layers, paths, and vector graphics
- Paint tools: Brush, Clone Stamp, and Eraser
- Taper shape strokes
- Shape attributes, paint operations, and path operations for shape layers
- Use Offset Paths shape effect to alter shapes
- Creating shapes
- Create masks
- Remove objects from your videos with the Content-Aware Fill panel
- Roto Brush and Refine Matte
- Create Nulls for Positional Properties and Paths
- Layers, Markers, and Camera
- Animation, Keyframes, Motion Tracking, and Keying
- Animation
- Keyframe
- Motion tracking
- Keying
- Transparency and Compositing
- Adjusting color
- Effects and Animation Presets
- Effects and animation presets overview
- Effect list
- Effect Manager
- Simulation effects
- Stylize effects
- Audio effects
- Distort effects
- Perspective effects
- Channel effects
- Generate effects
- Time effects
- Transition effects
- The Rolling Shutter Repair effect
- Blur and Sharpen effects
- 3D Channel effects
- Utility effects
- Matte effects
- Noise and Grain effects
- Detail-preserving Upscale effect
- Obsolete effects
- Cycore plugins
- Expressions and Automation
- Expressions
- Expression basics
- Understanding the expression language
- Using expression controls
- Syntax differences between the JavaScript and Legacy ExtendScript expression engines
- Editing expressions
- Expression errors
- Using the Expressions editor
- Use expressions to edit and access text properties
- Expression language reference
- Expression examples
- Automation
- Expressions
- Immersive video, VR, and 3D
- Construct VR environments in After Effects
- Apply immersive video effects
- Compositing tools for VR/360 videos
- Advanced 3D Renderer
- Import and add 3D models to your composition
- Import 3D models from Creative Cloud Libraries
- Create parametric meshes
- Image-Based Lighting
- Animated Environment Lights
- Enable lights to cast shadows
- Extract and animate lights and cameras from 3D models
- Tracking 3D camera movement
- Adjust Default Camera Settings for 3D compositions
- Cast and accept shadows
- Embedded 3D model animations
- Shadow Catcher
- 3D depth data extraction
- Modify materials properties of a 3D layer
- Apply Substance 3D materials
- Work in 3D Design Space
- 3D Transform Gizmos
- Single 3D Gizmo for multiple 3D layers
- Do more with 3D animation
- Preview changes to 3D designs real time with the Mercury 3D engine
- Add responsive design to your graphics
- Views and Previews
- Rendering and Exporting
- Basics of rendering and exporting
- H.264 Encoding in After Effects
- Export an After Effects project as an Adobe Premiere Pro project
- Converting movies
- Multi-frame rendering
- Automated rendering and network rendering
- Rendering and exporting still images and still-image sequences
- Using the GoPro CineForm codec in After Effects
- Working with other applications
- Collaboration: Frame.io, and Team Projects
- Memory, storage, performance
- Knowledge Base
Learn how to import 3D model files in After Effects and use them in your composition.
With After Effects 24.1 and later versions, you can import your 3D models directly into your project and drop them into your composite alongside other 2D and 3D layers.
Working with 3D models in After Effects
How to import a 3D model, composite all assets, and turn it into a final 3D motion video in After Effects.
- You can use Adobe Substance 3D Painter to prepare 3D models before you import them into After Effects.
- You can also create parametric meshes and apply Substance 3D Materials to them. (Currently in beta)
-
-
Select GLB, GLTF, OBJ, or FBX file formats from the device to import and select Open.
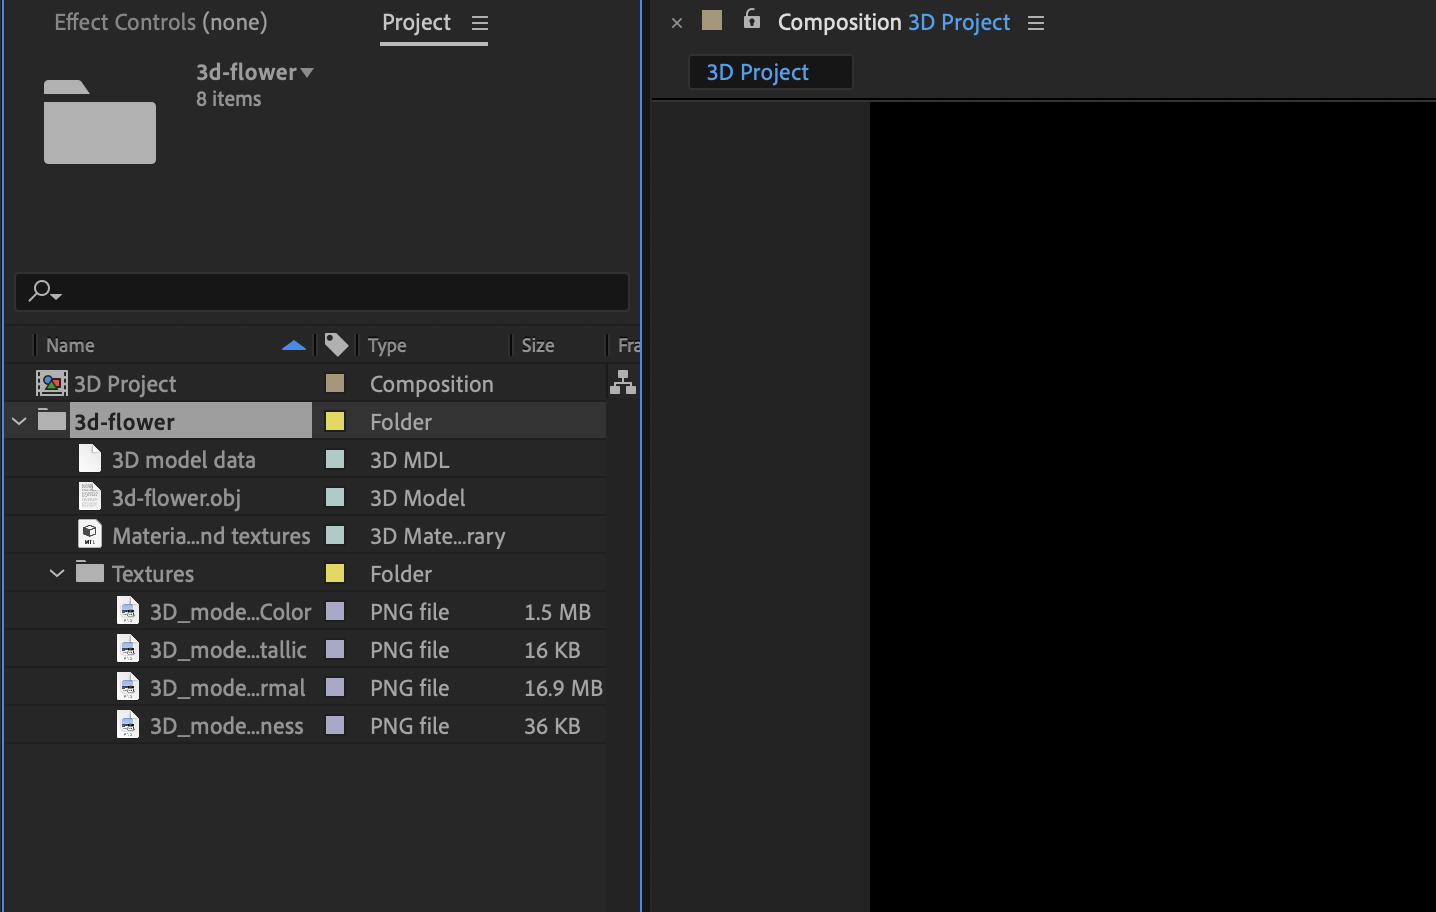
A new folder with the model's name is created in the project for the 3D model file. If the 3D model file has dependent files (texture image files and BIN for GLTF), they are also placed inside this folder.
NoteYou can import 3D files without additional dependent files in the Project panel. Learn more about Decluttered 3D model import.
TipIf you want to manually collect the dependent files, select File > Dependencies > Collect Files.
- GLTF and GLB: GLTF (Graphics Language Transmission Format) is a newer, royalty-free specification for the efficient transmission and loading of 3D scenes, which is developed and maintained as an open standard by the Khronos Group. GLTF and its binary package format GLB (Graphics Language Transmission Format Binary) have a wider variety of features, including scene cameras and lights, data compression, and model animation. GLB and GLTF files support physically-based materials for a more realistic appearance.
- OBJ (Wavefront Object): OBJ is one of the most commonly used 3D model file formats and can be imported into your composition and treated with the same animation workflow as that of GLTF and GLB files.
- FBX (Filmbox): FBX is the default file format for animated models, a popular online platform for creating and downloading character animations. You can use the FBX files to incorporate embedded animations in your 3D compositions.
GLB is the preferred file format for most uses in After Effects because it's a single-file package that includes all dependent resources and texture data. GLTF relies on additional files, which may require additional file tracking by the project.
Add imported 3D model to a composition
-
Select File > Import > File, or use the Import option in the Project panel.
-
Select GLB, GLTF, OBJ, or FBX file formats from the device to import.
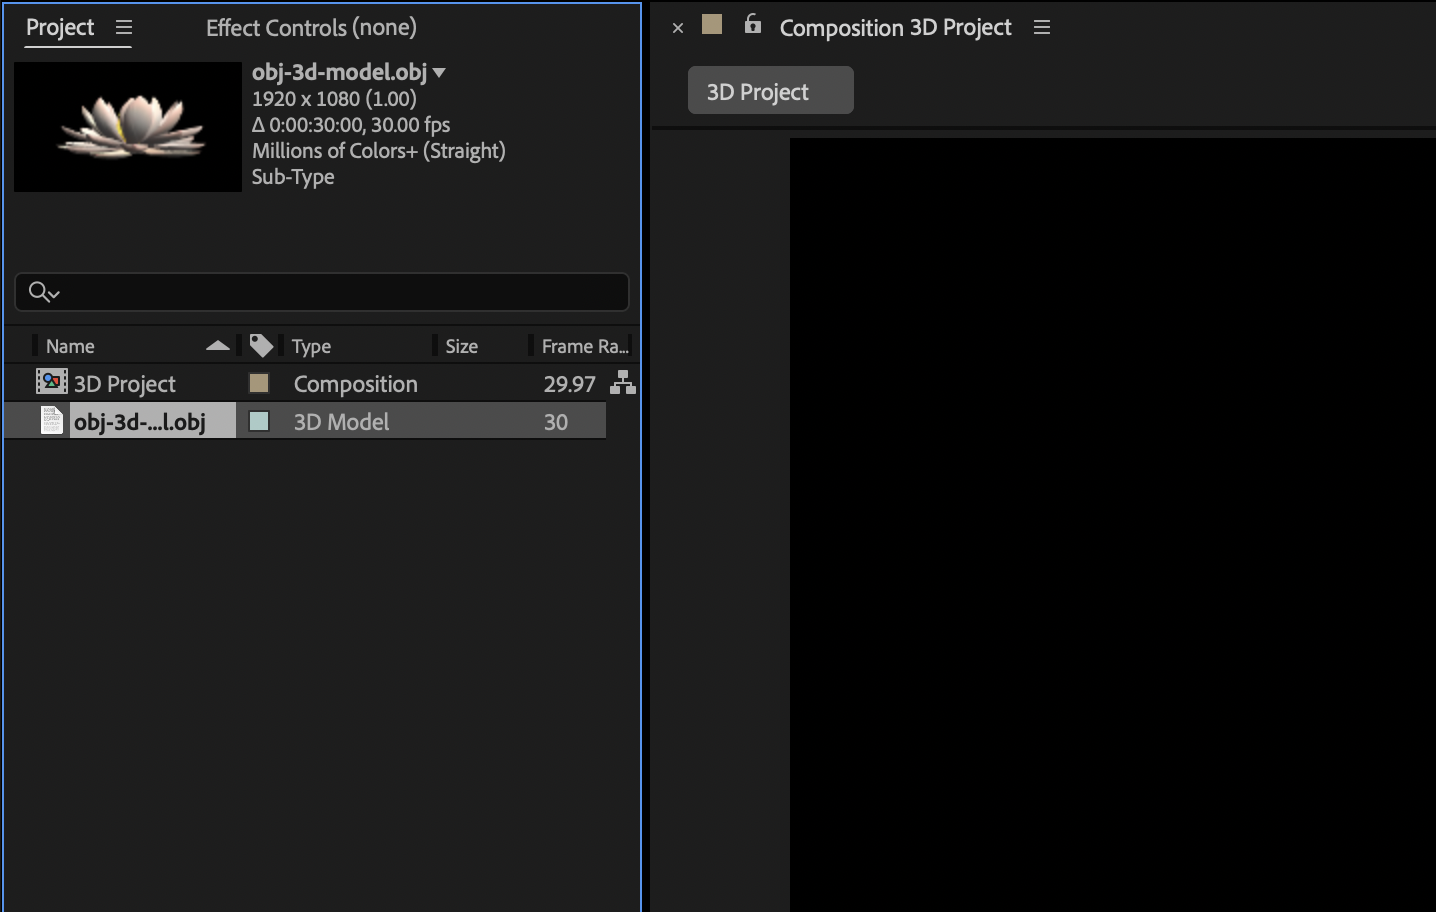
Once you import the 3D model into the Project panel and select that model, a thumbnail will appear.
A thumbnail preview of the chosen 3D model allows for quick identification before you add it to your timeline. A thumbnail preview of the chosen 3D model allows for quick identification before you add it to your timeline. -
Add the imported 3D file to your composition by dragging it to the Timeline panel.
-
Specify the desired settings In the Model Settings dialog. By default, the Preview option is enabled, and in the Composition panel, you get a preview of what the model looks like when the settings are modified.
Import 3D model files in GLTF, GLB, or OBJ formats and add them to your composition.
Object Scale
Change the object's scale.
Make Comp Size
Make the imported model fit the composition size.
Object position while scaling
Choose to allow changes in the 3D model's position while scaling.
Model Units
Change the model units in the object scale.
Up Axis
Change the axis of the 3D model to either Y Axis or Z Axis.
Flip Z Axis
Flip the 3D models around their Z axis.
Extract all materials
Extract the materials from the imported 3D model. These extracted materials are stored in the Materials folder in the Project panel.
TipYou can access the Model Settings dialog anytime by selecting the model in the Project, Timeline, or Composition panels and choosing Layer > Model Settings.
Note- When you set settings for the imported 3D model in the Model Settings dialog, it would be considered as 100 scale in your composition.
- When you add a 3D model to your composition, your 3D Renderer will change to the new Advanced 3D, and you can turn on Draft 3D to use the ground plane or extended viewer.
- When you set settings for the imported 3D model in the Model Settings dialog, it would be considered as 100 scale in your composition.
-
Select OK to complete adding the model to your composition.
You can also import GLTF and GLB 3D models from your Creative Cloud Libraries.
In the latest build, imported 3D models are placed at the Root level in the Project panel instead of their own folder. Dependent and related files such as .mtl, .mdl, .scene, .bin, and texture folders will no longer be visible in the Project panel.

Decluttered 3D model import ensures all dependent and related files of an imported 3D file are no longer visible in the Project panel.
Here are a few things to consider:
- Collect files still adds the model dependencies files in the set of collected files.
- After Effects will no longer display dependent files in the Project panel when opening an older project.
- When saving projects with 3D files as older versions, After Effects creates a folder for models to ensure these versions have a designated place for dependent files when the project is opened.

