- Get to know Premiere Elements
- Adobe Premiere Elements User Guide
- Introduction to Adobe Premiere Elements
- Workspace and workflow
- Working with projects
- 360° and VR Video Editing
- Importing and adding media
- Arranging clips
- Editing clips
- Reduce noise
- Select object
- Candid Moments
- Color Match
- Color Fonts and Emojis
- Smart Trim
- Freehand Crop
- Delete All Gaps
- Change clip speed and duration
- Split clips
- Freeze and hold frames
- Adjusting Brightness, Contrast, and Color - Guided Edit
- Stabilize video footage with Shake Stabilizer
- Replace footage
- Working with source clips
- Trimming Unwanted Frames - Guided Edit
- Trim clips
- Editing frames with Auto Smart Tone
- Artistic effects
- Color Correction and Grading
- Applying transitions
- Special effects basics
- Effects reference
- Applying and removing effects
- Create a black and white video with a color pop - Guided Edit
- Time remapping - Guided edit
- Effects basics
- Working with effect presets
- Finding and organizing effects
- Editing frames with Auto Smart Tone
- Fill Frame - Guided edit
- Create a time-lapse - Guided edit
- Best practices to create a time-lapse video
- Applying special effects
- Use pan and zoom to create video-like effect
- Transparency and superimposing
- Reposition, scale, or rotate clips with the Motion effect
- Apply an Effects Mask to your video
- Adjust temperature and tint
- Create a Glass Pane effect - Guided Edit
- Create a picture-in-picture overlay
- Applying effects using Adjustment layers
- Adding Title to your movie
- Removing haze
- Creating a Picture in Picture - Guided Edit
- Create a Vignetting effect
- Add a Split Tone Effect
- Add FilmLooks effects
- Add an HSL Tuner effect
- Fill Frame - Guided edit
- Create a time-lapse - Guided edit
- Animated Sky - Guided edit
- Select object
- Animated Mattes - Guided Edit
- Double exposure- Guided Edit
- Special audio effects
- Movie titles
- Creating titles
- Adding shapes and images to titles
- Adding color and shadows to titles
- Apply Gradients
- Create Titles and MOGRTs
- Add responsive design
- Editing and formatting text
- Text Styles and Style Browser
- Align and transform objects
- Motion Titles
- Appearance of text and shapes
- Exporting and importing titles
- Arranging objects in titles
- Designing titles for TV
- Applying styles to text and graphics
- Adding a video in the title
- Disc menus
- Sharing and exporting your movies
Use this feature to select a specific object or area of your video and easily apply an effect that tracks throughout the video.
Use this feature to select a specific object or area of your video and easily apply an effect that tracks throughout the video, like brightening the subject or blurring the background. You can also apply this effect to your photos.
How will my videos look with this feature?
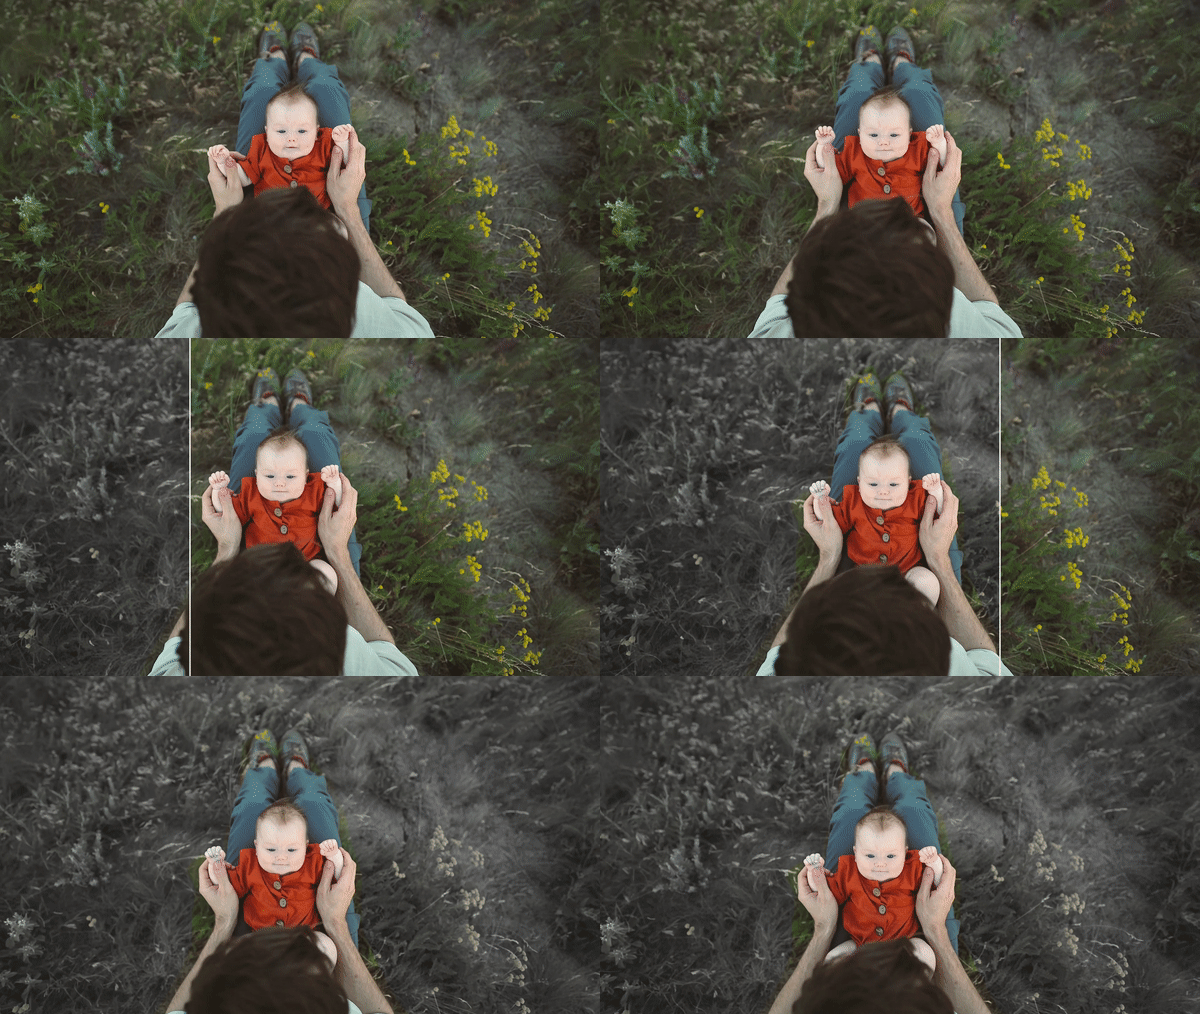
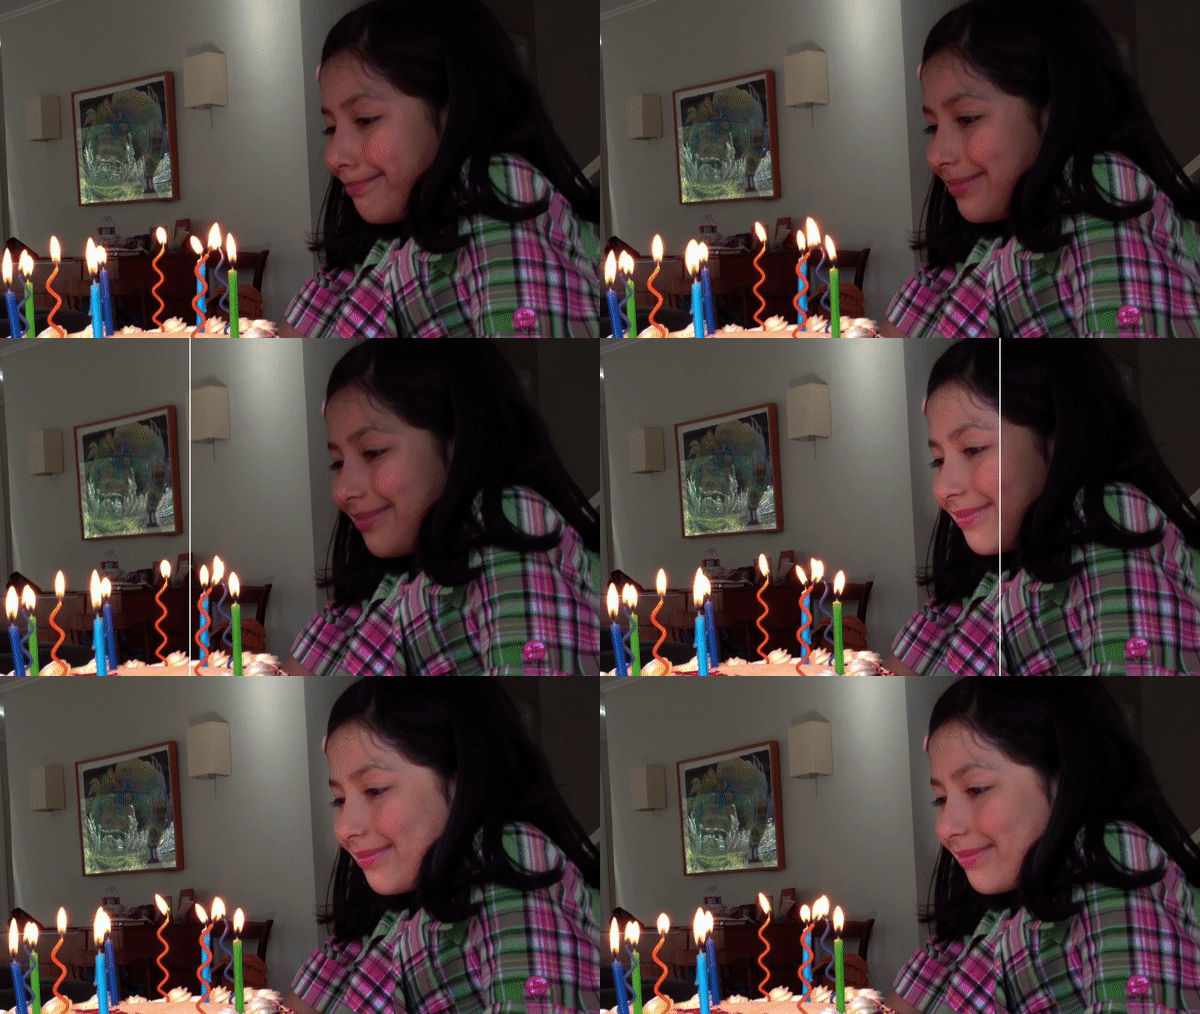
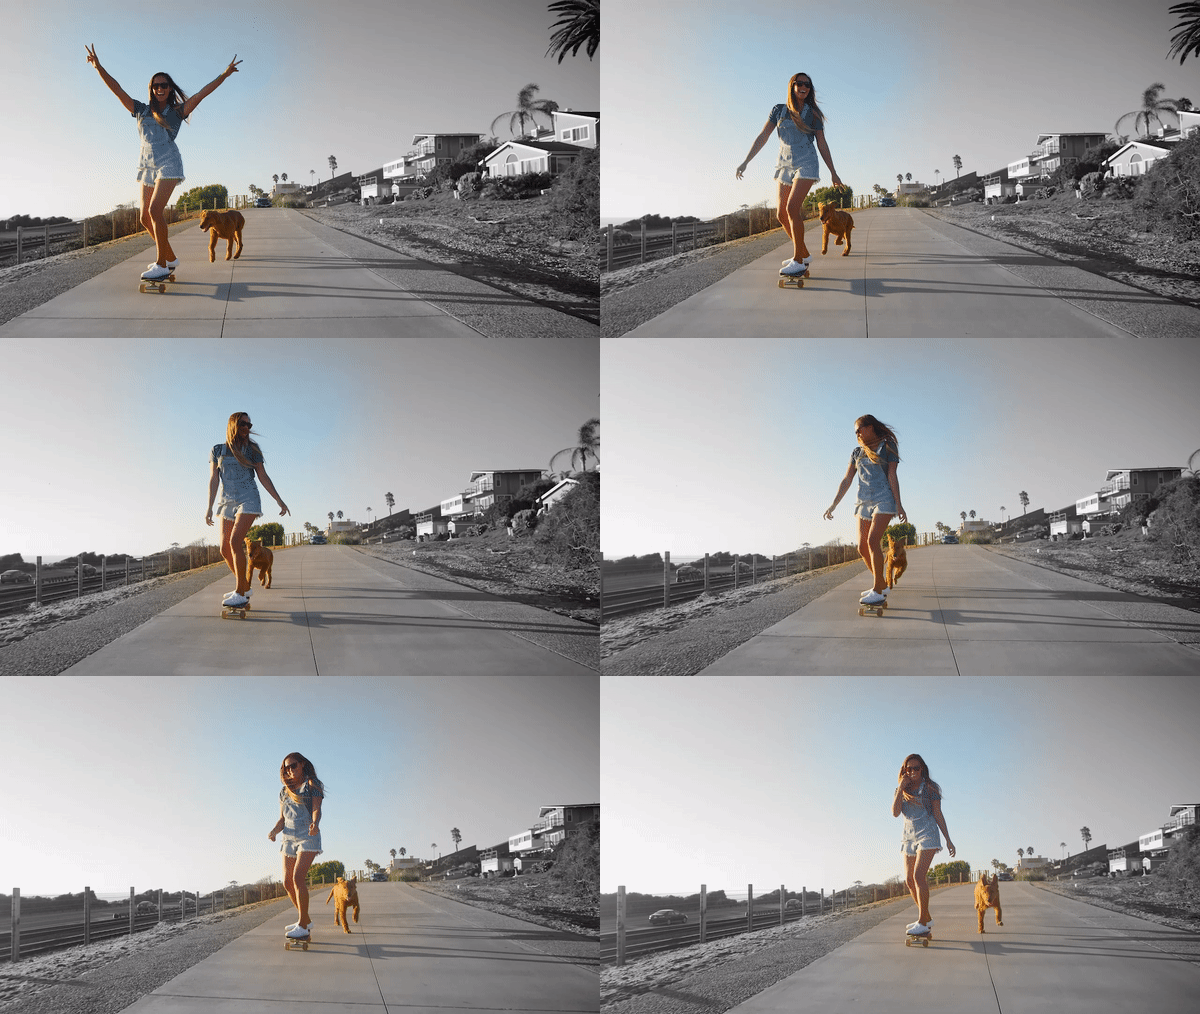
Here are a few examples of select object applied to videos.


How to select object?
Get started


Start by bringing your photos and videos into Premiere Elements. Drag them to the timeline.
Apply Effects


From the Right Panel, choose the effect you wish to add. Drag the effect and drop it on your media file. Here, I have chosen Black & White effect.
Select object to apply effect
Next, select the object or the part of your video/ photo that you want to apply the effect to. From the Draw drop-down, select the appropriate tool.
Pen: The simplest path that you can draw with the Pen tool is a straight line with two vertex points. By continuing to click, you create a path made of straight-line segments connected by vertex points.
Circle: Use this tool to create a circular or ellipse-shaped selection.
Rectangle: Use this tool to create a to create a four-sided polygon.


Track your selection
At this point, it is important to track your selection. Click on Track button to start the tracking. Tracking will ensure the object is selected even as the frames change and the object moves.
Use the drop-down under Selection 1 to chosse from:
Track from this frame: Tracks from the frame at playhead postion till the end of the clip.
Track till this frame: Tracks from the beginning of the clip till the frame at playhead postion.
Use the left and right arrow keys to track the selection one frame forward and backward at a time. This allows you to track frame by frame for more accurate results. Use this feature for better tracking of fast moving objects.
You can also copy your selection by hovering over the More option (three dots on the right side of Track option) and selecting Copy.
If you have readjusted the selection in any frame, select Re-track to track again from the playhead position till the end of the clip.


Select object tracking technology might not give expected results with fast-moving objects (lots of motion blur), when the object goes off screen, or when the object is occluded (some other object passes in front of it). In these scenarios, try frame by frame tracking by dragging the CTI to that frame and adjusting the selection.
Invert selection
If you wish to apply the effect to the background instead of the selection, hover over the More option (three dots on the right side of Track option) and select Invert.


Adjust settings
Use the sliders to adjust Feather, Opacity, and Expansion.
Feather: Feathering softens the borders of the selected area so that it blends into the area outside the selection, and provides an aesthetically pleasing result.
Opacity: This allows you to adjust the transparency of the image/ video. At a value of 100, the effect is opaque and blocks out any underlying area of the layer.
Expansion: Expansion lets you expand or contract the area of the applied effect.


Click play to see the final result. To export the final output, select File > Export and Share. For information about various exports and share options available, see Export and share your videos.

