
Log in as an Account Administrator, and navigate to: Account > Account Settings > Email Settings
Last updated on
Apr 26, 2022
- Welcome to Adobe Acrobat Sign for Government
- First steps for new accounts
- Claiming an email domains
- Connecting Okta to a federated identity solution
- Manually create/edit users in Okta
- First steps for new accounts
- Configure Acrobat Sign
- Configuration Overview
- System requirements
- Branding
- User access to features
- User experience within the application
- Recipient experience when interacting with agreements
- Transaction security
- Compliance information
- Configuration Overview
- Administrator processes
- Admin guide overview
- Users
- Groups
- Templates
- Custom workflow designer
- GDPR deletion processes
- Sandbox
- User environment and processes
- Support resources
- Transaction limits
- Page layouts
- Configure your profile
- Send agreements
- Compose an agreement to send for signature
- Recipient signing order
- Written signatures
- Send an agreement to yourself only
- Send in Bulk
- Sending from a template on the Manage page
- Sign agreements
- Fill and Sign a document
- Self Signing
- Signing a document from an email link
- Sign a document from the Manage page
- Compose an agreement to send for signature
- Custom workflow designer
- Manage agreements
- Search for agreements
- View Agreements
- Activity history and Audit Report
- Add a note to an agreement
- Set a reminder
- Cancel a reminder
- Add an expiration date
- Modify/Delete an expiration date
- Modify the files of a sent agreement
- Replace the current recipient
- Upload a signed agreement
- Share an individual agreement
- Download an agreement
- Download the individual files of an agreement
- Download the audit report
- Download the signer identity report
- Download the field data from an agreement
- Cancel an agreement
- Hide an agreement from view
- Reporting
- Create a report with classic reporting
- Report charts and data exports
- Data Exports
- Report Charts
- API
Upload email header and footer images
Business and enterprise service plans can upload email header and footer images to further personalize or brand your account. These images appear in the emails to your recipients.
Email images installed at the account level are inherited by all groups in the account. Installing a group-level email image will override the account-level image.
Note
Email header and footer images are available to business and enterprise-level accounts only.
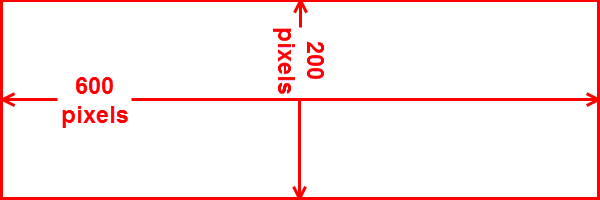
If you have any issues getting your image to appear correctly, ensure that the image you're using is exactly 600 pixels wide and up to 200 pixels tall. And, make sure to save it in JPG, GIF, or PNG format.
Download the template below to help with making your logo the correct size.
Download
Administrators can also add footer text to outgoing emails in addition to header and footer images.
-
-
Click Upload, select the image to use, and click Open.
-
Review the image and click Save.


The uploaded header image appears at the very top of the email templates that Acrobat Sign sends to your recipients. The footer image is at the very bottom.
