- Adobe Premiere Pro User Guide
- Beta releases
- Getting started
- Hardware and operating system requirements
- Creating projects
- Workspaces and workflows
- Frame.io
- Import media
- Importing
- Importing from Avid or Final Cut
- Searching for imported media
- File formats
- Working with timecode
- Editing
- Edit video
- Sequences
- Create and change sequences
- Set In and Out points in the Source Monitor
- Add clips to sequences
- Rearrange and move clips
- Find, select, and group clips in a sequence
- Remove clips from a sequence
- Change sequence settings
- Edit from sequences loaded into the Source Monitor
- Simplify sequences
- Rendering and previewing sequences
- Working with markers
- Add markers to clips
- Create markers in Effect Controls panel
- Set default marker colors
- Find, move, and delete markers
- Show or hide markers by color
- View marker comments
- Copy and paste sequence markers
- Sharing markers with After Effects
- Source patching and track targeting
- Scene edit detection
- Generative Extend
- Cut and trim clips
- Video
- Audio
- Overview of audio in Premiere Pro
- Edit audio clips in the Source Monitor
- Audio Track Mixer
- Adjusting volume levels
- Edit, repair, and improve audio using Essential Sound panel
- Enhance Speech
- Enhance Speech FAQs
- Audio Category Tagging
- Automatically duck audio
- Remix audio
- Monitor clip volume and pan using Audio Clip Mixer
- Audio balancing and panning
- Advanced Audio - Submixes, downmixing, and routing
- Audio effects and transitions
- Working with audio transitions
- Apply effects to audio
- Measure audio using the Loudness Radar effect
- Recording audio mixes
- Editing audio in the timeline
- Audio channel mapping in Premiere Pro
- Use Adobe Stock audio in Premiere Pro
- Overview of audio in Premiere Pro
- Text-Based Editing
- Advanced editing
- Best Practices
- Video Effects and Transitions
- Overview of video effects and transitions
- Effects
- Types of effects in Premiere Pro
- Modern transitions, effects, and animations in Premiere Pro
- Apply and remove effects
- Use FX badges
- Effect presets
- Metadata effect in Premiere Pro
- Automatically reframe video for different social media channels
- Color correction effects
- Effects Manager
- Change duration and speed of clips
- Adjustment Layers
- Stabilize footage
- Transitions
- Titles, Graphics, and Captions
- Properties panel
- About Properties panel
- Edit text
- Edit shapes
- Change the appearance of text and shapes
- Apply gradients
- Linked and Track Styles
- Working with style browser
- Draw with the Pen tool
- Align objects
- Add Responsive Design features to your graphics
- Edit audio
- Edit video
- Mask with shape
- Create reveal animations using masking techniques
- Create, apply, and redefine text styles
- Add Responsive Design features to your graphics
- Captions
- Motion Graphics Templates
- Best Practices: Faster graphics workflows
- Retiring the Legacy Titler FAQs
- Upgrade Legacy titles to Source Graphics
- Properties panel
- Fonts and emojis
- Animation and Keyframing
- Compositing
- Color Correction and Grading
- Overview: Color workflows in Premiere Pro
- Color Settings
- Auto Color
- Get creative with color using Lumetri looks
- Adjust color using RGB and Hue Saturation Curves
- Correct and match colors between shots
- Using HSL Secondary controls in the Lumetri Color panel
- Create vignettes
- Looks and LUTs
- Lumetri scopes
- Timeline tone mapping
- HDR for broadcasters
- Enable DirectX HDR support
- Color management
- About color management
- How color management works
- Auto Detection of Log Camera Formats and Raw Media
- Disable color management
- Manage source media colors in the Program Monitor
- Configure clips for color management using Clip Modify
- Configure sequence color management
- Customize color presets for new or existing sequences
- Configure a sequence’s output color space
- Color management options
- Color management and Lumetri Color
- Premiere Pro and After Effects color management compatibility
- Working with color managed iPhone media
- Frequently asked questions
- Color management and new version compatibility FAQ
- Exporting media
- Export video
- Export Preset Manager
- Workflow and overview for exporting
- Quick export
- Exporting for the Web and mobile devices
- Export a still image
- Content Credentials in Premiere Pro and Adobe Media Encoder
- Exporting projects for other applications
- Exporting OMF files for Pro Tools
- Export to Panasonic P2 format
- Create and export HDR videos for YouTube on Macintosh
- Export settings
- Best Practices: Export faster
- Collaborative editing
- Collaboration in Premiere Pro
- Get started with collaborative video editing
- Create Team Projects
- Add and manage media in Team Projects
- Invite and manage collaborators
- Share and manage changes with collaborators
- View auto saves and versions of Team Projects
- Manage Team Projects
- Linked Team Projects
- Frequently asked questions
- Long form and Episodic workflows
- Working with other Adobe applications
- Organizing and Managing Assets
- Improving Performance and Troubleshooting
- Set preferences
- Reset and restore preferences
- Recovery Mode
- Working with Proxies
- Check if your system is compatible with Premiere Pro
- Premiere Pro for Apple silicon
- Eliminate flicker
- Interlacing and field order
- Smart rendering
- Control surface support
- Best Practices: Working with native formats
- Removal of software rendering options
- Knowledge Base
- Known issues
- Fixed issues
- Fix Premiere Pro crash issues
- Why do my Premiere Pro exports look washed out?
- Unable to migrate settings after updating Premiere Pro
- Green and pink video in Premiere Pro or Premiere Rush
- How do I manage the Media Cache in Premiere Pro?
- Fix errors when rendering or exporting
- Troubleshoot issues related to playback and performance in Premiere Pro
- Set preferences
- Extensions and plugins
- Video and audio streaming
- Monitoring Assets and Offline Media
Learn how to get started using Premiere Pro, a non-linear editing software for filmmakers, television broadcasters, journalists, students, and videographers.
Learn how you can get started using Premiere Pro, starting from importing rough footage all the way to a complete video.
Before you begin
- Gather your footage and other media files: Premiere Pro supports a variety of file formats. Check our list of supported file formats to understand if your files can be imported into Premiere Pro. Save your files in your computer or in a dedicated storage drive (recommended).
- Check your system requirements: If your computer meets these system requirements, go ahead and install Premiere Pro. If your graphic cards are not fully supported, Premiere Pro flags this issue when you launch the app. Check and update your drivers to get the best out of Premiere Pro.
Basic workflow
After you have your footage ready in your computer, open Premiere Pro and get started editing.
If you don't have footage handy, try using the sample project files within Premiere Pro. From the Home screen, select Learn > Get started to use a sample project.
Start a new project or open an existing project
- To create a new project, select New Project or press Ctrl + Alt + N (Windows) and Opt + Cmd + N (macOS).
- To open an existing project, select Open Project.
- If you're collaborating with others, then create a new Team Project by selecting New Team Project.


Import video and audio
- Use the Media Browser or press Ctrl + Alt + I (Windows) or Opt + Cmd + I (macOS).
- Use dynamic linking to bring in assets from After Effects, Photoshop, or Illustrator.


Assemble and refine a sequence
To view a clip in the Source Monitor, double-click the clip in the Project Panel. Using the Source Monitor, you can view clips, set edit points, and mark frames before adding clips to a sequence. Refine sequences by manipulating clips in the Timeline panel.
Add clips to a sequence in the Timeline panel by dragging them from the Project Panel or by using the Insert or Overwrite buttons.


Edit Video
Cut or split a clip to remove unwanted sections and create a new and separate instance of the original clip.
Once you've built a rough-cut sequence on the timeline, you can trim clips to refine the edits and timing.
You can also perform J and L cuts to keep video and audio flowing seamlessly across scenes.


Add titles


To get started with titles, you can select an existing motion graphic template from Premiere Pro. You can also directly create a title using the Type tool in the Program Monitor or using keyboard shortcuts Ctrl + T (Windows) or Cmd + T (macOS).
Type in a title, and then adjust its appearance. Save your title as a Motion Graphics template so it can be reused and shared.
Add transitions and effects


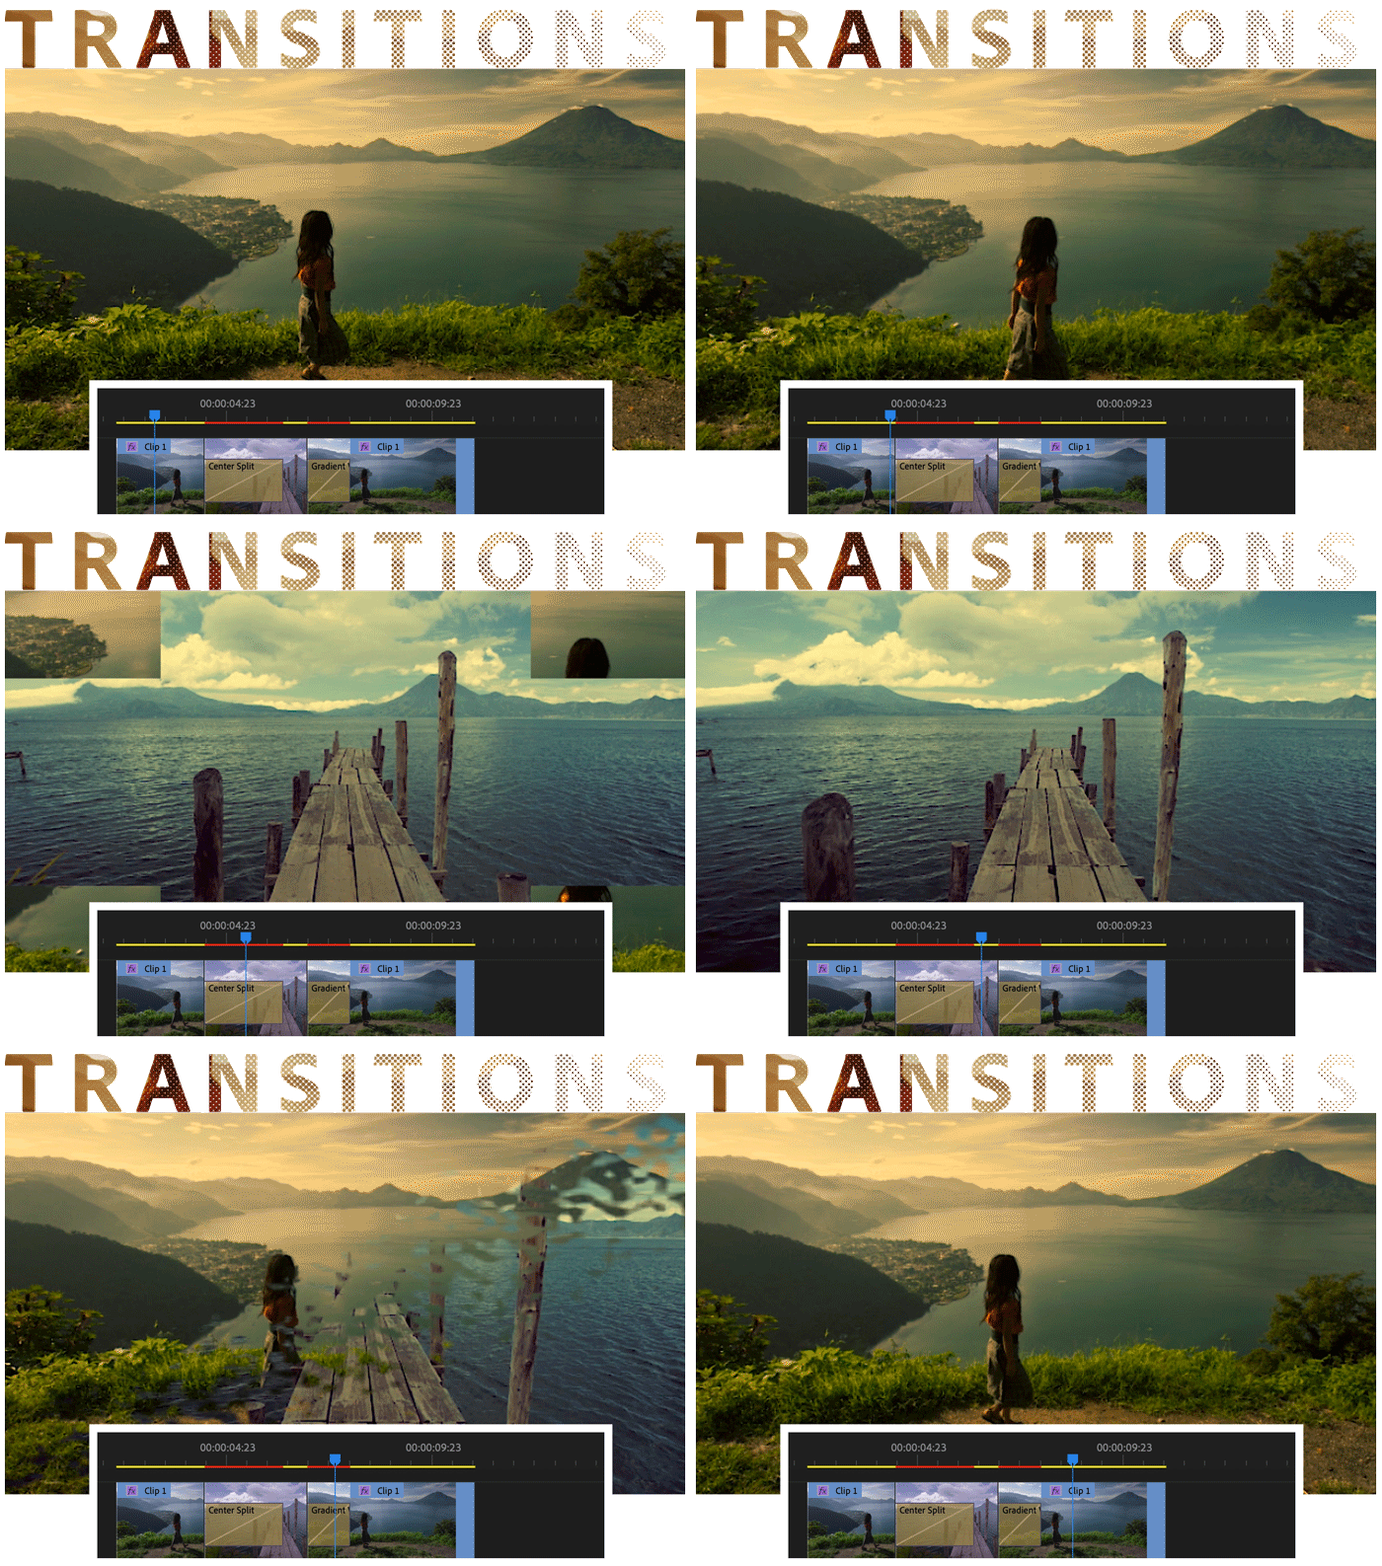
Add transitions between clips to smoothly move from one clip to another. The Effect Controls panel includes an extensive list of transitions and effects you can apply.
Add an effect or transition to a clip in the Timeline panel by dragging it from the Effects panel. Adjust the effect, duration, and alignment using the Effect Controls panel.
Edit color


There are multiple color workflows in Premiere Pro. You can:
- Apply color presets and make adjustments.
- Refine looks using RGB and Hue Saturation Curves.
- Compare and match color across clips.
- Adjust shadows, midtones, and highlights using color wheels.
- Apply LUTs and make technical corrections to light
- Tone mapping and more.
To get started, experiment with looks. Select a clip in the timeline, and select a look from the Creative section of the Lumetri color panel. Adjust the Intensity and Adjustments sliders to fine-tune the preset.
Mix audio


Premiere Pro offers a complete audio editing solution within the application. Some common audio edits you can do are sync audio with video, or reduce background noise. You can also choose to edit audio in Audition for advanced audio mixing.
Change duration and speed
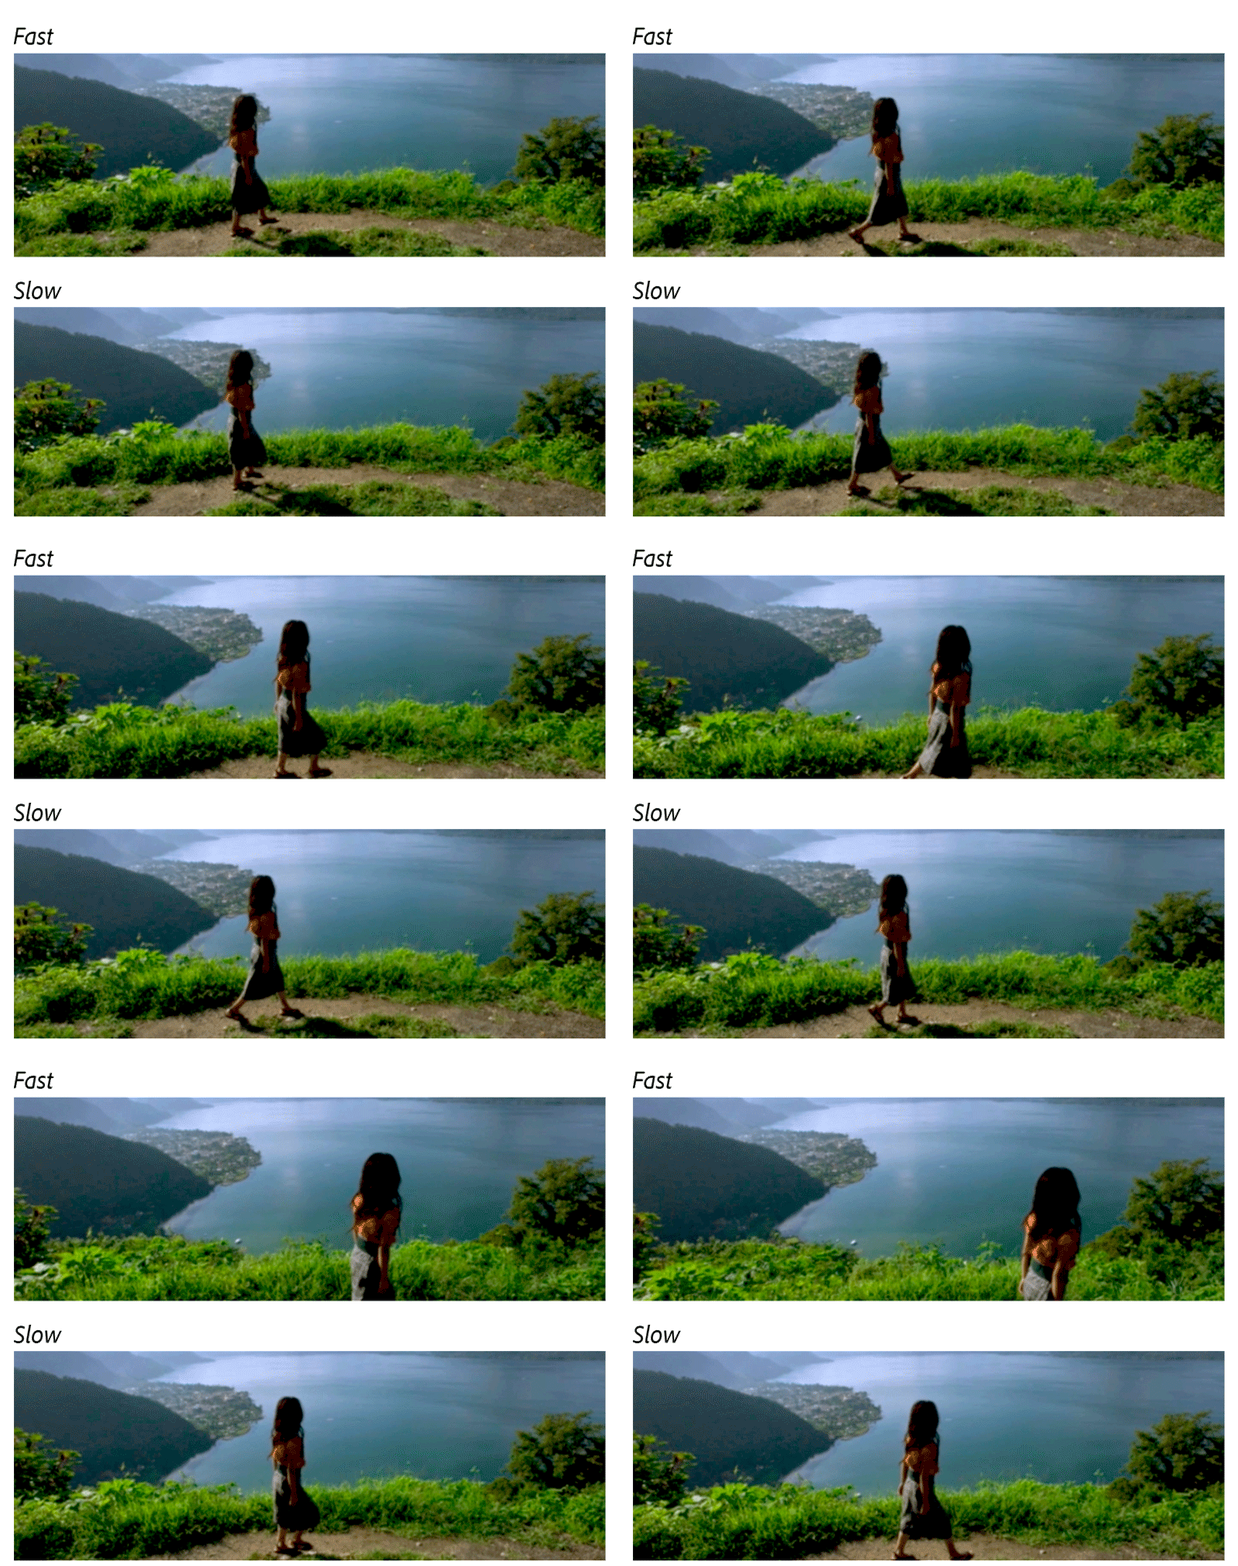
You can set a duration for video or audio clips, letting them speed up or slow down to fill the duration.
You can use the following options to change the speed and duration of clips:
- Speed/Duration command (Windows: Ctrl + R, macOS: Cmd + R)
- Rate Stretch tool (Windows: R, macOS: R)
- Time Remapping feature


Export


Export your edited sequences quickly and easily to the focussed content destinations. You can also export completed videos by using optimized render settings for popular social platforms such as YouTube, Vimeo, Facebook, or Twitter.
Work across platforms
You can work on a project across computer platforms. For example, you can start on Windows and continue on macOS. A few functions change, however, as the project moves from one platform to the other.
You can create a project on one platform and then move it to another. Premiere Pro sets the equivalent sequence settings for the second platform, if there is an equivalent.
All video effects available on macOS are available on Windows. Windows effects not available on the Mac appear as offline effects if the project is opened on the Mac. All audio effects are available on both platforms. Effect presets work on both platforms (unless the preset applies to an effect unavailable on a given platform).
Presets created on one platform are not available on the other.
Preview files made on one platform are not available on the other. When a project is opened on a different platform, Premiere Pro rerenders the preview files. When that project is then opened on its original platform, Premiere Pro renders the preview files yet again.
Windows AVI files containing either 10-bit 4:2:2 uncompressed video (v210), or 8-bit 4:2:2 uncompressed video (UYVU) are not supported on macOS.
The playback quality of unrendered non-native files is not as high as playback quality of these files on their native platforms. For example, AVI files do not play back as well on Mac OS as they do on Windows. Premiere Pro renders preview files for non-native files on the current platform. Premiere Pro always renders preview files in a native format. A red bar in the timeline indicates which sections contain files needing rendering.
Accessibility in Premiere Pro
Accessibility refers to making products usable for people with visual, auditory, motor, and other disabilities. Examples of accessibility features for software products include screen reader support, text equivalents for graphics, keyboard shortcuts, change of display colors to high contrast, and so on.
Premiere Pro provides tools that make it accessible to use and tools that you can use to create accessible content.
Related resources
Talk to us


If you have a question about getting started with Premiere Pro, reach out to us in our Premiere Pro community. We would love to help.