Start
Last updated on
Aug 7, 2025
- Introduction
- Aero desktop
- Aero Player (Beta) on Android
- Preparing assets for Adobe Aero
- Import AR-ready assets
- Design AR experiences
- Export and share
- Cloud documents and storage
- Examples, ideas, and inspirations
Note
Adobe Aero will be discontinued on iOS, Android, and Creative Cloud Desktop effective November 6, 2025. Existing users can access the application and download their content until December 3, 2025. For more information, see Aero End of Support FAQs.
Learn about adding interactivity to your expereince by creating behaviors with triggers and actions.
Behaviors
A behavior is interactivity created with the combination of a trigger and one or more actions. Interactivity will add impact and moments of delight to your expereince.

Behavior Panel Overview
The Behavior panel is the central place to create, edit and iterate on the interactions in your scene.
You can filter the Behavior panel view to show all behaviors within your project, or just those associated with the currently selected asset.
Blocks can easily be moved around to fully control the order of execution of your actions.
Some actions may show an alert to indicate that they require your attention in order to be validated and executed.
Actions can be executed sequentially or in parallel. When actions are stacked and grouped in a container, all actions within the group will have to complete before executing the next action in the sequence.
Blocks explicitly display the action name, the asset it is assigned to, and optionally a target asset name (if applicable) so that you can easily identify each step of your interactivity.
Note
Note: if one of the actions in a group is set to run in Infinite mode, the system will not execute the next action in the sequence. To have an action run indefinitely without blocking the rest of the sequence, you can drag it out of the group.
How to apply a behavior to an object

Select the object and tap the Behaviors tool from the Toolbar.
Set a trigger from the Behaviors panel.
Set an action and other options like subject, duration, delay, and more.
- Tap the check mark in the lower right to apply the behavior string.
Preview a behavior
Note
If you are working on desktop, skip Step 4 and proceed to Preview a behavior.
There are two ways to preview an action before you share with viewers.
- You can use the Play button on each action panel to review just the isolated action you are working on at the moment.
- To see the whole experience and how it will feel for the viewer, go to Preview mode. Use your own taps and movements to simulate other triggers to drive playback of the interactivity.
Tip
- You can apply multiple actions to play one after the other. Set the action for one object to trigger an action for the other object. For example, on the touch of object A, set the object B to animate.
- You can also have multiple triggers in a single behavior. Tap the + trigger button to start a new row. For example, you can start one string of actions from a tap trigger, with another string of actions from an enter proximity trigger.
Choose a trigger type to execute the action that you have chosen for your object. For example, if you set the trigger type to Tap, then the selected action happens when you tap that object on the screen.
- Select an object and tap Behaviors from the Toolbar.
Choose a trigger type.
Trigger types
|
|
Apply the selected action when the scene begins. |
|
Tap |
Tap the object to play the action. |
|
Enter Proximity |
Enter a defined enter distance of the object to play the action. |
|
Exit Proximity |
Enter a defined exit distance of the object to play the action. |
You can set an action, that occurs when you activate a trigger. For example, if you set the trigger as start and the action as bounce, then the object bounces when the scene starts.
You can choose from the below actions:
Apply an animation that comes with the imported asset. If you import an object with an embedded animation, you can add additional recorded animation and select one of them to play. |
|
| Play Images | Apply animation that comes with the imported animated image asset. |
| Play Audio |
Adds audio to your asset and plays it back. |
Spin |
Spin the object 360 degrees. |
Bounce |
Bounce the object up and down. |
Aim * |
Rotate the object to aim at another object or the camera. This can be useful for signage so that the sign is facing toward the viewer of the experience. |
Show |
Unhide the object. |
Hide |
Hide the object. |
Move |
Move the object by set amount. Rotate the object by set amount. Scale the object by set amount. |
Move to * |
Move the object to the given location. |
Orbit * |
Enable the object to orbit in a circle around another object. |
Follow * |
Make the object chase another object. |
Wait |
Set delays between actions. |
| Open URL | Redirect to a website from within the app. |
Note
Actions marked with an asterix (*) require a Target or Location to be defined which could be the Camera, the Scene Anchor, another object, or any point in space defined by a placed Pin.
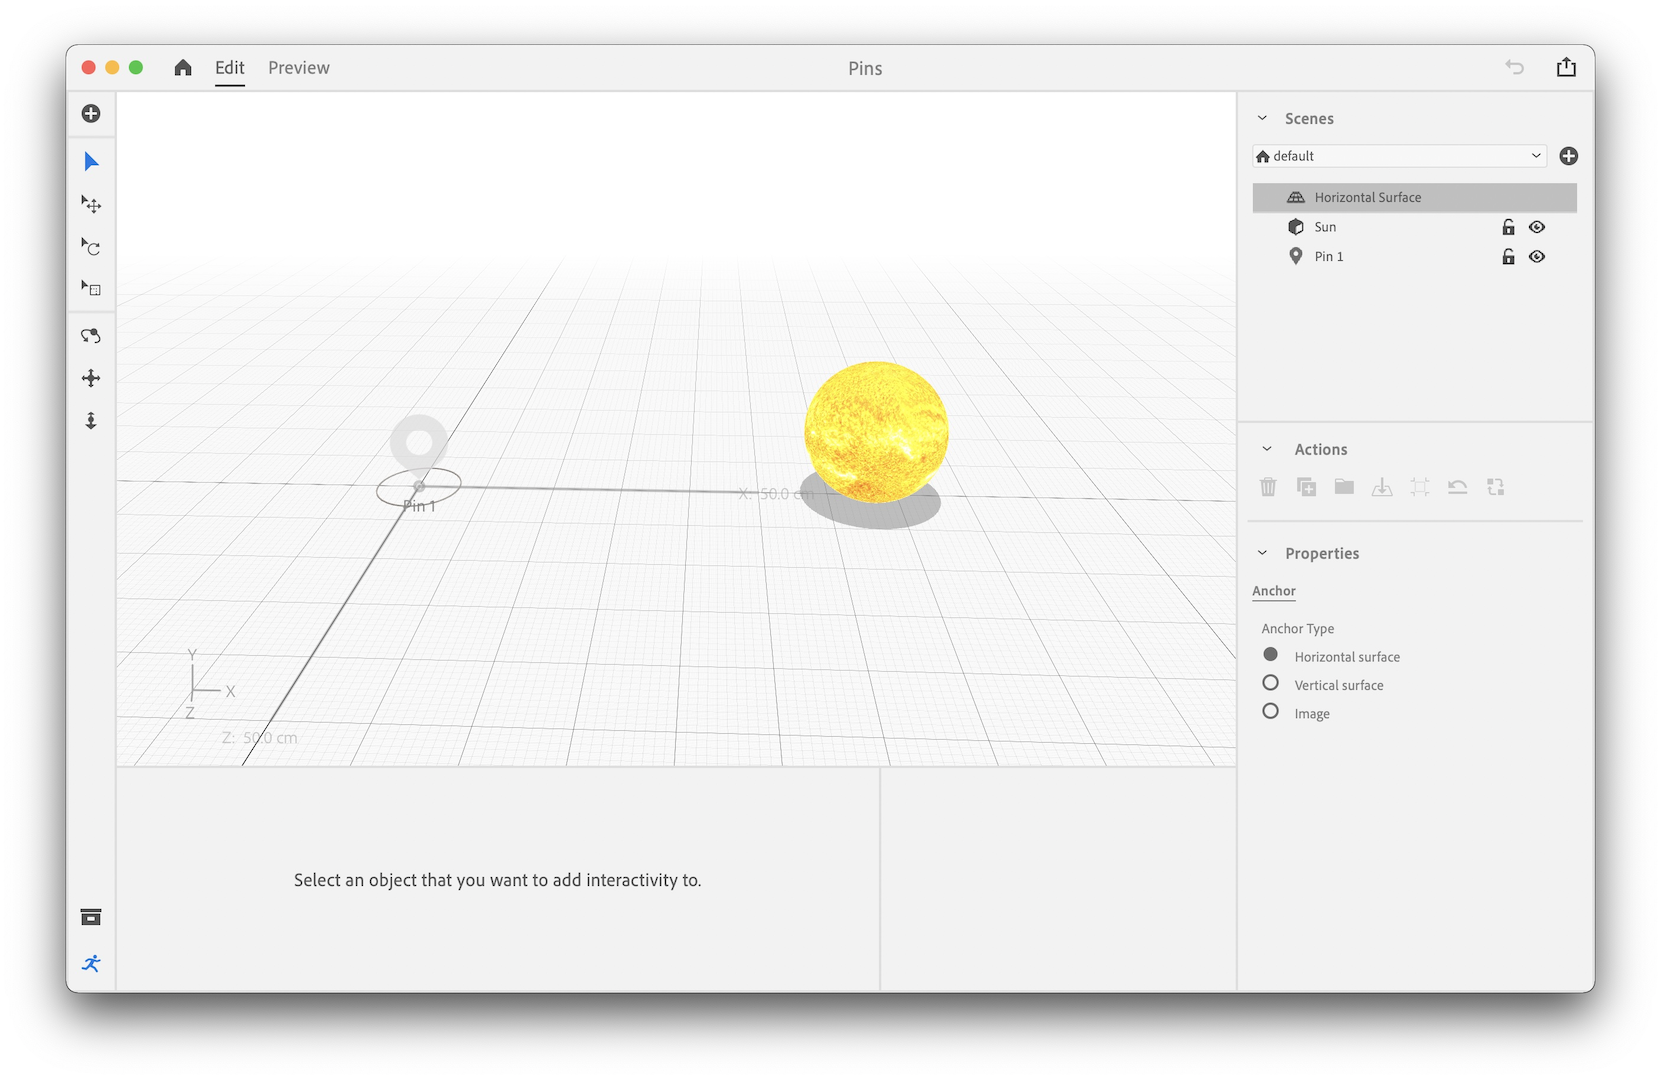
Pins are special objects that simply represent a location in space. They can be manipulated like any other object but are only visible in Edit mode.
What's next?
You've learned how to make your assets interactive. You can now share your AR creations, or share Adobe Aero projects to collaborate with others.
Have a question or an idea?
Ask questions or suggest ideas in Adobe Aero's Support Community.
Share your work or get inspired on Behance.