Before you begin
We're rolling out a new, more intuitive product experience. If the screen shown here doesn’t match your product interface, select help for your current experience.
Learn how to add 3D model to PDF file in Acrobat Pro
Before you begin
We're rolling out a new, more intuitive product experience. If the screen shown here doesn’t match your product interface, select help for your current experience.


You can use the 3D tool of Acrobat to add a 3D model (in U3D 3rd Edition or PRC format) to a PDF file. Acrobat can create 3D PDFs from U3D ECMA 1 files.
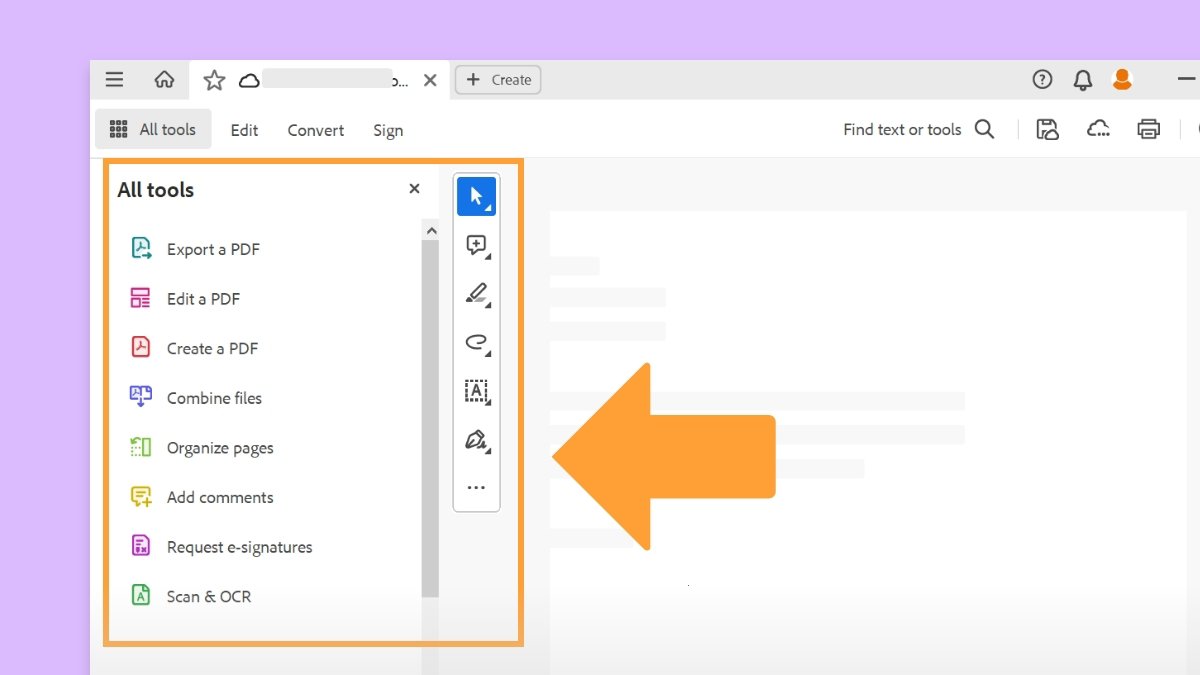
Select All tools from the upper left of the screen.
Go to Add rich media > 3D media.


Drag a rectangle on the screen to define the canvas area for the 3D model. An Insert 3D dialog box appears.
In the Insert 3D dialog box, use the Browse option to select the 3D file.


In the Insert 3D dialog box, check the Show Advanced Options to set the initial 3D Properties for the file.
Select OK.
After you place a 3D file, you can adjust the area or canvas in which the 3D model appears, edit the presentation properties for the 3D toolbar and content, and create additional views.
Select Customize option from the Quick action toolbar.


The Customize quick action toolbar appears.
Go to Rich media > Select Object tool ![]() , and then select Add to Toolbar option.
, and then select Add to Toolbar option.


Select Save.
The Select Object tool appears at the bottom of the Quick action toolbar.
Be careful not to confuse the Select Object tool with the basic Select tool. Use the Select Object tool to adjust a 3D canvas.
Now, select the Select Object tool.
Select the 3D model. and change it as needed:
To move the canvas, drag it to a new location on the page.
To delete the canvas (and the 3D model), select it, and then press Delete on the keyboard.
To resize the canvas, drag the frame corners. The 3D content stays proportional within the adjusted frame.
You can check the Properties of the 3D model.
Select the Object Tool to double-click within an activated model.


It opens the properties dialog box to edit the selected 3D model.
Activation Settings
Enable When
Specifies when the 3D model is activated. When the 3D model is enabled, you can interact with it by using the 3D navigation tools, for example.
Disable When
Determines how the 3D model can be deactivated. When a 3D model is disabled, the 2D preview image or poster appears in the canvas.
Playback Style
Enables you to display the 3D model in a floating window outside the page. If you select Play Content In Floating Window, you can select the size of the window (in pixels) from the Height and Width menus.
Appearance
Border Width
Select to create a border around the 3D object.
Transparent Background
Removes any background color.
Poster Image
To replace the default view of the 3D model when it isn’t activated, select a poster image option. Select the Browse to find the image you want.
The options on the 3D tab determine how the 3D model is presented. Unlike the settings on the Launch Settings tab, 3D settings don't affect the imported file itself.
The options on the 3D tab are the same as the options on the 3D toolbar except for the following:
Default Display Settings
Lighting Scheme
This setting determines the lighting theme of the animation display in Acrobat.
Rendering Style
Allows you to choose the visualization style for the added 3D model.
Animation Style
For models created with animation, this setting determines how the animation runs in Acrobat.
Navigation
Add Default Views
Allows you to use different model views. An orthographic projection (ortho) effectively removes a dimension, preserving the size ratio between objects but giving the 3D model a less realistic appearance. Orthographic projection is especially useful for viewing certain diagrams, such as 3D mathematical functions plotted on a graph. A perspective projection offers a more realistic scene in which objects in the distance appear smaller than objects of the same size in the foreground.
Retain views, comments, and scripts
Retains the views, comments, and scripts added to the 3D model.
Show toolbar
Displays the 3D toolbar along with the image. When this option is not selected, you can right-click on the 3D model to view the 3D toolbar.
Open model tree
Displays the model tree on the Model Tree pane. The Model Tree has three panes. Each pane displays a specific type of information or control.
Script
Specifies the JavaScript file that runs if a 3D model is enabled. Select the Browse option to add a JavaScript file to the PDF.
If a separate JavaScript file is associated with the 3D model PDF, you can activate it.
Open the PDF file in Acrobat.
Select the 3D model with the Hand tool to enable it.
Right-click on the 3D model, and then select Run A JavaScript.
Find the JavaScript file you want to add, and then select Open.
Work smarter with Acrobat on your desktop
Create, edit, and organize PDFs with powerful tools that help you stay productive anywhere.