
Option
Последнее обновление
27 окт. 2023 г.
|
Также применяется к Captivate
- Captivate Classic User Guide
- Introduction to Captivate
- Captivate Classic Release Notes
- Adobe Captivate Classic 11.8.4 Release Notes
- Adobe Captivate Classic 11.8.3 Release Notes
- Adobe Captivate Classic 11.8.2 Release Notes
- Adobe Captivate Classic 11.8.1 Release Notes
- Adobe Captivate Classic 11.8 Release Notes
- What's New in Adobe Captivate (2019 release) Update 5
- What's New in Adobe Captivate (2019 release) Update 2
- Adobe Captivate Release Notes
- Create Projects
- Create different types of projects in Adobe Captivate
- Customize the size of an Adobe Captivate project
- Responsive Project Design with Adobe Captivate
- Create Virtual Reality (VR) projects
- Work with responsive text in Adobe Captivate
- Work with themes in Adobe Captivate
- How to apply view specific properties in responsive projects
- How to create backup files for Adobe Captivate projects
- Asset panel
- Create branching and forced navigation in Captivate
- Replace image on the stage
- Add and Manage Objects
- Work with multi-state objects in Adobe Captivate
- Object effects
- Insert web objects in Adobe Captivate projects
- Work with object styles in Adobe Captivate
- How to rotate objects in Adobe Captivate
- How to manage objects with the Main Options toolbar
- How to merge objects in a slide
- How to manage objects in the library
- How to group objects in Adobe Captivate
- Edit object information using the Advanced Interaction panel
- How to copy, paste, and duplicate objects in Adobe Captivate
- Control the visibility of objects
- How to change the display order of objects in Adobe Captivate
- Apply shadows to objects
- How to align objects in Adobe Captivate
- How to add reflection to objects in Adobe Captivate
- Import assets into a Captivate project
- Slides
- Add slides to an Adobe Captivate project
- Editing slides in an Adobe Captivate project
- Delete Adobe Captivate project slides
- Change slide order in Adobe Captivate
- Set slide properties in Adobe Captivate
- Add and convert slide notes to audio files with Adobe Captivate
- Set up knowledge check slides in Adobe Captivate
- How to add slide transitions in Adobe Captivate
- How to work with master slides in Adobe Captivate
- How to lock Adobe Captivate slides
- How to hide or exclude slides in an Adobe Captivate project
- How to group and ungroup slides in Adobe Captivate
- Timeline and grids
- Create Quizzes
- Insert question slides in Adobe Captivate projects
- Set quiz preferences for Adobe Captivate
- How to enable learners to submit all quiz responses simultaneously
- How to set up question slides with Adobe Captivate
- Using random question slides in Adobe Captivate
- How to allow users to return to quiz
- Import questions from CSV format files
- Import questions from GIFT format files
- How to insert pretests in Adobe Captivate
- Audio
- Video
- Interactive Objects
- Interactions
- Non-interactive objects
- Create and edit smart shapes
- Edit and create text captions with Captivate
- How to use images and rollover images with Captivate
- How to customize smart shapes in Adobe Captivate
- How to create zoom areas in Adobe Captivate
- How to set audio for noninteractive objects
- How to create rollover slidelets in Adobe Captivate
- How to create rollover captions in Adobe Captivate
- Change mouse properties in Adobe Captivate
- Use highlight boxes in Captivate
- Work with swatches in Adobe Captivate
- Fix size and position of non-interactive objects
- Add animations to a Adobe Captivate project
- Advanced Editing and Project Reviews
- Variables and Advanced Actions
- Record Projects
- Publish Projects
- Preview and publish responsive projects
- Publish project to Adobe Captivate Prime
- Publish projects as HTML5 files with Adobe Captivate
- Publish projects as executable files
- Publish projects as MP4 files with Adobe Captivate
- Set publishing preferences in Adobe Captivate
- Using web fonts from Adobe Fonts in Adobe Captivate
- Report quiz results to an internal server
- Use Adobe Captivate with Other Applications
- Import and edit PowerPoint presentations in Captivate
- Upload an Adobe Captivate project to a Learning Management System
- Learn about the Common JavaScript interface for Adobe Captivate
- How to publish Captivate projects to Microsoft Word
- Using Adobe Connect with Captivate
- How to add Captivate projects to a RoboHelp online help system
- How to package multiple SCOs using the Adobe Multi-SCORM Packager
- Troubleshoot Adobe Captivate
- Resolve known issues and limitations in the latest versions of Adobe Captivate, Adobe FrameMaker, and Adobe RoboHelp.
- Early build for Captivate (2019 release) on macOS Big Sur (macOS 11)
- Hotfix for VR content not playing on devices
- Configure SSL for Live Preview on Devices
- Captivate (2019 release) activation issues on macOS Catalina
- Captivate responsive courses will not auto-play on browsers
- Issues with Asset panel in Adobe Captivate (2019 release)
- Error 103 while installing Adobe Captivate
- Issues when previewing a Captivate project
- Resolve known issues and limitations in the latest versions of Adobe Captivate, Adobe FrameMaker, and Adobe RoboHelp.
You can view and set the properties for a slide by clicking the Properties button in the toolbar or click Window > Properties.

You can hide the Properties panel by clicking the Properties button.
Set the properties for a blank or non-responsive slide
The Properties tab contains the following tabs:
- Style
- Actions
- Options
Style options

| Label | Description |
|---|---|
| 1 | The name of the slide. The slide label appears under the slide in the Filmstrip. It is a good practice to name slides. When multiple users are working on the same project, naming slides helps to identify them easily. |
| 2 | Select the master slide that must be linked to the slide. |
| 3 | Sync your changes made to the master slide with the project slide. To update the slide, click the Reset Master Slide button. |
| 4 | Select the Allow Gesture Navigation check-box to enable gestures to the slide when you view the slide on a mobile device. To enable Gesture Navigation for the project, choose Window > Mobile Palette, and enable the Gesture Configuration check-box . For more information on gestures, see Gesture and geolocation. |
| 5 | Change the color of the slide. |
| 6 | Choose a fill pattern for the color of the slide - Solid, Gradient, or Image. |
| 7 | Choose a background for the slide. Select to change the background image on the slide by selecting an image from the project’s Library or any location in your computer. This option is available when Master Slide Background option is not selected. |
| 8 | Select the quality level for the slide: Low (8-bit), Optimized, JPEG, and High (24-bit). For more information, see the Community article on slide quality.
Note: Selecting the Optimized, JPEG, or High-Quality format may increase the file size and the time to download your project. Use a format other than Low (8-bit) when appropriate. |
| 9 | Select the check-box Master Slide Objects On Top if you want to place objects in the slide on top or bottom of an object inserted while creating a master slide. For example, Master Slide Objects On Top (Disabled) Master Slide Objects On Top (Enabled) For more information on creating master slides, see Using master slides. |
| 10 | Click to open the Slide Accessibility dialog box, which lets you add or type in text that can be read to users with disabilities who use screen readers. You can import slide notes to enable accessibility for them. For more information, see Add accessibility text to slides. |
Action options

You can define the navigation options every time the user views a slide or moves away from the slide. The On Enter menu displays the actions that you can set for the slide when it is displayed. The On Exit menu displays actions that you can set when the user exits the slide. The following list describes actions available in both the menus:
Примечание
The options Go To Previous Slide, Go To Next Slide, Go To Last Visited Slide, Jump To Slide, and No Action are available only in the On Exit menu.
When you copy an object, actions associated with the object, such as Play Audio, Enable, and Disable are also copied.
| Action | Description |
|---|---|
| Continue | The movie moves to the next defined action. |
| Open URL Or File | A web browser opens with the specified web page if the user has Internet connectivity. Alternatively, you could open a specified file for the user. |
| Open Another Project | Opens the specified Adobe Captivate Classic project. |
| Send E-mail To | Specify the e-mail address in the To field. |
| Execute JavaScript | Adobe Captivate Classic runs the specified JavaScript. |
| Execute Advanced Actions | Adobe Captivate Classic runs the specified Standard or Conditional action created using the Advanced Actions dialog. |
| Execute Shared Action | Lets you associate the object with a shared advanced action. If you choose this option, select a shared action from the drop-down list and click {P} to edit the parameters. |
| Play Audio | Adobe Captivate Classic plays the specified audio when the slide is played. The duration for which the audio is played is equal to the duration of the slide or the selected audio file, whichever is shorter. If users perform any action on the slide, for example, pause the slide, the audio stops and does not play again. Note: If you use multiple Play Audio actions in Advanced Actions, only the audio corresponding to the first Play Audio action is played. |
| Show | Make an object visible. |
| Hide | Make an object invisible. |
| Enable | The specified object in the project is enabled. This option is available only for interactive objects. |
| Disable | The specified object in the project gets disabled. This option is available only for interactive objects. |
| Assign | Assign a new value to a variable. |
| Increment | The value of the specified variable is incremented accordingly. |
| Decrement | The value of the specified variable is decremented accordingly. |
| Exit | The movie exits. |
| Pause | The movie pauses. |
| Show TOC | The Table of Contents (TOC) for the projects gets displayed. |
| Show Playbar | The playbar gets displayed. |
| Hide TOC | The TOC gets hidden. |
| Hide Playbar | The playbar gets hidden. |
| Lock TOC | The TOC gets locked. Clicking a topic in the TOC does not navigate users to the topic. |
| Unlock TOC | The TOC gets unlocked. |
| Change State of | The object gets assigned a specific state defined in Object State view. |
| Go to Next State | Navigate between object states. |
| Go to Previous State | Navigate between object states. |
| Apply Effect | When you perform the required action, the effect associated with the specified object is applied. |
| Go To The Previous Slide | The movie moves to the previous slide. |
| Go To The Next Slide | The movie moves to the next slide. |
| Go To The Slide Last Visited | The movie moves to the previously viewed slide. |
| Return To Quiz | Takes users back to:
|
| Jump To Slide | The movie moves to the specified slide. |
| No Action | Nothing happens when the user exits the slide. |
Options

In this section, you can add audio to your slide. When you click Add Audio, you can see the following dialog:

For more information, see Inserting audio into a Captivate Classic project.
To distribute your audio file across several slides, click Audio > Import to > Slide. The following dialog appears:

After adding the audio to the slide, you can modify the following properties:

|
|
Description |
|---|---|
|
Fade In [#] Seconds |
Specifies the time for audio to fade into full volume. |
|
Fade Out [#] Seconds |
Specifies the time for audio to fade out to silence. |
|
Loop Audio |
Plays the audio file continuously until the slide exits. |
|
Stop Background Audio |
Stops playing any background audio associated with the slide. |
Slide Timing options

Slide Duration: Use to change the duration for which the slide plays. The maximum value is one hour (3600 seconds).
To assign a transition effect to the slide, choose any option from the drop-down list.
For more information, see Adding slide transitions.
Add pause between slides
You can pause slides in a Captivate Classic project in one of the following ways:
- Using a click box to pause slides
- Using a button to pause slides
Using a click box to pause slides
-
In a slide, click Interactions > Click Box to insert a click box.
-
Disable the captions (Success, Failure, and Hint) and disable the option Hand Cursor, and enable the option Pause project until user clicks.
Click Box properties Click Box properties -
Resize the click box and place it in an area of your slide where your user does not normally click. When you insert the click box, the pause action gets reflected in the slide Timeline.
Pause in Timeline Pause in Timeline


Using a button to pause slides
-
Insert a smart shape (Shapes > Any smart shape) or a button (Interactions > Button) in your slide.
If you have inserted a smart shape, convert it into a button by clicking Use as Button.
-
Place the shape in the slide and make the shape invisible by setting the Opacity to 0% and the color of the stroke to match the background color of the slide.
Button properties Button properties -
After you insert the shape, the Timeline also reflects the pause action.
Button pause in Timeline Button pause in Timeline You can also change the pause time for your slide by selecting the object and in the Timing panel, modify the Pause After property.
Pause after Pause after


Advance slides automatically
If you are importing a PowerPoint presentation in a project, you can choose the slides of the project to move automatically instead of a mouse click.

Set the properties for a responsive slide
The properties for a responsive slide are almost the same as a non-responsive slide, with some exceptions.

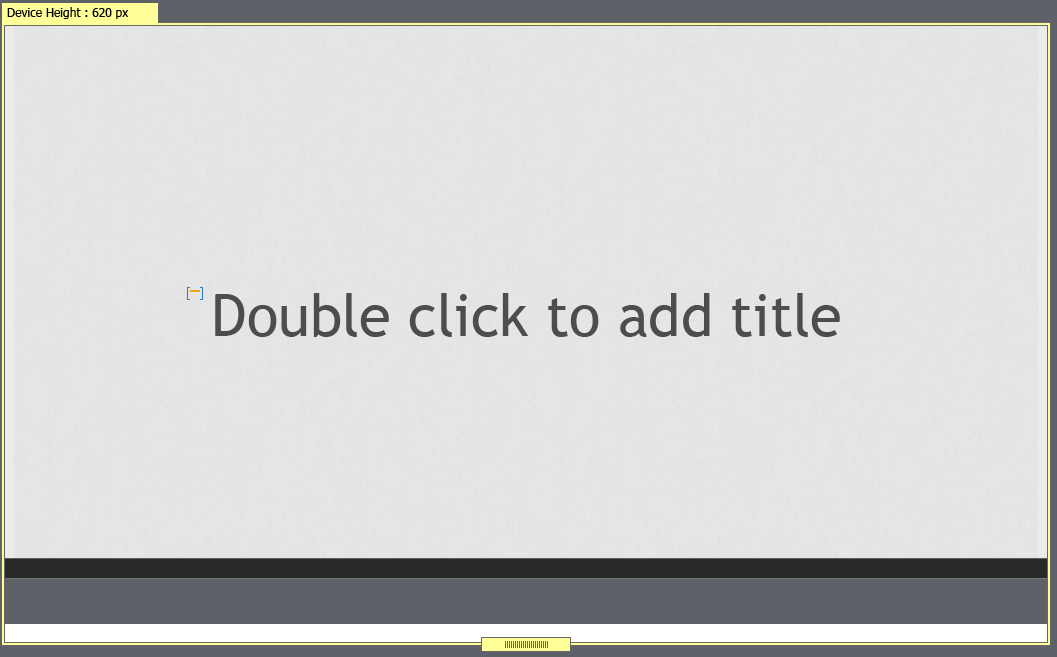
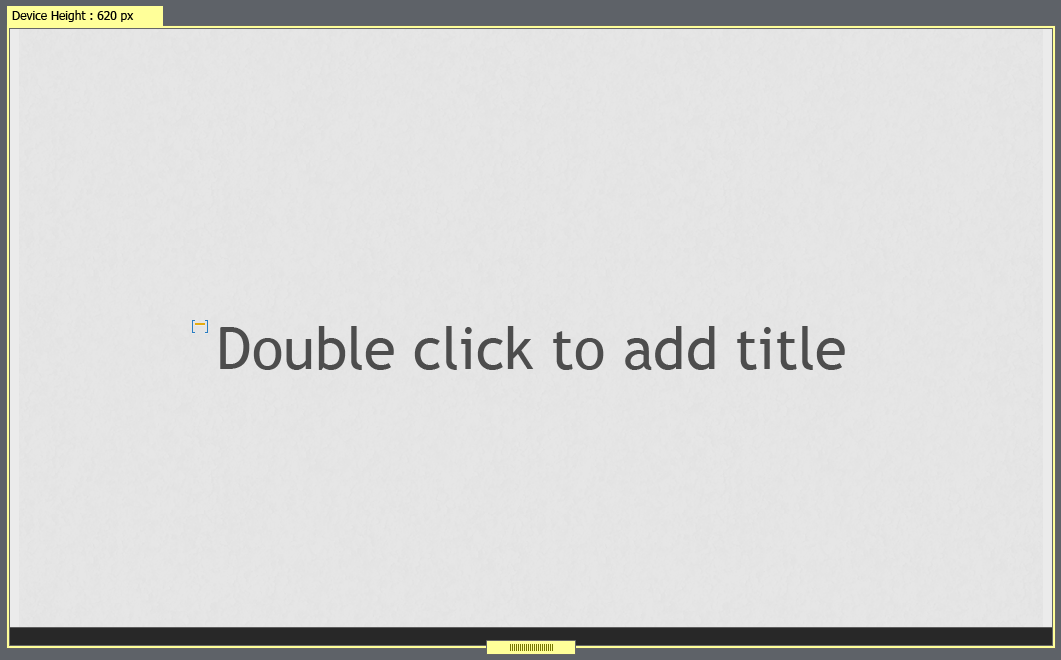
If you want to change the height for a single slide to allow scrollable content on the slide, click Unlink from Device height to increase the slide height.
For more information, see Responsive project design in Captivate Classic.
|
Unlink from Device |
Link to Device |
|---|---|
|
|
|
Uniform text scaling
-
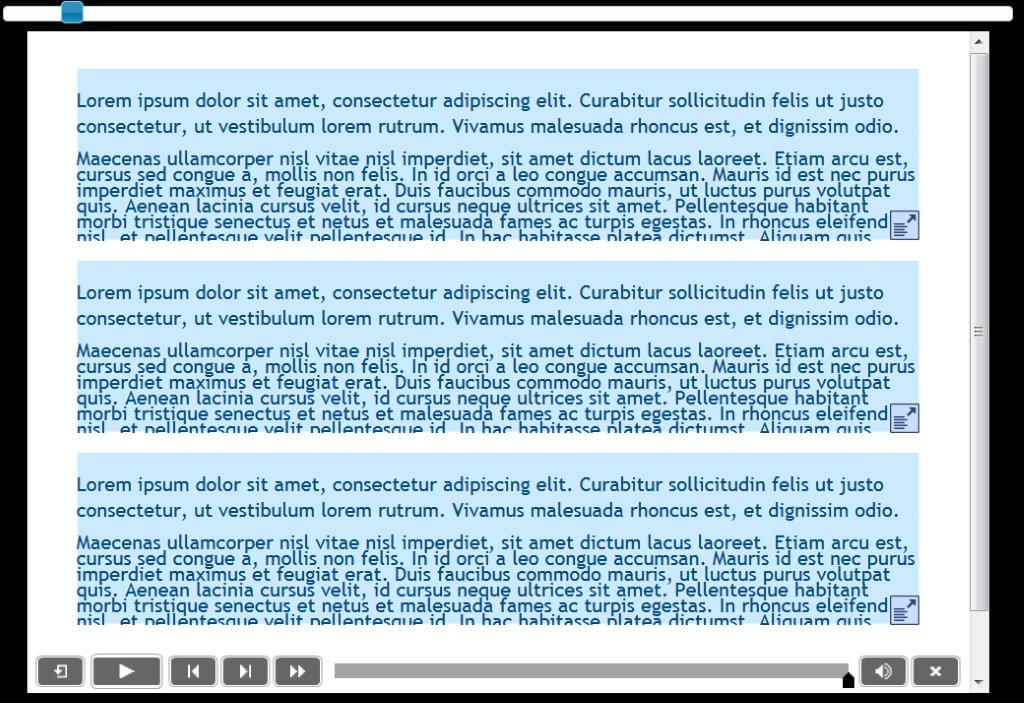
In a responsive slide, insert a smart shape, and add some text in the shape. Set the font size of the text equal to the value specified in the Minimum Font Size field.
Equal font size Equal font size When you preview the project, you can see that the text scales accordingly on various devices. When the text is unable to fit in a device, you can see a Scale button.
When you click the button, the entire text gets revealed.
Text scaling on devices Text scaling on devices -
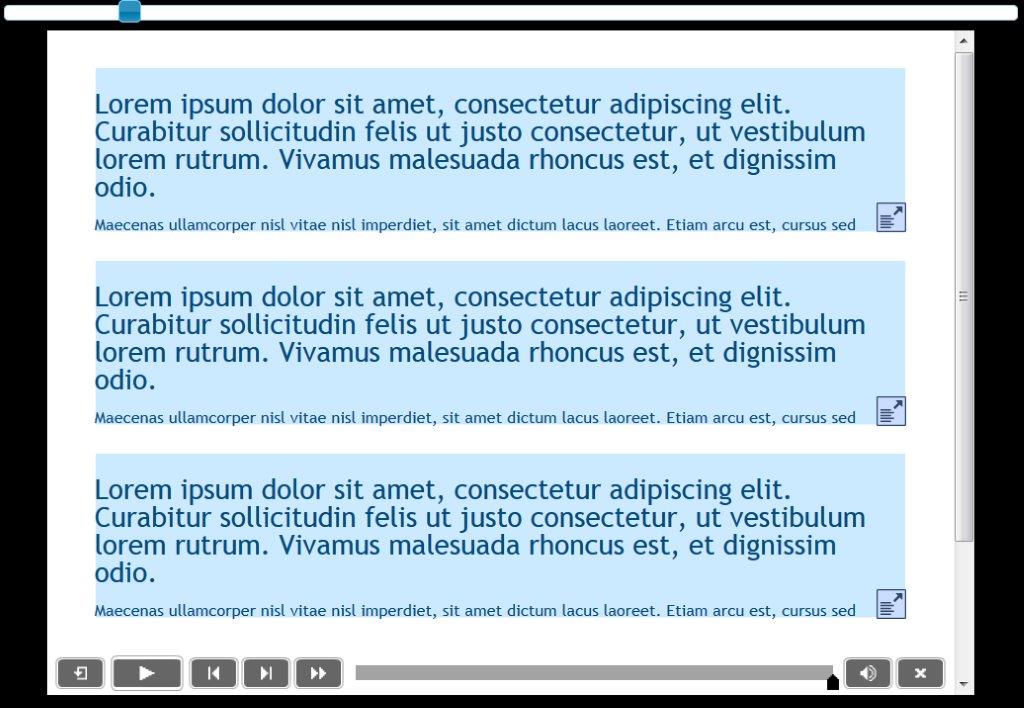
Change the font size of the text as shown below. Also, set the Object Size Height to Auto in the Position Properties panel of the object.
Different fonts used in object Different fonts used in object When you preview the project, you can see that the fonts have realigned themselves to size 14, which you had specified as the minimum font size.
Minimum font size preview Minimum font size preview -
Add more objects with text in the slide and set the Object Size Height to Auto for all objects.
Objects with text added Objects with text added -
Preview the project. You can see the following:
Text scaling enabled
Text scaling disabled


Download Captivate Classic projects
To learn more about Captivate Classic and how you can create engaging learning content, download the following projects:
