In the Develop module, select Lens Blur > Apply.
- Lightroom Classic User Guide
- Introduction to Lightroom Classic
- What's new in Lightroom Classic
- Lightroom Classic Release Notes
- Lightroom Classic technical requirements
- Keyboard shortcuts
- Lightroom Classic FAQ
- Lightroom Classic Key Concepts
- Lightroom Classic tutorials
- Set Preferences for working in Lightroom Classic
- Reset Preferences for working in Lightroom Classic
- Supported image formats
- Workspace
- Import photos
- Specify import options
- Set import preferences
- Import photos from a camera or card reader
- Import photos from a folder on a hard drive
- Import photos automatically
- Import photos from Photoshop Elements
- Import photos from a tethered camera
- Select best photos while importing with Assisted Culling
- The Filename Template Editor and Text Template Editor
- Set up tethered camera support for Fujifilm cameras
- Organize photos in Lightroom Classic
- Face recognition
- Work with photo collections
- Group photos into stacks
- Flag, label, and rate photos
- Use keywords
- Metadata basics and actions
- Save metadata to external sidecar files
- Find photos in the catalog
- Work with video in Lightroom Classic
- Advanced metadata actions
- Use the Quick Develop panel
- Select best photos with Assisted Culling
- Group your photos into a stack
- Process and develop photos
- Develop module basics
- Apply Presets
- Create panoramas and HDR panoramas
- Flat-Field Correction
- Correct distorted perspective in photos using Upright
- Improve image quality using Enhance
- Work with image tone and color
- Edit your images with Color Mixer tool
- Masking
- Apply local adjustments
- HDR photo merge
- Develop module options
- Retouch photos
- Cure red eye and pet eye effects
- Use the Radial Filter tool
- Adjustments with Lens Blur
- Edit and Export in HDR
- Remove Tool
- Remove distracting people
- Remove reflections
- Remove sensor dust in a photo
- Viewing photos
- Export photos
- Work with external editors
- Manage catalogs and files
- Maps
- Photo books
- Slideshows
- Print photos
- Web galleries
- Content Authenticity
- Lightroom and Adobe services
- Troubleshooting
- Technical Support
- Performance Guidelines
- Technical issues
- GPU Issues
- Startup Issues
- Rendering Issues
- Stability Issues
- Miscellaneous Issues
- Workflow Issues
- Catalog Issues
- Sync Issues
Learn how to apply blur and bokeh effects to achieve creative looks that emphasize the focus of an image.
Try it in Adobe Lightroom Classic
Get in-app help, tips, and learn-resources within Lightroom Classic
The new Lens Blur tool in Lightroom Classic adds an aesthetic blur effect to any part of your photo. You can easily apply optical blur and bokeh through an interactive and customizable experience. The effect can blur the background or foreground by making a depth map of the image using Adobe Sensei.

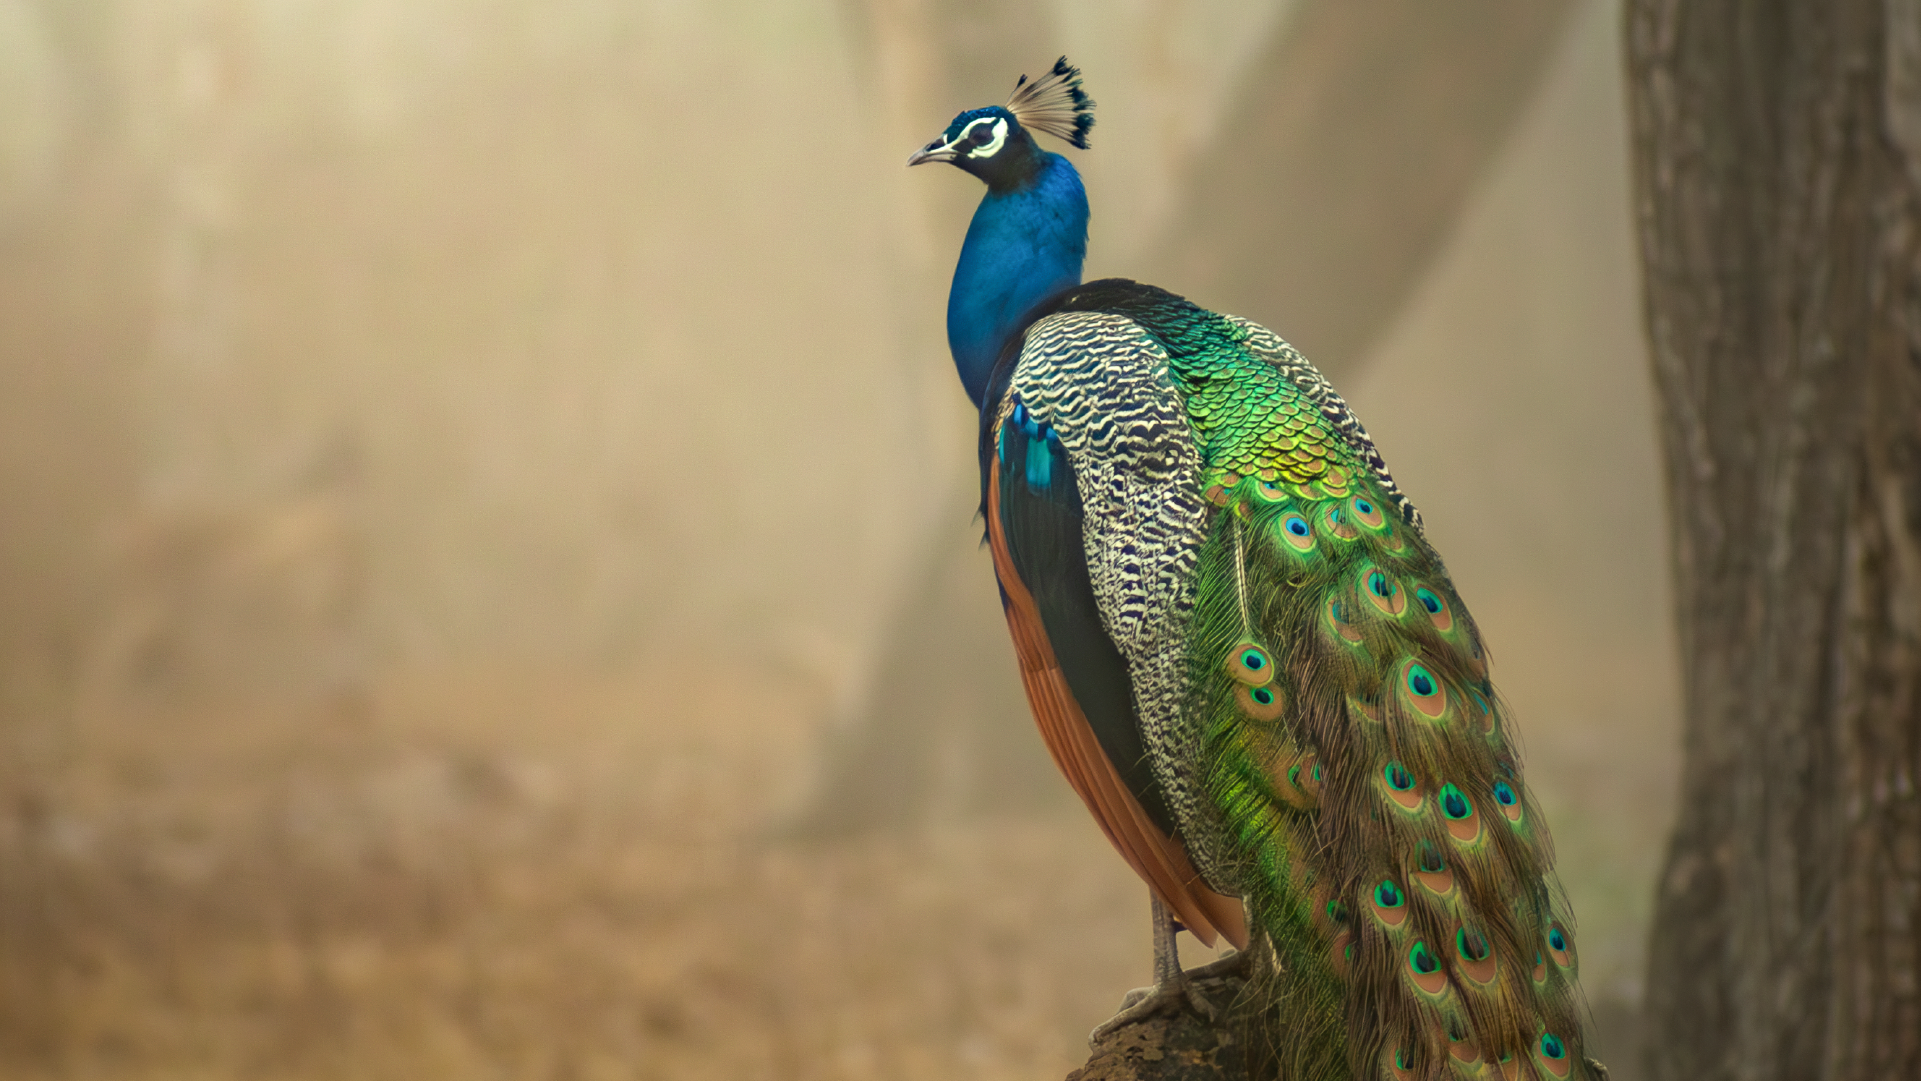
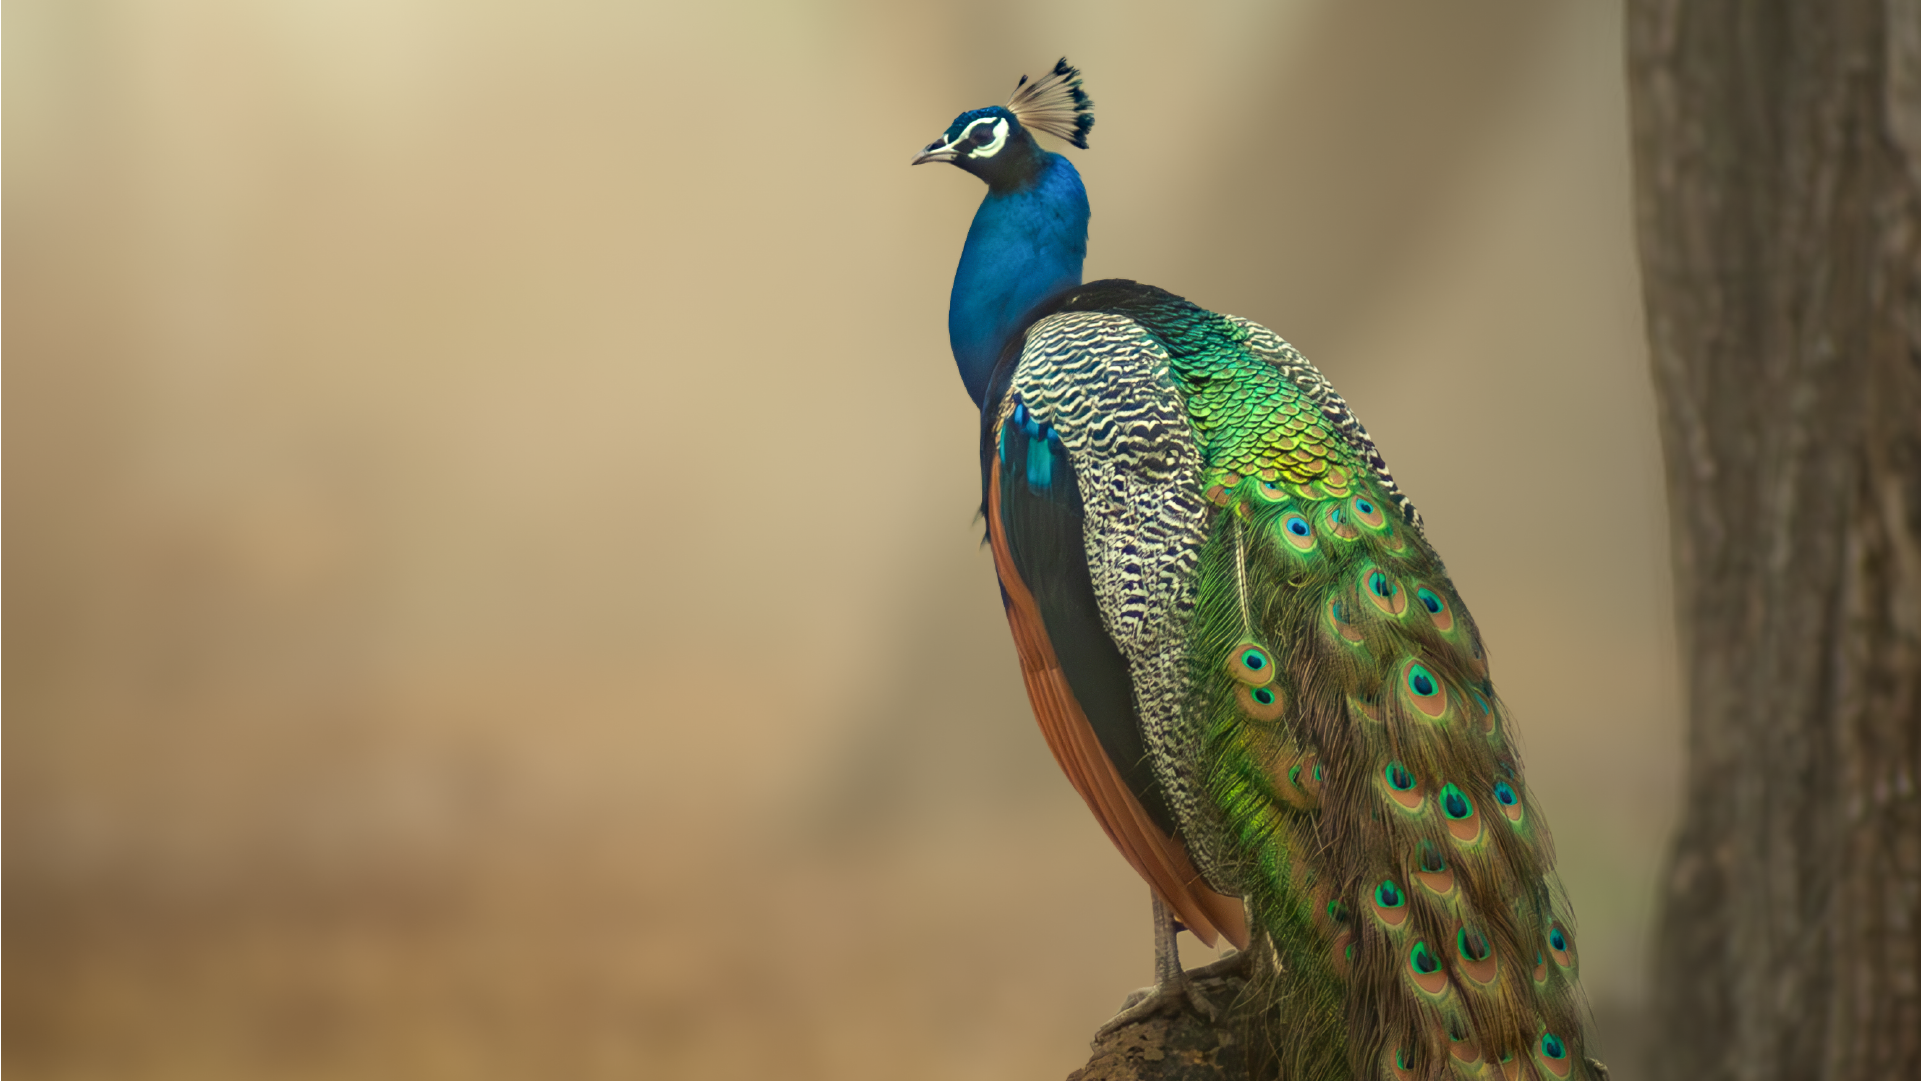
The before and after images of Peacock after applying Lens Blur.
Follow the steps to apply Lens Blur.

A. Select to Apply Lens Blur B. Select the effect C. Adjust the Focus Range D. Refine the Focus or Blur

-
-
Select one of the Bokeh effects you want to apply.
Circle
Modern circular lens.
Bubble
Standard circular shape with over-correcter spherical aberration.
5-blade
Penta effect, commonly seen in vintage lenses.
Ring
Commonly seen in reflex or mirror lenses, also known as "Doughnut".
Anamorphic
This gives the bokeh an oval appearance.
-
Sliders and their functions:-
Blur Amount
To adjust the intensity of the blur effect
Cat Eye
To achieve swirling, crescent-shape effect.
Boost
To adjust the intensity of the chosen Bokeh effect
Focus Range
To adjust the depth at which you want the blur effect. You can expand or contract the slider box by holding and dragging it from either side to increase or decrease the range of the effect. You can also select the Subject Focus icon to set a focus range automatically using AI subject detection. Alternatively, select the Point/Area Focus icon to set the focus range manually by dragging a box around the subject.
-
Select the Visualise Depth checkbox to view a depth map of focus areas in the image in cool and warm tones.
-
Select Brush Refinement to adjust the depth map by selecting Focus and brushing over the areas you would like to stay in focus, similarly selecting Blur and brushing the areas you want to blur out within the image. You can refine the selection using the Amount, Size, Feather, and Flow sliders.
Lens Blur supports Device Depth for images like .HEIC that already has a depth map.
Blur Background Adaptive presets
Selecting Presets > Adaptive: Blur Background can apply Lens Blur to an image with just one click. Adjust the intensity of the blur by using the preset amount slider. To match the aesthetics of your image, you can choose the following list of presets:
- Subtle
- Strong
- Circle
- Circle Swirl
- Bubble
- Bubble Swirl
- Geometric
- Geometric Swirl
- Ring
- Ring Swirl
- Oval
- Oval Swirl
Select Reset Blur if you want to remove the effect.
You can create your own Lens Blur preset by selecting the plus icon in the Presets tab, then select Lens Blur along with any other setting you wish to include and click Create. Check how to work with Develop presets to learn more.
Blur Background Adaptive Presets uses AI to identify the subject and scan the scene in your image to apply the blur effect.
Batch copy-paste Lens Blur settings
Starting with the May 2024 release of Lightroom Classic version (13.3) you can now copy and paste Lens Blur settings to single or multiple photos.
-
Select the image you have applied the Lens Blur to and then select Copy.
-
Select Lens Blur and select Focus on Subject if you want Lightroom to automatically detect the subject in each photo, then select Copy. Focus settings from the source image will apply If Focus on Subject isn’t selected.
-
Select a photo or multiple photos you want to apply the settings, and select Paste to Apply them.
Previous, Sync, and Auto Sync in Lens Blur
The sync buttons at the bottom of the right panel toggle according to whether you have one or more photos selected in the filmstrip. If only one photo is selected, the Previous button lets you copy and paste all of the settings of the previously selected photo to the currently selected photo on the filmstrip. If multiple files are selected, the Sync button lets you choose which current settings to paste from the currently selected photo onto the other selected photos. Auto Sync adjusts other selected photos automatically when changes to the photo are made. Press Ctrl (Windows) or Command (Mac OS) to turn the Sync button into the Auto Sync button.
Have a question or an idea?


If you have a question to ask or an idea to share, come and participate in the Adobe Lightroom Classic community. We'd love to hear from you!
