- Character Animator User Guide
- Introduction
- Creating and controlling puppets
- Rigging
- Behaviors
- Recording and playback
- Export projects
Learn how to set up keyframes and create a change over time in your scene using them.
What are keyframes?
Keyframes are used to set parameters for behaviors, usually changing them over time. A keyframe marks the point in time where you specify a value for a layer property, such as the position of a puppet. Values between keyframes are interpolated by default. When you use keyframes to create a change over time, you typically use at least two keyframes—one for the state at the beginning of the change, and one for the new state at the end of the change.
Set up keyframes
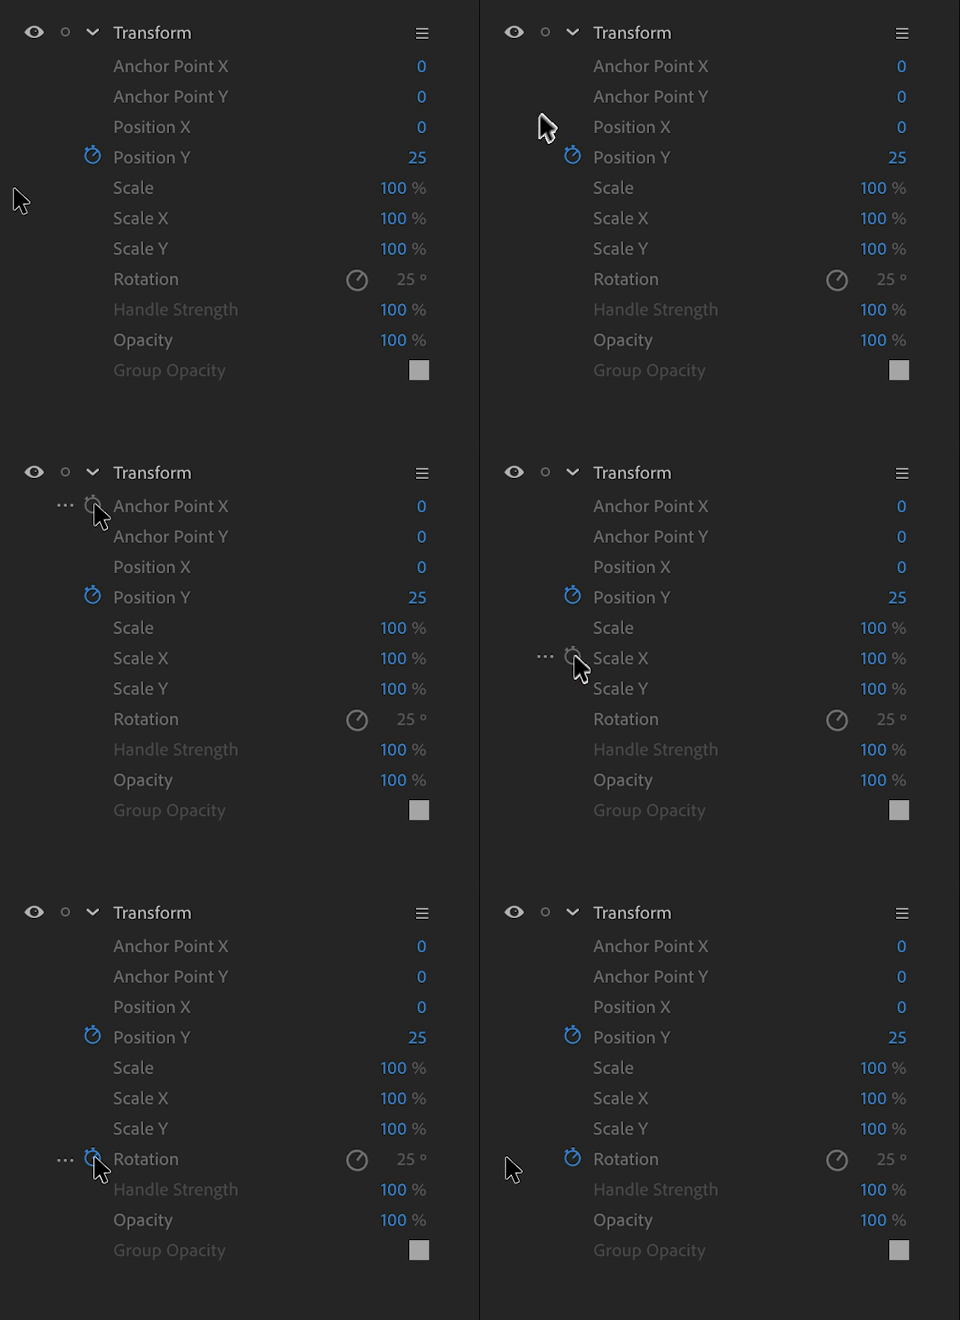
To set up keyframes, click the stopwatch icon next to the property name in the Properties panel that appears when you hover over it. This changes the color of the stopwatch icon to blue. Character Animator creates a keyframe at the current time for that property value.
When the stopwatch is active for a specific property, Character Animator automatically adds or changes a keyframe for the property at the current time when you change the property value. Enabling the stopwatch for an armed parameter disarms the parameter.


Select keyframes
- To select a keyframe, click the Keyframe (
 ) icon.
 - To select multiple keyframes, Command-click (macOS) or Ctrl-click (Windows) the keyframes or drag a marquee (selection box) around the keyframes.


Move keyframes
To move a keyframe, drag the Keyframe (![]() ) icon to the new position on the timeline.
) icon to the new position on the timeline.
Keyframe time stretching
To expand or compress a group of keyframes to retime an animation while retaining their relative times, follow these steps:
1. Select at least two keyframes for a behavior parameter.
2. Hold down Alt (Windows) or Option (macOS) and drag the first or last selected keyframe to the desired time.
Navigate through keyframes
You can use the keyframe navigator in the timeline to move from keyframe to keyframe or to set or remove keyframes.


When the keyframe navigator box is filled with a diamond, the current-time indicator lies precisely at a keyframe for that layer property. When the keyframe navigator box is not filled (![]() ) , the current-time indicator lies between keyframes.
) , the current-time indicator lies between keyframes.
Clicking on the hollow keyframe icon (![]() ) creates a Keyframe at the current position of the time indicator.
) creates a Keyframe at the current position of the time indicator.
Keyframe menu commands
To open the keyframe menu command, do one of the following:
- Select one or more keyframes and right-click.
- Select one or more keyframes and control-click.


A. Linear B. Ease C. Ease in D. Ease out E. Hold

You can select any of the following keyframe menu commands:
- Ease: automatically adjusts the influence into and out of a keyframe to smooth out sudden changes.
- Ease In: automatically adjusts the influence into a keyframe.
- Ease Out: automatically adjusts the influence out of a keyframe.
- Hold: holds a layer on a specific keyframe.
- Toggle Hold Keyframe: holds the property value at the value of the current keyframe until the next keyframe is reached.
- Create Replay and Trigger from Keyframes: Creates a Replay and Trigger for the keyframe. You can assign a key to the Trigger and edit it from the Triggers panel.
- Create Take from Keyframes: This creates a new take which is added to the timeline.
Using the Keyframe Editor
Open the twirl down to the left of the parameter name in the timeline to see the visual representation of the applied transitions as shown below. Drag the tangent handles to adjust easing interpolation. Option -/ Alt drag tangent handle control one side of a keyframe independent of the other.
Drag curve points vertically to change a parameter’s keyframe value or horizontally to change keyframe time. Note that Linear keyframes do not have tangent handles. Handles are also not visible when you toggle hold keyframes.


Enable parameter recording
Enabling parameter recording helps you change parameter values while recording without changing the keyframe value. To enable, click (![]() ) icon and select Enable Parameter Recording. When enabled, a red dot appears next to the parameter. If you modify the value of the parameter during a recording, a new take will be created that contains all the changes. For more information about takes, see Record takes. When a parameter has both keyframes and takes, the takes have priority.
) icon and select Enable Parameter Recording. When enabled, a red dot appears next to the parameter. If you modify the value of the parameter during a recording, a new take will be created that contains all the changes. For more information about takes, see Record takes. When a parameter has both keyframes and takes, the takes have priority.

