Working with Substance model graphs
This page covers the basics of working with Substance model graphs.
Overview
As in other graph types in Substance 3D Designer, the Substance model graph lets you build parametric 3D models using nodes. Data flows from left to right through these nodes until it reaches an Output node – e.g., Output scene, Output float, ... –, which defines the final 3D object output.
Nodes will execute specific instructions on the data they hold and pass the result down the graph, using one or more output connectors (outputs). Nodes can generate data and have no input connectors (inputs), or they can process existing data which is passed to them using one or more inputs.
To learn about the user interface and basic navigation in graphs, go to the Graph View page.

Connection rules and connector types
Connections from one node to another should be done using outputs and inputs of matching data types. Invalid connections due to mismatched data types are displayed as a red dotted connection.
E.g. an output passing an Integer value should be connected to an input which accepts an Integer value.
Data types can often be identified by the aspect of the connector.
E.g. inputs/outputs used for passing Integer values are displayed as yellow squares.
The data type identifier is displayed next to the connector label, between parentheses.
E.g. int for Integer.

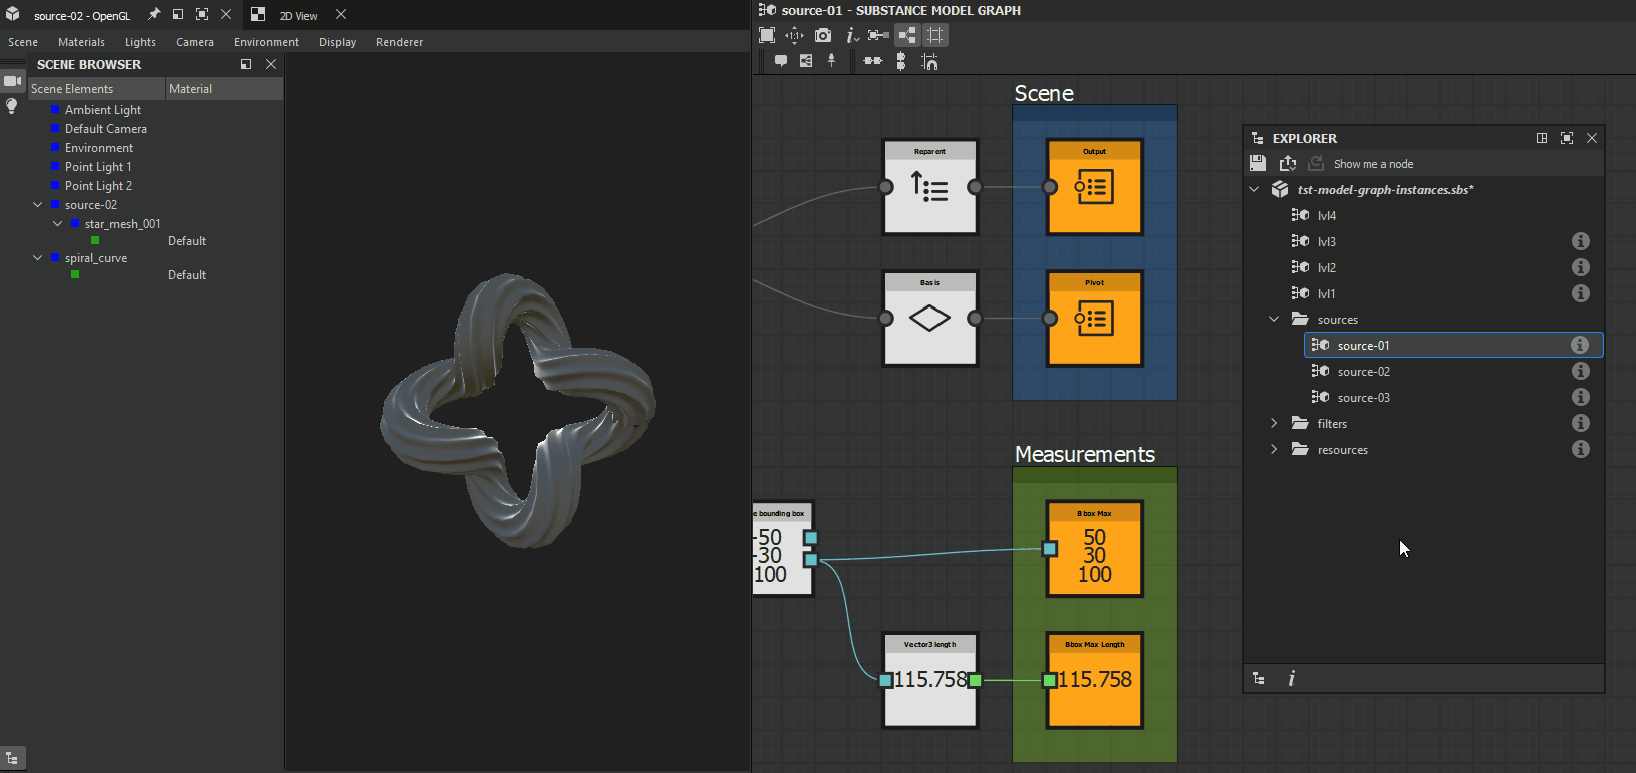
Output nodes
Output nodes are special nodes which sole purpose is outputting the result(s) of a graph – as is the case in Substance graphs. These nodes read the data connected to their input and pass it to other parts of the application and do not modify it in any way.
The data in these nodes is used:
- when viewing the graph in the 3D View
- when using the graph in another graph as an instance node
- when exporting the graph to a Substance parametric model (SBSM) or a static 3D scene (FBX, OBJ, PLY)
Output node variants exists depending on data type. Available output nodes are:
Output nodes are displayed with an orange fill color in the graph.

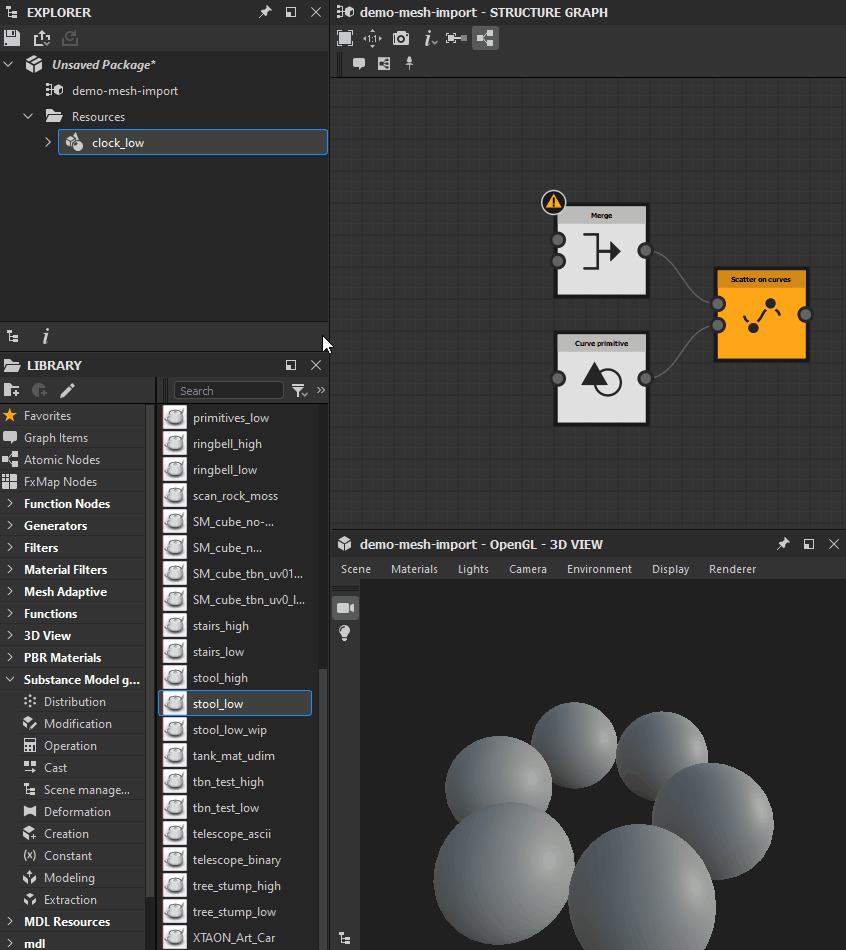
Using your custom meshes
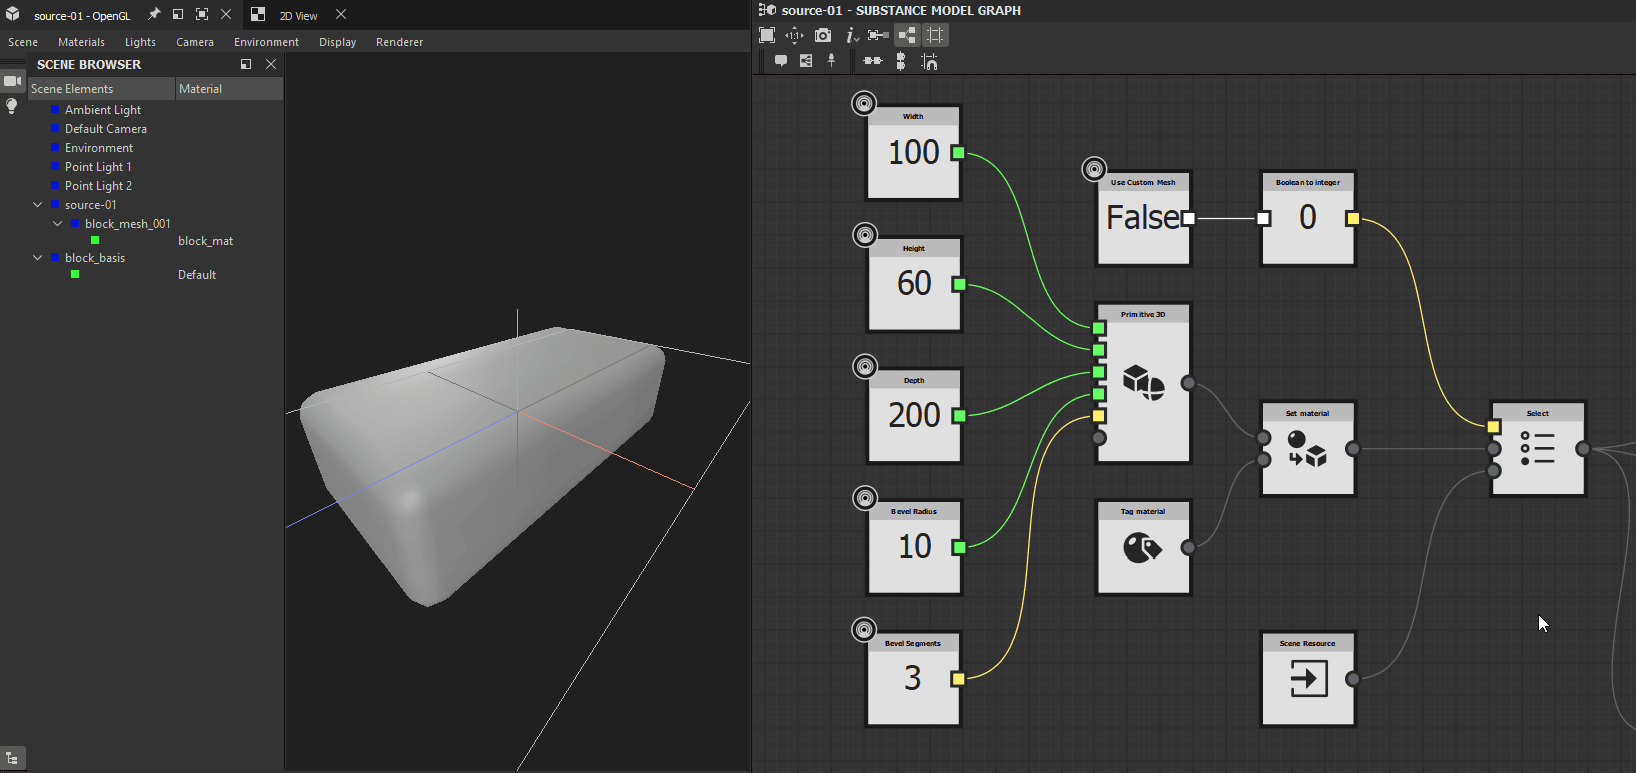
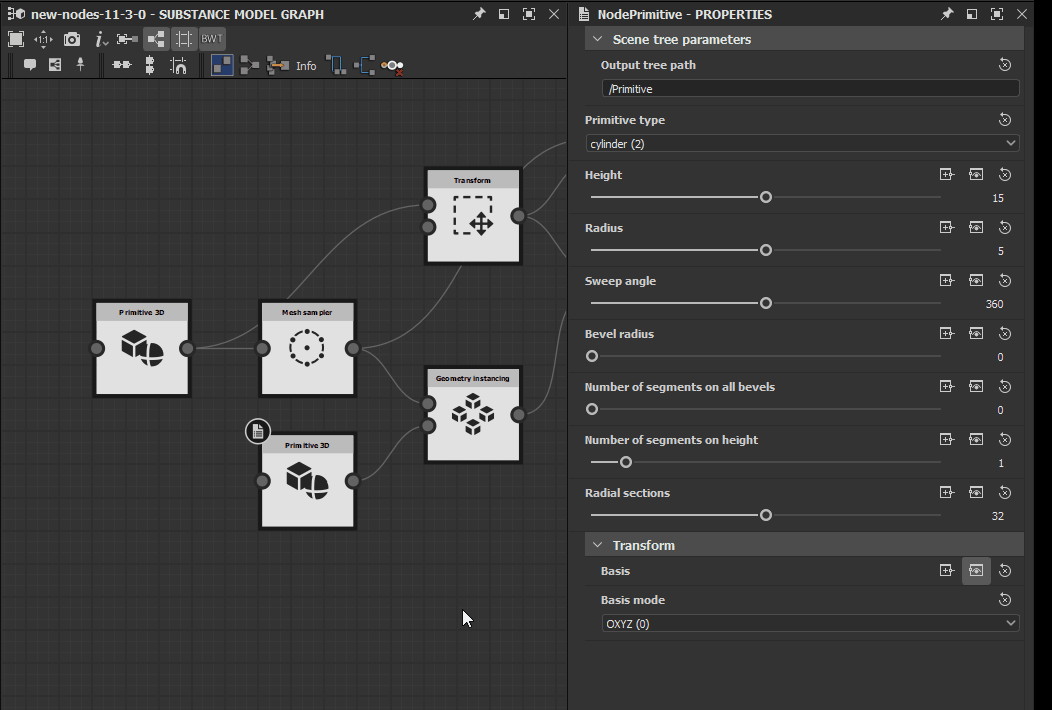
In addition to generating objects from the ground up using Creation nodes such as Primitive 3D or Curve Primitive, you can load your own custom 3D objects as Scenes.
These can then be used just as any other Scene in a Substance model graph which means you can use your assets as inputs for the powerful nodes included in the Library.
You can load a custom asset in a Substance model graph in the following ways:
- Drag-and-drop a 3D Scene resource from the Explorer panel into a graph
- Drag-and-drop a 3D object item from the Library into a graph*
- Drag-and-drop a 3D object file from your system's file browser into a graph*
*you are then prompted to either link or import the object into the package as a 3D Scene resource.
At that point, a Scene resource node referencing your 3D Scene resource is added to the graph.
If your 3D object is a SubD mesh, make sure to toggle the As Subd property in the Scene node parameters.
Displaying graphs and nodes in the 3D View
The cumulative result of all Output scene nodes in a Substance model graph can be viewed in the 3D View by either of these two methods:
- In the Explorer, click RMB on the graph item and select the View Outputs in 3D View option in the contextual menu
- In the Graph View, click RMB on empty space in the graph and select the View Outputs in 3D View option in the contextual menu
Individual node output
The cumulative result of all outputs of type Scene can be viewed in the 3D View by either of there two methods in the Graph View:
- Click RMB on the node and select the View in 3D View option in the contextual menu
- Double-click LMB on the node
Every node currently viewed in the 3D View has a ![]() Viewed in 3D View badge.
Viewed in 3D View badge.
Node preview
For any node of the graph which outputs a Scene, you can preview its result in the 3D View along with the output of the node currently viewed in the 3D View.
- Enable preview: Shift+LMB on a node
- Add to preview: Ctrl+Alt+LMB on nodes successively
- Disable preview: Shift+LMB on empty space in the graph
These actions can also be performed using the following items in the contextual menu – opened by clicking RMB in the graph. The options may vary depending on whether nodes are selected in the graph:
- Preview node: disable preview for previewed nodes, and preview node under cursor
- Preview selection: disable preview for previewed nodes, and preview all selected nodes
- Unpreview all nodes: disable preview for all previewed nodes
A previewed node has the ![]() Preview badge.
Preview badge.
Parameter tooltips
A significant number of node parameters include tooltips to let you know about their purpose and/or behaviour.
These are ported straight from the Node reference for Substance model graphs section of this documentation for handy reference.
Nodes also have tooltips which includes a short description of what the node does. The tooltip may be displayed when hovering the cursor on the node in the Graph View or the Library.
Library
You can find all the atomic nodes available in Substance model graphs in the Library category named after this graph type.
Nodes are arranged into subcategories depending on their purpose.
Tooltips
Leave the cursor a few seconds on an item in the Library to display its tooltip, which will include a description of the node if one is available. This is a quick way to get an idea of a node's purpose.

You may also add your custom Substance model graphs to the Library in order to use them as instance nodes in other graphs.
Make sure to set the Model Graph value in the resource type setting of your bespoke filters.
Go to this page of the documentation in order to learn more about managing your own content in Designer's Library.

