- Adobe Premiere Rush User Guide
- Introduction
- Import footage
- Edit video
- Edit your video in the timeline
- Add and refine audio
- Change video color, size, and position
- Create titles
- Add transitions, pan and zoom effects and automatically reframe your clips
- Transform clip properties
- Change aspect ratio of your video
- Create a picture-in-picture effect
- Speed up or slow down video
- Use fonts from Adobe Fonts
- Duplicating projects and sequences
- Export video
- Premiere Rush on iOS and Android
- Adobe Premiere Rush on mobile | Common questions
- Create and edit videos using Adobe Premiere Rush on iOS
- Export video to social media channels
- Create and edit videos using Adobe Premiere Rush on Android
- Manage Adobe Premiere Rush subscriptions on iOS
- Manage Adobe Premiere Rush subscriptions on Android
- Manage Adobe Premiere Rush subscriptions on Samsung Galaxy Store
You can modify the appearance of your clip by cropping, rotating, or scaling.
As we introduce the next generation of Adobe Premiere mobile apps, we are discontinuing Adobe Premiere Rush. Effective September 30, 2025, Premiere Rush will no longer be available on Adobe.com. As an alternative, we recommend Premiere on iPhone; a version for Android is currently also in development. For more information, visit the Premiere Rush Discontinuation FAQ.
To make these types of adjustments, select the clip in the timeline and open the Crop & Rotate panel. The adjustment settings are grouped into Basic and Advanced controls.
Auto-fill to frame
Premiere Rush automatically fills the frames when the aspect ratio of imported media does not match aspect ratio of the sequence. This is applied to all imported media by default, and prevents black bars on the sides of your videos.
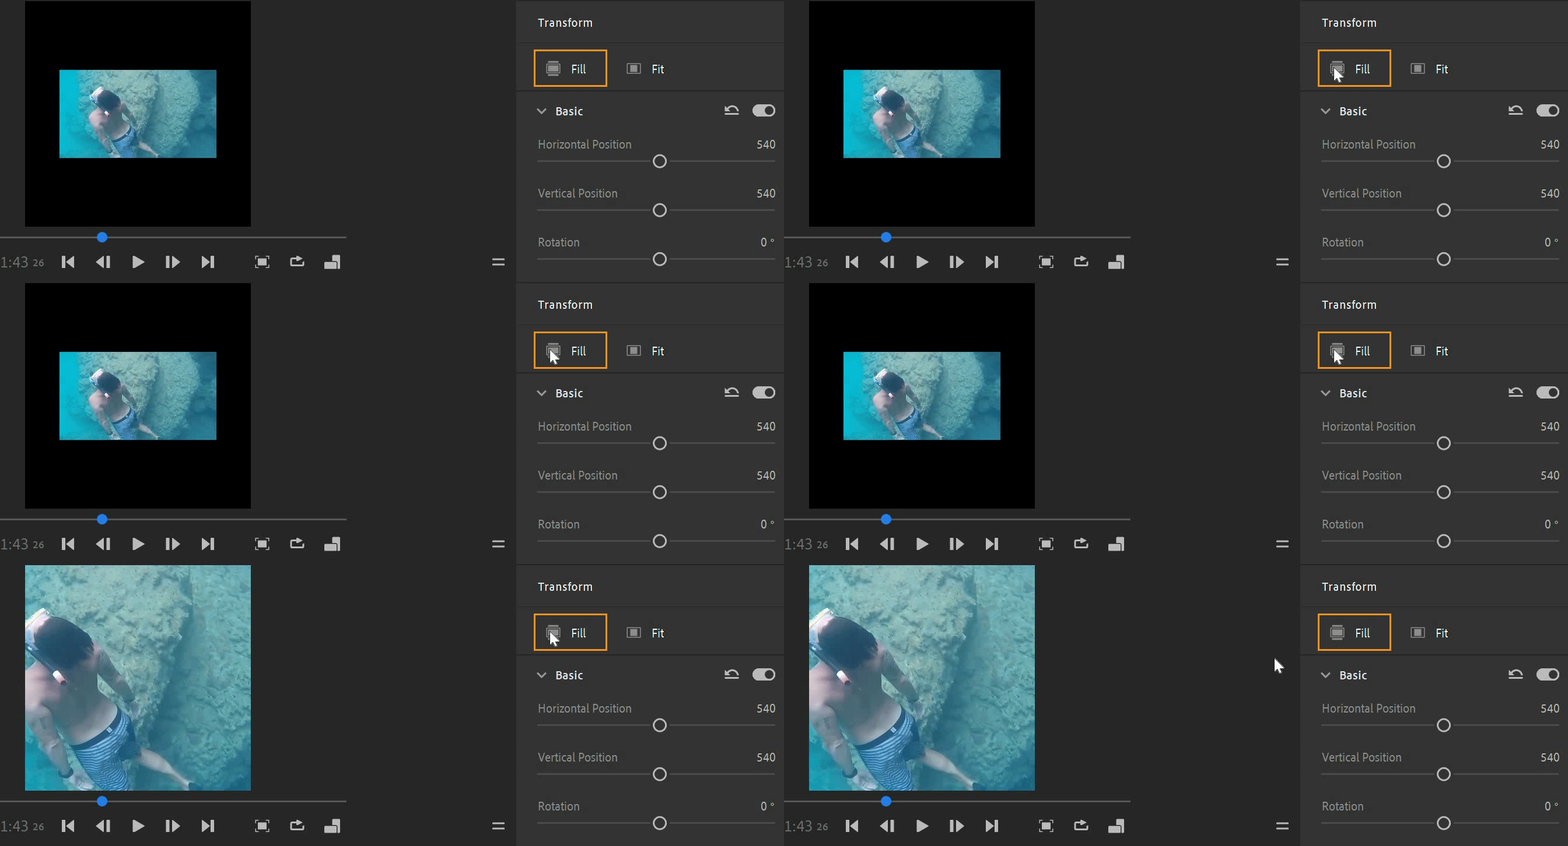
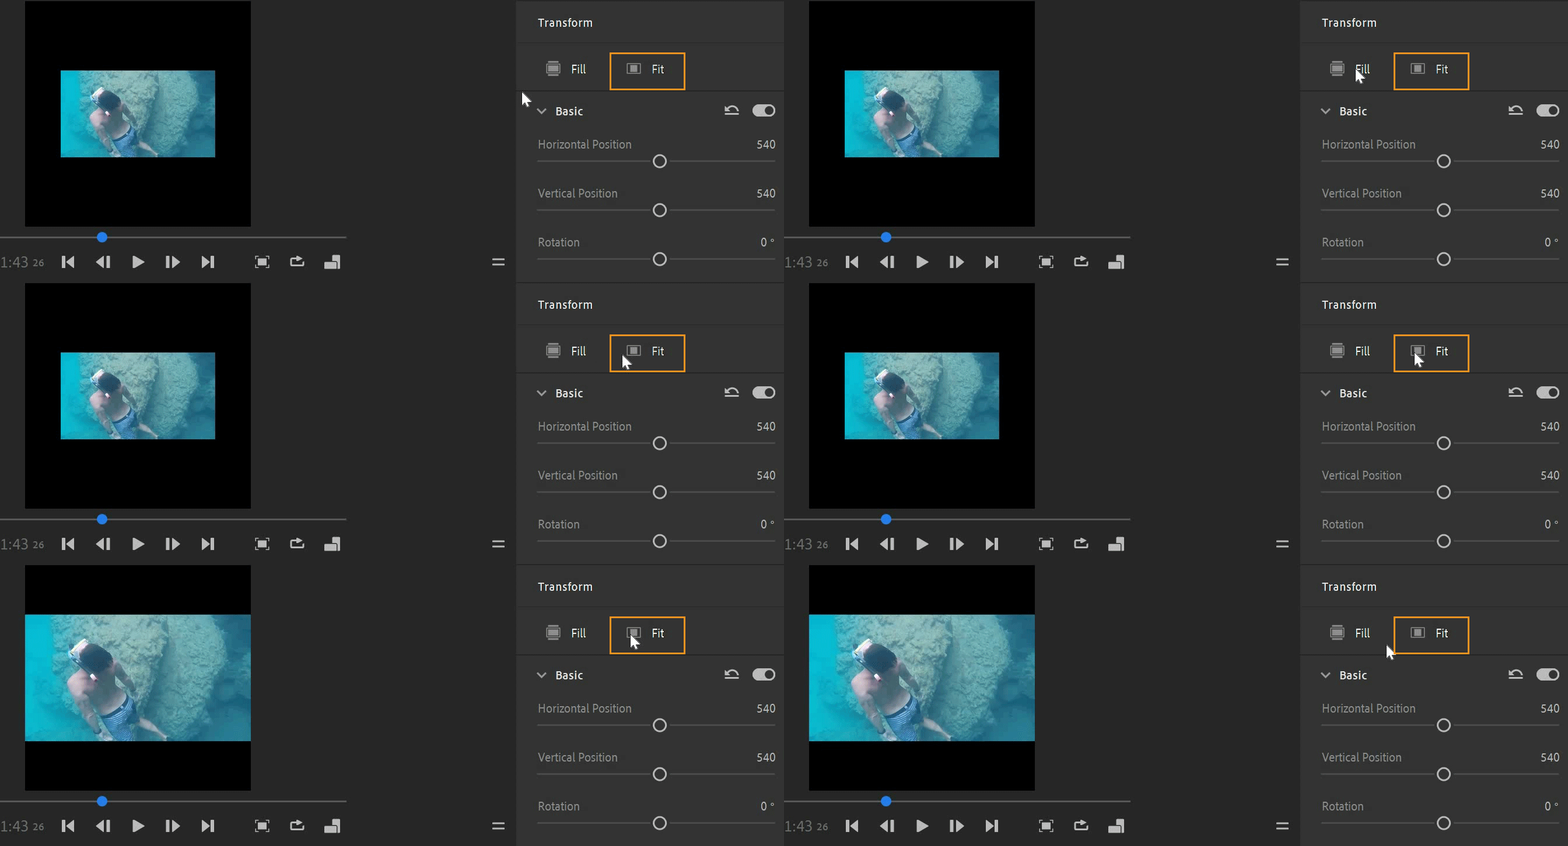
You can also manually fill frames by using the Fill or Fit options in the Transform panel.
Double click the clip in the timeline panel to open the Transform panel. Select either Fill or Fit to automatically fill to frame.
Fill - This option adjusts the frame to scale height.


Fit - This option adjusts the frame to scale width.


Adjust position, rotation, opacity, and scale
Position the timeline playhead over a clip to select it, and then click Crop & Rotate. Use the Basic transform controls to adjust position, rotation, opacity, and scale.


Reposition a clip
- Using the Basic controls, drag the Vertical Position slider to adjust the vertical position of a clip. Drag the Horizontal Position slider to adjust the horizontal position of the clip.
- Alternatively, enter specific values for both Horizontal Position and Vertical Position, and press Return.


Rotate a clip
- Use the Rotation slider to rotate your video up to 180° in either direction.
- Alternatively, type a positive or negative number for the rotation value, and press Return.


Change the scale of a clip
- With the Maintain Proportions box checked, drag the Width or Height sliders to adjust video width and height uniformly.
- With the Maintain Proportions box unchecked, adjust width or height independently to stretch or squeeze the image.


Reflect Photo / Video
- Horizontal Flip flips the content across the Y-axis (left/right).
- Vertical Flip flips the content across the X-axis (up/down).


Adjust clip opacity
- Drag the Opacity control slider, or enter an opacity value from 0 to 100%.
Crop and feather
The Advanced transform controls allow you to adjust Crop and Appearance settings for your video clips. Cropping the top or bottom of an image—or both—can help you transform a standard video into a widescreen look. The Appearance controls allow you to adjust edge feathering.


To crop a video clip, do either of the following:
- Move the Crop slider controls to crop pixels from the top, bottom, left, and right edges of your video.
- Enter specific percentage values for the amount to be cropped.


To adjust edge feathering:
- Drag the Edge Feather slider, or enter a value from 0 to 100%.
 The Edge Feather control affects the edges of the original video image, so if you apply cropping, edge feathering may be hidden.
Reset to default
The Basic and Advanced transform controls have separate Reset to Default buttons.