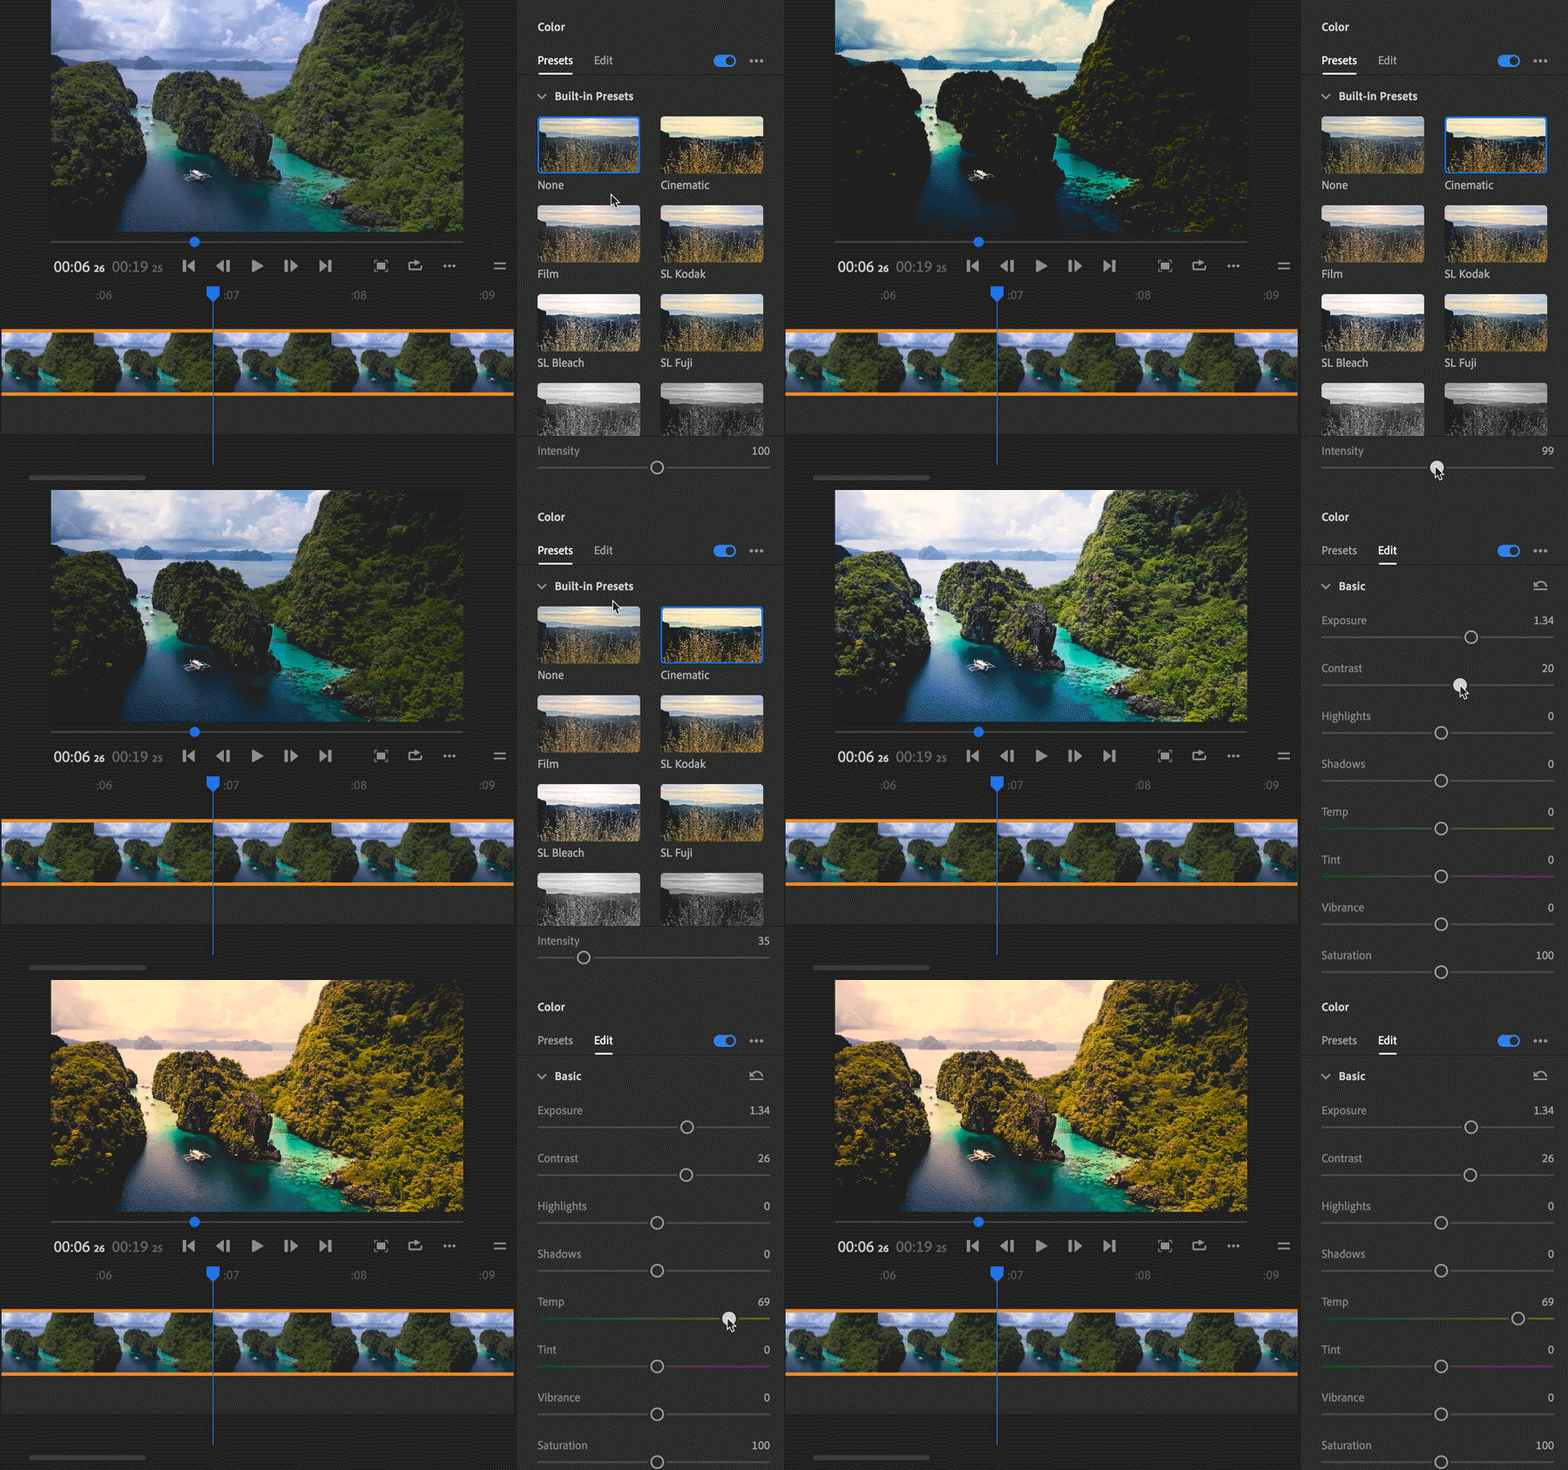
Select a clip in the timeline, open the Color panel, and click a preset.
- Adobe Premiere Rush User Guide
- Introduction
- Import footage
- Edit video
- Edit your video in the timeline
- Add and refine audio
- Change video color, size, and position
- Create titles
- Add transitions, pan and zoom effects and automatically reframe your clips
- Transform clip properties
- Change aspect ratio of your video
- Create a picture-in-picture effect
- Speed up or slow down video
- Use fonts from Adobe Fonts
- Duplicating projects and sequences
- Export video
- Premiere Rush on iOS and Android
- Adobe Premiere Rush on mobile | Common questions
- Create and edit videos using Adobe Premiere Rush on iOS
- Export video to social media channels
- Create and edit videos using Adobe Premiere Rush on Android
- Manage Adobe Premiere Rush subscriptions on iOS
- Manage Adobe Premiere Rush subscriptions on Android
- Manage Adobe Premiere Rush subscriptions on Samsung Galaxy Store
Learn how to apply Premiere Rush's color presets or create your own presets, and change the background color of your video.
As we introduce the next generation of Adobe Premiere mobile apps, we are discontinuing Adobe Premiere Rush. Effective September 30, 2025, Premiere Rush will no longer be available on Adobe.com. As an alternative, we recommend Premiere on iPhone; a version for Android is currently also in development. For more information, visit the Premiere Rush Discontinuation FAQ.
Adjust a clip's color
You can adjust a clip's color in multiple ways:
- Apply a color preset using one of the presets in the Color panel.
- Manually adjust exposure, contrast, highlights, shadows, temperature, tint, vibrance, saturation, and other color controls in the Edit tab of the Color panel.
- Do both. Apply a color preset and then refine its color properties in the Edit tab of the Color panel.
Apply a color preset
-
Select a preset from the Presets tab of the Color panel Select a preset from the Presets tab of the Color panel -
Adjust the intensity of the preset by using the Intensity slider, at the bottom of the Presets tab.
-
To further edit the color properties, double-click the preset or click the Edit tab. Adjust the different color controls to achieve the effect you want.

Apply a color preset, tweak its intensity, and adjust its color properties 
Apply a color preset, tweak its intensity, and adjust its color properties Basic:
- Exposure: Adjust the exposure of the clip.
- Contrast: Adjust the contrast of the clip.
- Highlights: Adjust the brightness of the light areas in the clip.
- Shadows: Adjust the darkness of the darker areas in the clip.
- Temperature: Fine-tune the white balance by moving the slider to the left to make the video appear cooler, and to the right for warmer colors.
- Tint: Fine-tune the white balance by moving the slider to the left to add a green tint, and move it to the right to add a magenta tint.
- Vibrance: Adjust the intensity of the more muted colors in the clip with less effect on the higher-saturated colors.
- Saturation: Adjust the saturation of all colors in the clip equally from 0 (monochrome) to 200 (double the saturation).
Advanced:
- Faded Film: Apply a faded film effect to the clip.
- Sharpening: Adjust edge definition to create a sharper-looking video.
- Vignette - Amount: Set the amount of lightening or darkening along the edges of an image.
- Vignette - Feather: Define the edge of the vignette. A smaller value creates a harder, sharper edge, whereas, a larger value indicates a softer, thicker edge.
-
To apply the color changes to all the clips in your video, click the Apply to All
 button.
Create presets
You can create and save your own custom presets for later use, which include the color preset and the settings from the Edit tab. The created presets are saved into the "Your Presets" section in the Presets tab.


To create a preset based on the color adjustments you've made in the Color panel, open the Color panel, choose the ••• (more options) button and select Create Preset.
