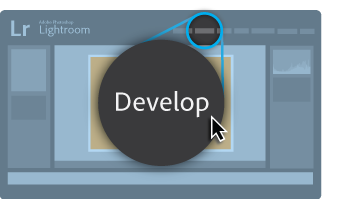
Switch to the Develop module.
- Lightroom Classic User Guide
- Introduction to Lightroom Classic
- Workspace
- Import photos
- Organize photos in Lightroom Classic
- Process and develop photos
- Develop module basics
- Create panoramas and HDR panoramas
- Flat-Field Correction
- Correct distorted perspective in photos using Upright
- Improve image quality using Enhance
- Work with image tone and color
- Masking
- Apply local adjustments
- HDR photo merge
- Develop module options
- Retouch photos
- Cure red eye and pet eye effects
- Use the Radial Filter tool
- Adjustments with Lens Blur
- Edit and Export in HDR
- Remove Tool
- Viewing photos
- Export photos
- Work with external editors
- Manage catalogs and files
- Maps
- Photo books
- Slideshows
- Print photos
- Web galleries
- Keyboard shortcuts
- Content Authenticity
- Lightroom and Adobe services
- Troubleshooting
- Technical Support
- Performance Guidelines
- Technical issues
- GPU Issues
- Startup Issues
- Rendering Issues
- Stability Issues
- Miscellaneous Issues
- Workflow Issues
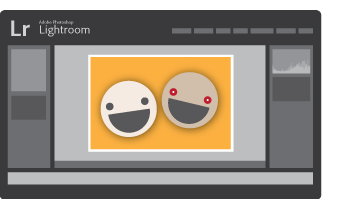
Using the Red Eye Correction tool in Adobe Lightroom Classic is a quick and easy way to correct red eye in your photos. Working in much the same way as red eye correction, pet eye correction in Lightroom Classic helps you cure unnatural pet eye colors captured in photos.
Follow along with the images below to learn how to touch up your photographs in just a few clicks.




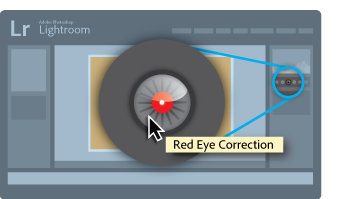

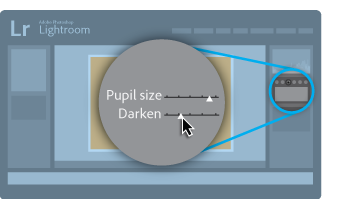

Cure red eye and pet eye effects
-
-
Click the Red Eye Correction tool icon.

The Red Eye Correction icon 
The Red Eye Correction icon -
Click Red Eye or Pet Eye.
-
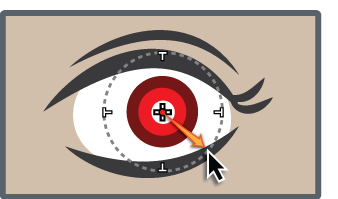
Starting at the center, draw a circle over the affected eye.
-
Adjust the available settings.
-
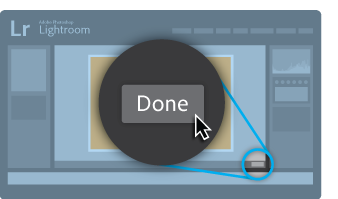
Click Done.
