Create Instant cloud flow with Sharepoint trigger as 'For a selected file.'
The Acrobat Sign support for SharePoint Online (SPoL) is set to end in June 2024, and the services will no longer be available. We recommend that you remove the Acrobat Sign plug-in from your SharePoint site and transition workflows to other applications. Refer to the topics below to learn how to migrate your workflows:
- Request signature for a SharePoint file via Acrobat Sign for Power Automate
- Request signature for a SharePoint list item via Acrobat Sign for Power Automate
- Save a completed Acrobat Sign agreement to SharePoint
- Create Power Automate flows using form field data and update a SharePoint list
- Request signature for a SharePoint file via Acrobat Sign for Microsoft Teams
The following workflows are based on the assumption that you have a fundamental understanding of Microsoft Power Automate and Adobe Acrobat Sign. For further information, refer to Acrobat Sign for Microsoft Power Apps and Power Automate: User Guide.
The current Acrobat Sign connector doesn't support sending agreements in authoring mode.
-
-
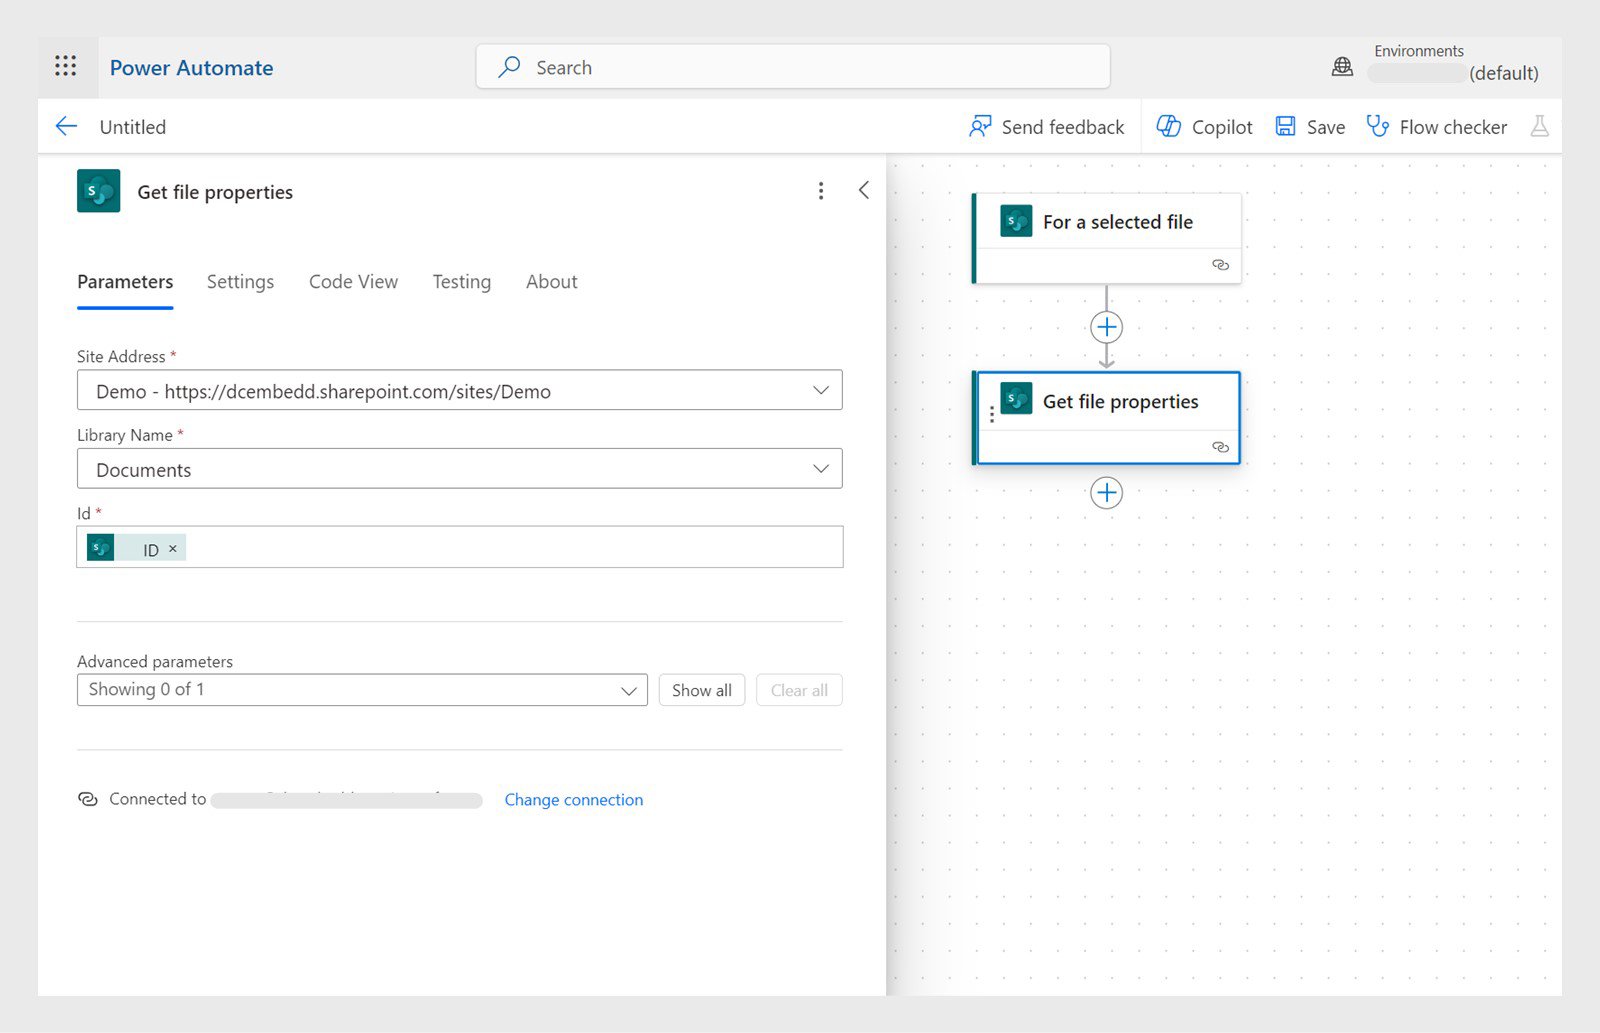
Add SharePoint Action ‘Get file properties’ using the file ID from the previous SharePoint Action 'For a selected file.'
Select + and then add SharePoint Action 'Get File Properties' and add the details. Select + and then add SharePoint Action 'Get File Properties' and add the details. -
Add Sharepoint Action 'Get file content' using file Identifier.
-
Add Acrobat Sign Action 'Upload a document and get a document ID.'
-
Add Acrobat Sign Action 'Create an agreement from an uploaded document and send for signature.' Enter the Acrobat Sign parameters using the Document ID from the previous action 'Upload a document and get document id.'
-
To trigger the flow, select a file in SharePoint, select Automate, and select the Flow
that was just created.
-
Create an Instant cloud flow with Sharepoint Trigger set as 'For a Selected Item.'
-
Add SharePoint Action 'Get item.' Enter the ID value from the output of the SharePoint trigger 'for a selected item” value.
-
Add an Acrobat Sign Action 'Create an Agreement from a library template.' Enter the Acrobat Sign parameters. Select Show Advanced options and populate the form field values with the list names from the previous Get item Action.
-
To trigger the flow, open the Sharepoint List, select an item, select Automate, and select the flow that was just created.
-
Go to the Microsoft Power Automate application and create an Automated cloud flow with Acrobat Sign Trigger as 'When an agreement workflow is completed successfully'.
-
Add Acrobat Sign Action 'Get a PDF of a signed Agreement.' Enter the Agreement ID value from the trigger output.
-
Add Sharepoint Action 'Create file.' Set the file name and file content from the previous SharePoint Action.
-
Create Automated cloud flow and Set Acrobat Sign trigger to 'When an Agreement Workflow is completed successfully.'
-
Add Action 'Get Form Field data of an agreement in JSON format”. Set the Agreement ID from the previous step.
-
Add Parse JSON step and then under Parameters:
- Select the Content field and then select the icon for Enter the data from previous step.
- In the Schema field, insert {} as a placeholder.
- Save and then run the flow.
-
Go to My Flows and then select the flow created above. Select the step where the fields were captured. You can see the JSON that was returned from the step.
-
Select the Parse JSON step and then select View full input. Copy the JSON.
-
Select Edit for the flow and then select the Parse JSON step. Select Enter sample JSON and paste the copied JSON.
Now your schema is updated. Note the column names in your SharePoint list.
-
Add a Create Sharepoint list item Action and update the list columns with the values from the previous Parse JSON action.
-
In the Microsoft Teams application, select Teams channel and then select + to add a new tab.
-
In the dialog that appears, search for and select SharePoint.
-
Select Document Libraries > Documents and then select Save.
It creates a new 'Documents' tab that contains a folder.
-
From the left panel, select Acrobat Sign for Teams and then select the Documents tab.
-
Select Teams and Channels, then select the channel where we added the new tab.
-
From the SharePoint folder, select any file to open it and then select Request e-signatures.


