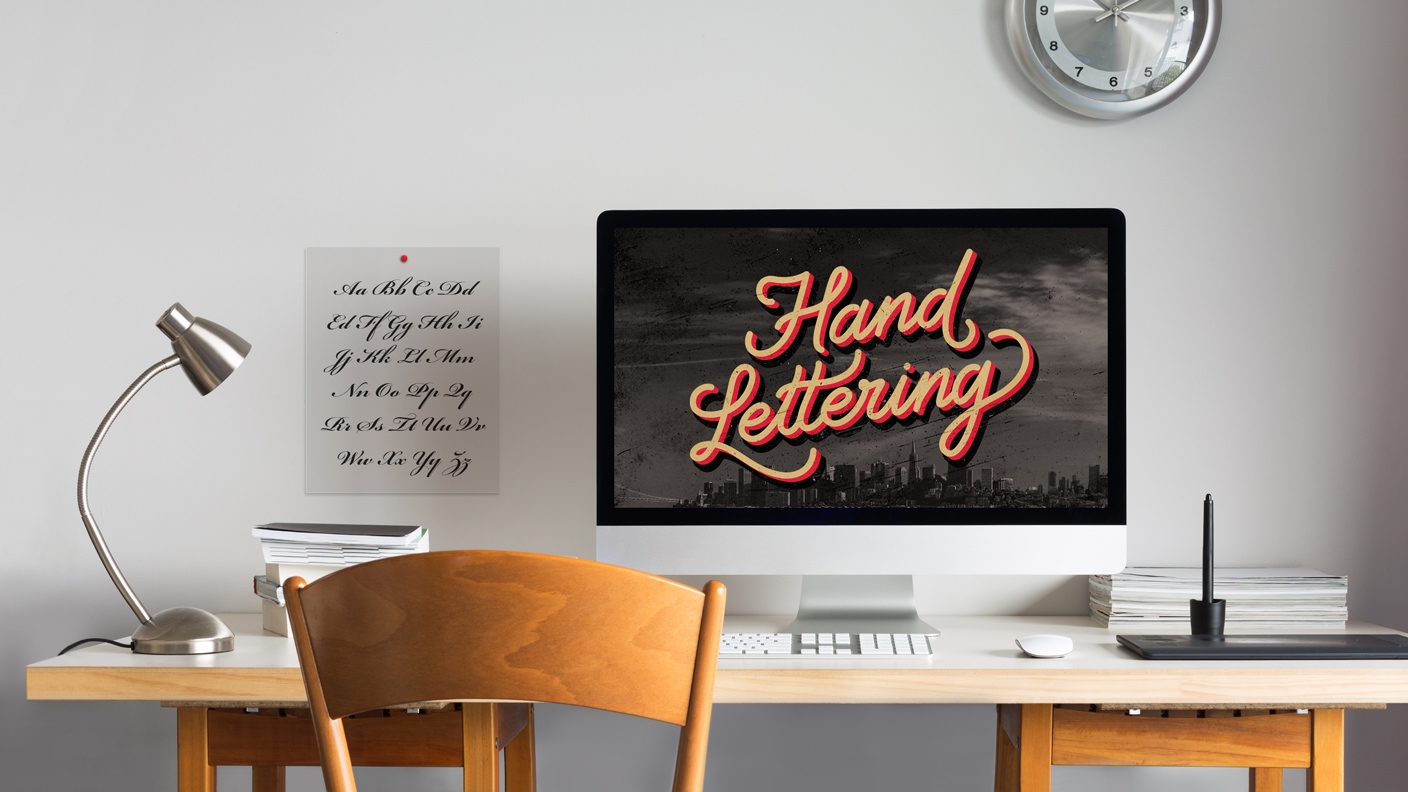
See how to create custom hand lettering from sketch to digital artwork to use in your design project.

What you'll need
Copy our sample assets library to your Creative Cloud libraries
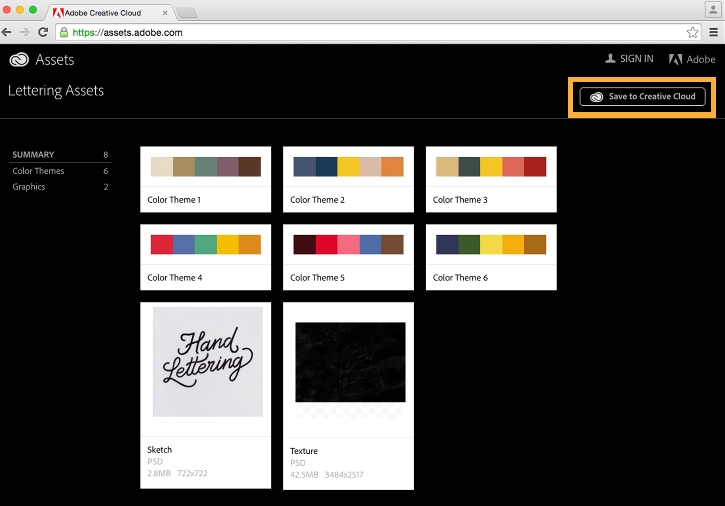
To re-create this effect using our sample assets, open the Lettering Assets library and click Save to Creative Cloud to create a copy of the library in your own account.
Once in your Creative Cloud library, you can use these assets to capture a sketch with Adobe Capture, explore some handy color themes in Illustrator, and grab a readymade texture to apply to your project in Photoshop.
Note: You need to be signed in to your Creative Cloud account to save the library.

Turn a sketch into vector shapes
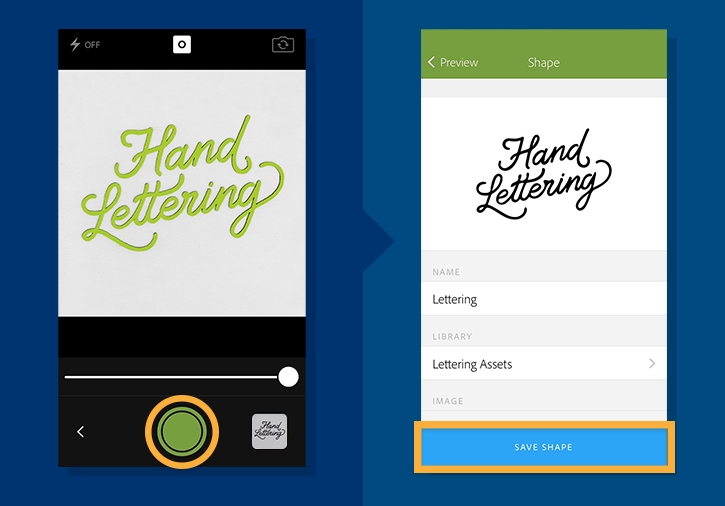
Launch Capture, tap Shapes and then the + icon. Tap the photo thumbnail to the right of the Capture button, and then tap the Creative Cloud option in the drop-down menu. In the drop-down menu below the Creative Cloud icon, choose Library Assets. Then tap to select the Lettering Assets library you saved in Step 1.
In the Graphics section, choose Sketch and tap Open. Adjust the slider to get the amount of detail you want, then tap the Capture button to trace the sketch and create a vector version. To rename the vector shape, tap the default name and enter a new one. Tap Save shape and save it to the Lettering Assets library.
Optional: You can use Capture Shapes to create a vector version of your own hand-drawn lettering created using a pencil or pen with any calligraphic nib. Use tracing paper to make variations of your letter shapes, and ink your lettering as evenly and densely as you can. We used the fine letterforms in Copperplate Script as inspiration when drawing our sketch.



Refine the shape in Illustrator
In Illustrator, create a new document and choose Windows > Libraries to access your Creative Cloud libraries. Select the Lettering Assets library and drag the shape onto the artboard.
Resize the shape if needed.
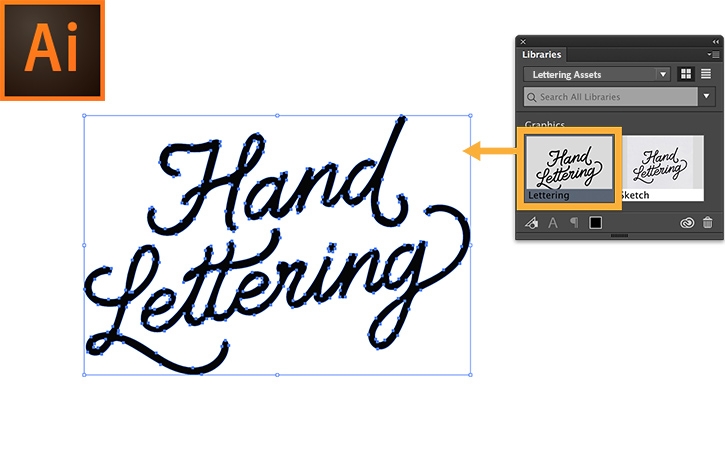

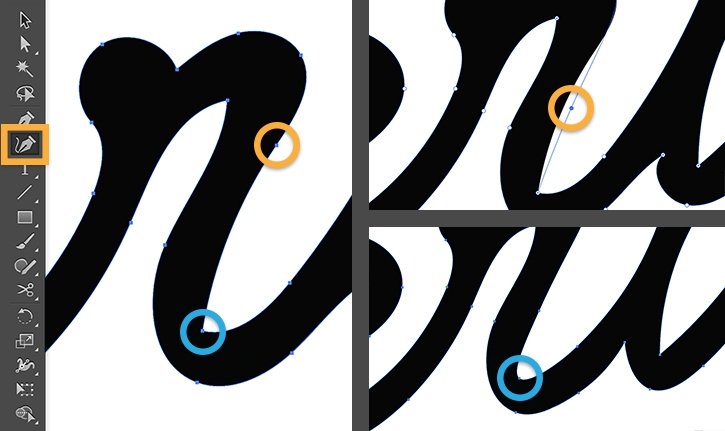
Now you can refine the shape using any drawing tool. The Curvature tool lets you edit and draw smooth curves easily.
Before starting to use the Curvature tool, set your Fill to a solid black fill color with no Stroke selected. Then select the path with the Selection tool.
Click a point to select it, and then drag to move the point to refine the curve.
Double-click any corner point to convert it to a smooth curve.
Click to add a point anywhere on the path, and then drag to shape a curve.
Click a point and press Delete to delete it; the curve remains so you can continue editing and refining.

Add color
First, create two copies of the lettering. Select the shape and Alt/Option + drag to duplicate it. Apply a different fill color to each shape with no stroke applied. We chose the beige and red colors included in the Lettering Assets library.
Select the second shape and duplicate it one more time, offsetting the copy slightly. Choose Object > Arrange > Send to Back.


Add depth
Click anywhere on the artboard to deselect both red shapes and zoom in.
Double-click the Blend tool to open Blend Options. For Spacing, choose Specified Steps and type 100. Click OK.
Click inside each shape; this creates a smooth blend between the two shapes simulating depth.
Drag the beige shape you created earlier and place on top of the red shapes.
Tip: If you need to reposition, choose Object > Arrange > Bring to Front.
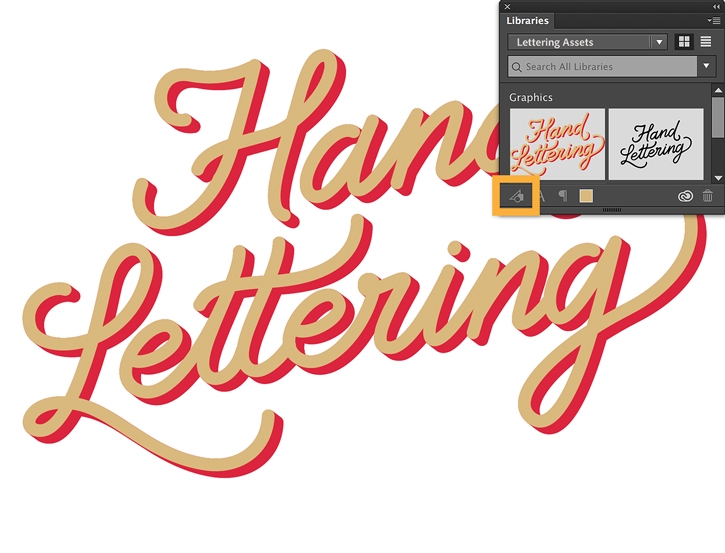
Select all shapes and click the Add Graphic icon at the bottom of the Libraries panel; or simply drag the selected objects into the Lettering Assets library. Now you can easily access this creative asset in any Illustrator project, and in other Adobe desktop and mobile apps.



Add more effects in Photoshop
In this step, you'll place your lettering on a photo background and style it some more.
Open any image in Photoshop.
Tip: We chose a moody black and white photo as a background so our lettering would stand out.
Choose Window > Libraries to open the Libraries panel and select the Lettering Assets library in the pull-down menu.
Drag the Lettering graphic on top of the document. Resize as needed and position it on the photo.
Next, you'll add a solid drop shadow.
Select the layer in the Layers panel and click the Layer Style icon at the bottom of the panel. Check Drop Shadow, and set up the options as shown, including the color, Blend Mode, Angle, Distance, etc., and click OK.


Add texture
In this final step, you'll add a subtle texture to the entire composition.
Tip: Adding some texture to compositions with vector artwork can help it blend in better with photographic backgrounds. We've provided a graphic asset to add a vintage look to the pristine vector shape.
Drag the Texture graphic asset from the library onto the document. Position it at the top-left of the document window, and then Shift + drag to resize and cover the entire composition.
In the Layers panel, change the Blend Mode of the layer to Difference.
Tip: Experiment with other Blend Modes such as Linear Dodge, Soft Light, and Subtract to create varied effects.


