- Adobe Lightroom User Guide
- Introduction
- In-app learning
- Add, import, and capture photos
- Organize photos
- Edit photos
- Edit photos
- Edit photos in Lightroom on mobile (iOS)
- Edit photos in Lightroom on mobile (Android)
- Edit photos with Quick Actions in Lightroom on mobile (iOS)
- Edit photos with Quick Actions in Lightroom on mobile (Android)
- Presets in Lightroom
- Presets in Lightroom for mobile (iOS)
- Presets in Lightroom for mobile (Android)
- Crop, Rotate, & Geometry tool in Lightroom
- Crop an image in Lightroom on mobile (iOS)
- Crop an image in Lightroom on mobile (Android)
- Remove tool in Lightroom
- Remove using the Clone tool
- Remove using the Heal tool
- Remove unwanted people
- Remove window reflection
- Remove sensor dust in a photo
- Remove tool in Lightroom on mobile (iOS)
- Remove tool in Lightroom on mobile (Android)
- Edit panel in Lightroom
- Masking in Lightroom
- Apply Masking in Lightroom on mobile (iOS)
- Apply Masking in Lightroom on mobile (Android)
- Lens Blur in Lightroom
- Merge photos to create HDRs, panoramas, and HDR panoramas
- Edit HDR photos
- Edit HDR photos in Lightroom on mobile (iOS)
- Edit HDR photos in Lightroom on mobile (Android)
- Easily enhance image quality in Lightroom
- Edit photos in other apps
- Learn about Content Credentials
- Add Content Credentials in Lightroom on mobile (iOS)
- Add Content Credentials in Lightroom on mobile (Android)
- Manage edits made with AI-powered tools(iOS)
- Manage edits made with AI-powered tools(Android)
- Edit photos
- Edit videos
- Save, share, and export
- Lightroom for mobile, TV and the web
- Get started with Lightroom for mobile (iOS)
- Get started with Lightroom for mobile (Android)
- Adobe Photoshop Lightroom on the web
- Set up Lightroom for Apple TV app
- Use keyboard shortcuts in Lightroom for mobile (iOS and Android)
- Adobe Photoshop Lightroom for mobile and Apple TV | FAQ
- View Lightroom photos and videos on your TV
- How to Add Presets/Sync Presets with mobile
- Manage Adobe Lightroom for mobile subscription (iOS)
- Manage Adobe Lightroom for mobile subscription (Android)
- Migrate photos
- Troubleshooting
Learn how to edit videos using different editing controls and presets in Lightroom (desktop).
You can now trim and edit video clips in Lightroom! Starting the June 2022 release of Lightroom desktop, you can easily apply editing controls and trim videos in Lightroom. You can access the Edit controls in the Detail view to achieve the desired editing goal for your videos.
You can also copy and paste edit settings between photos and videos, allowing you to achieve a consistent look across both photos and videos.
In this article, you can see how to:
Editing videos on mobile devices? See:
-
Click () icon on the left to bring up My Photos panel.
In My Photos panel, import the video or choose the album that contains the video you want to edit.
-
If you're in Photo Grid (
 ) view or Square Grid (
 ) view, select the video you want to edit. Now, click (
 ) icon in the toolbar at the bottom to switch to Detail view.
 If you're already in Detail (
 ) view, select the video that you want to edit from the filmstrip appearing at the bottom of your current selection.Note
You can use the editing controls only in Detail view.
-
To bring up the Edit panel in Detail view, click (
 ) icon at the upper-right corner.
 You can now expand/collapse the panels to access edit controls organized under─Profile, Light, Color, Effects.
The edit screen in Lightroom for video editing. The edit screen in Lightroom for video editing. NoteEdit controls like Detail, Optics, and Geometry are currently unavailable for editing videos in Lightroom.
Some presets are partially compatible with videos due to limited compatibility with the enhancement controls. All enhancements compatible with videos will automatically apply when you select the Preset.
Add a professional touch to your videos with Presets in Lightroom. You can choose from an array of presets, available in different themes like Retro, B&W, Video Presets, etc to suit your editing needs.
Apply a Preset
To apply a Preset to your videos, follow the steps given below:
-
Recommended Presets
These presets are automatically provided to you based on your video, with the help of Adobe Sensei. The results can change with time, even for the same video. Use the given carousel options such as Subtle, Strong, HDR, and more to easily filter these presets.
Premium Presets
These presets are updated with every release and include categories like Adaptive, Portraits, Travel, Cinematic, Videos, and more.
Yours
These are all the presets that you have created or saved, as well as all the default presets included with Lightroom.
Note- Partially compatible presets are included in the panel.
- In Recommended Presets, hover over the preset thumbnail and click More like this to view more similar presets. You can also click the three-dot icon in the thumbnail to view who the preset is from, follow the author, and save the preset.
-
To apply a preset to the video, simply click the preset.
The Presets panel for editing videos in Lightroom. The Presets panel for editing videos in Lightroom.
For more details on Presets, see Edit Photos.
Profiles in Lightroom are useful in rendering color and tonality in videos.
Profiles allow you to control how colors and tonality are rendered in your videos. The profiles provided in the Profile panel are intended to serve as a starting point or foundation for making video edits.
Applying a profile on your video doesn't change or overwrite the value of other edit control sliders. Therefore, you can make edits to your videos as you like and then choose to apply a profile on top of your edited video.
Apply a Profile
-
Click (
 ) icon at the upper-right corner to bring up the Edit panel.
To view available profiles for videos in Lightroom, click Browse in the Profile panel.
-
Expand the available profile groups to view the profiles available in that group.
Add profile to your videos in Lightroom desktop Add profile to your videos in Lightroom desktop NoteProfile groups like B&W and some other subsets are unavailable for now to edit videos in Lightroom.
-
Move the pointer over any profile to preview its effect in your photo. Click the profile to apply it to your video.
To know more about the profile workflow in Lightroom, see Profile.
Adjust Light, Color, and Effects in your videos
Achieve precise editing goals in Lightroom using editing controls like Light, Color, and Effects. Use the editing sliders to adjust exposure, vibrance, vignette, etc in your videos.
Starting with the April 2023 release of Lightroom desktop (version 6.3), you can access the edit controls like Auto and B&W to enhance your videos.
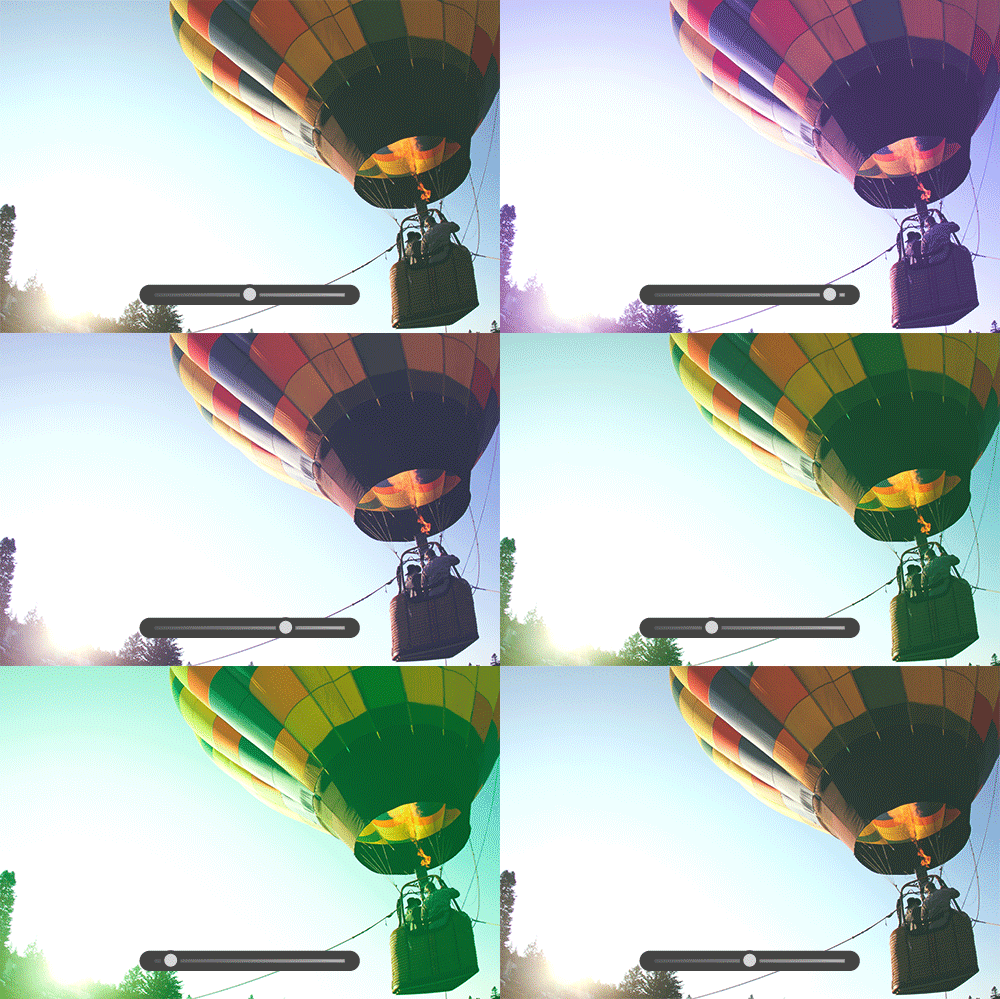
Use the editing sliders provided in the Light panel to adjust the tonal range in your videos.
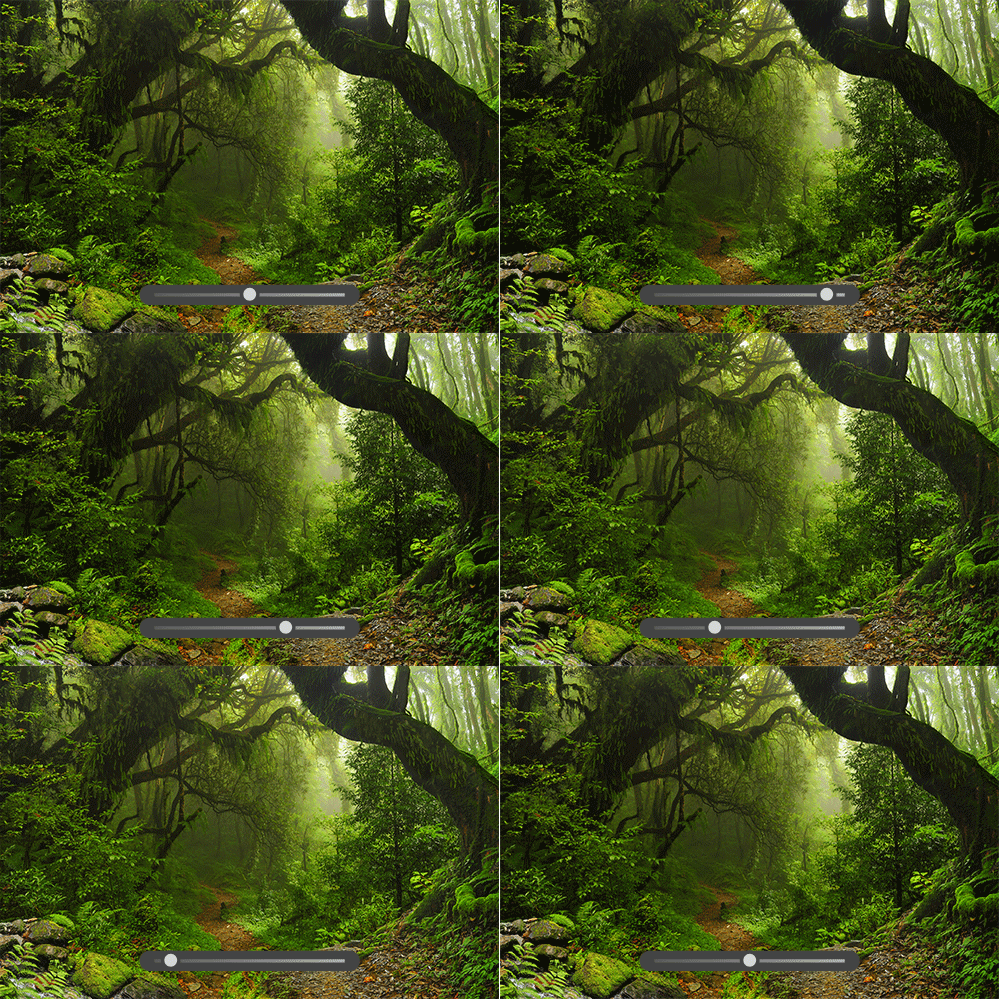
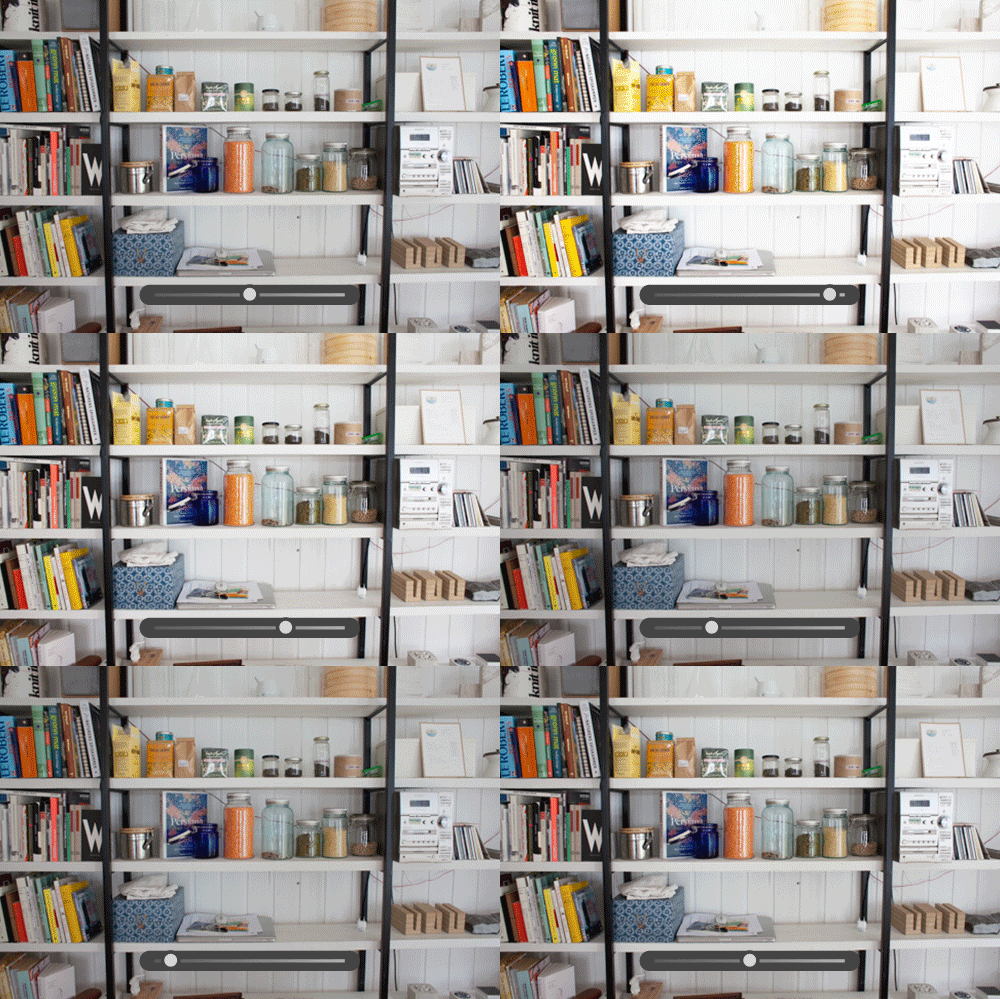
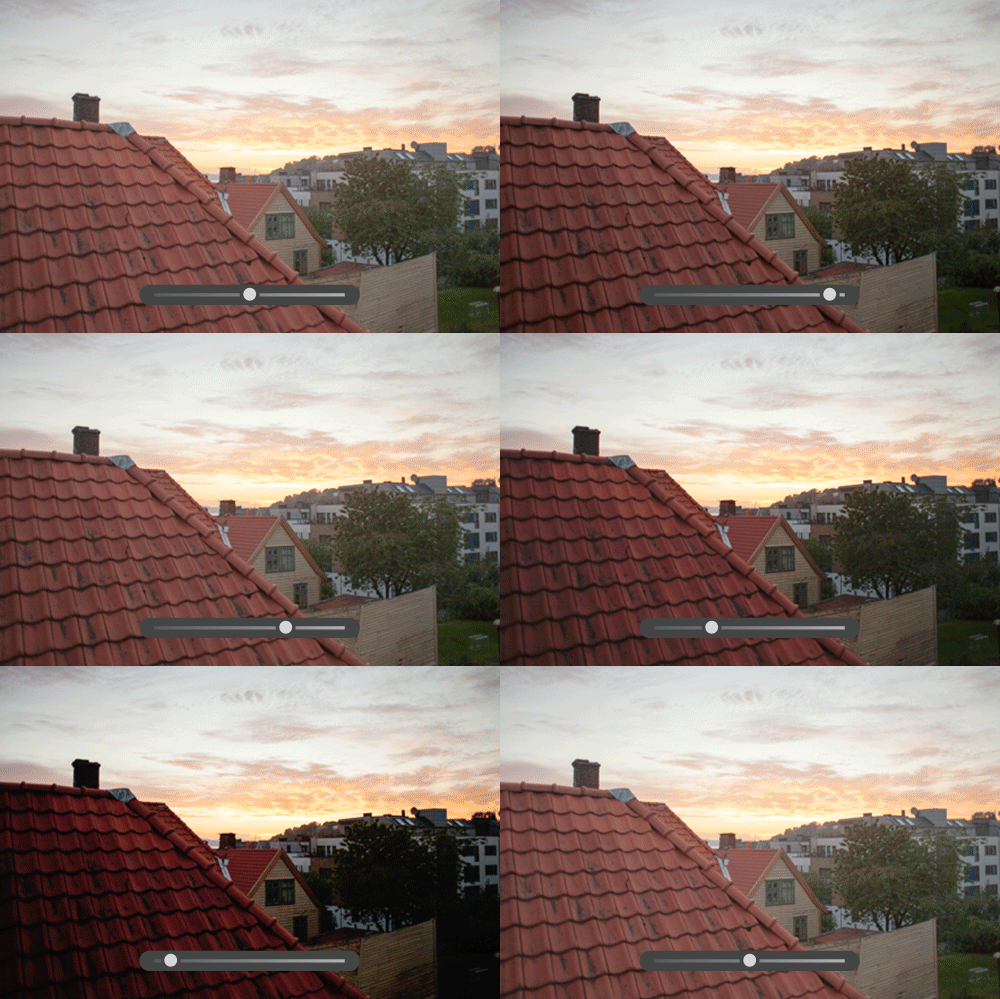
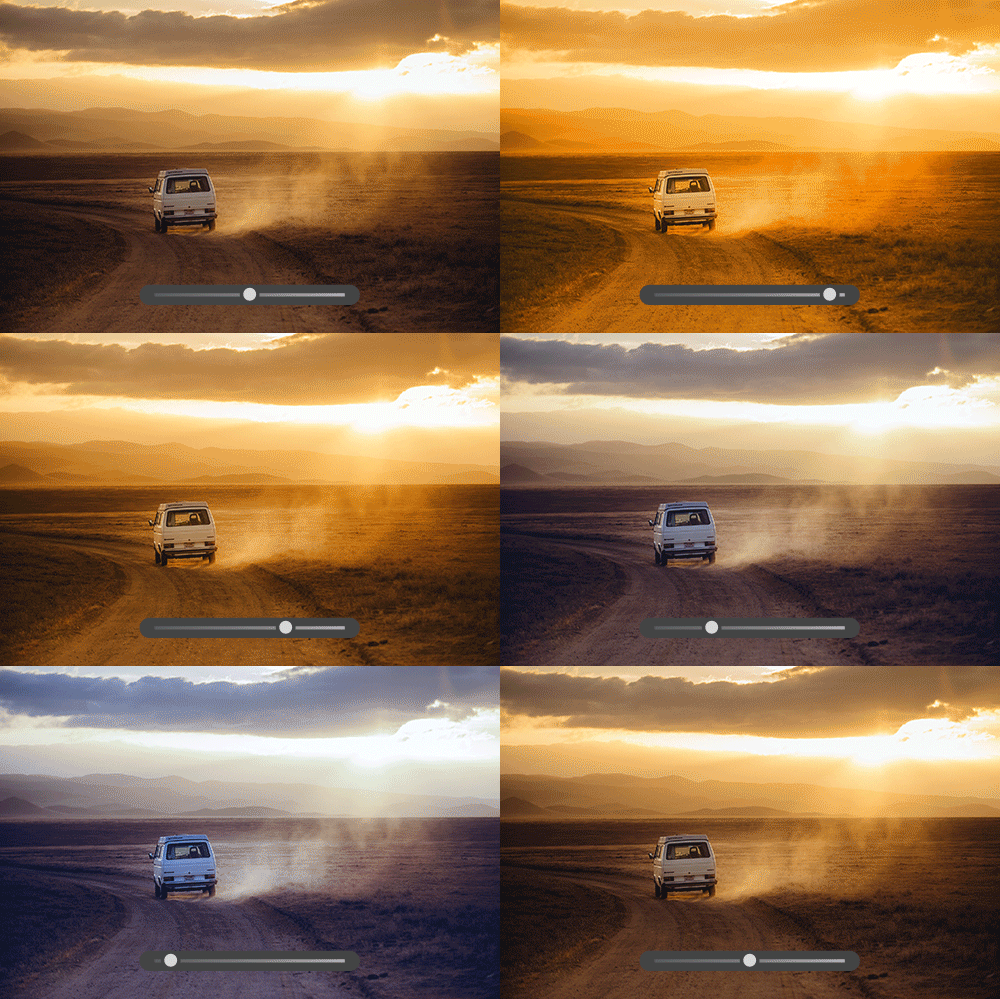
- Exposure - Use this slider to adjust the brightness of your videos. Move the slider to the left to make the video darker; move it to the right to make the video brighter.
- Contrast - Determines the contrast between light and dark colors. Move the slider to the left to flatten the contrast; move it to the right to make it more dramatic.
- Highlights - This controls the brightness of the lighter parts of your videos. Move the slider to the left to darken highlights to recover details; and right to brighten them and reduce details.
- Shadows - Move the slider to the left to deepen shadows; move it to the right to brighten them and recover details.
- Whites - Sets the white point of the video. Move the slider to the right to make more colors appear completely white.
- Blacks - Sets the black point of the video. Move the slider to the left to make more colors appear completely black.
|
Shadows |
Whites |
Blacks |
|---|---|---|
|
|
|
|
The Curve gives you greater control over your video's tonal range and contrast. The horizontal axis represents the original tonal values (input values), with black on the left and progressively lighter values toward the right. The vertical axis represents the changed tone values (output values), with black on the bottom and lighter values progressing to white at the top.
If a point on the Curve moves up, it becomes a lighter tone; if it moves down, it becomes darker. A straight, 45-degree line indicates no changes to the tonal scale; the original input values match the output values.
To adjust the Curve, select the Curve and drag it up or down. As you drag, the affected region and the new tonal value are displayed in the lower-right corner of the tone curve.
Tone Curve
This is used to adjust the shadows, highlights, and mid-tones. Use the curve to brighten or darken specific areas in your video.
Point Curve
This is used for more targeted adjustments and for creating specific effects like an S-curve for increased contrast.
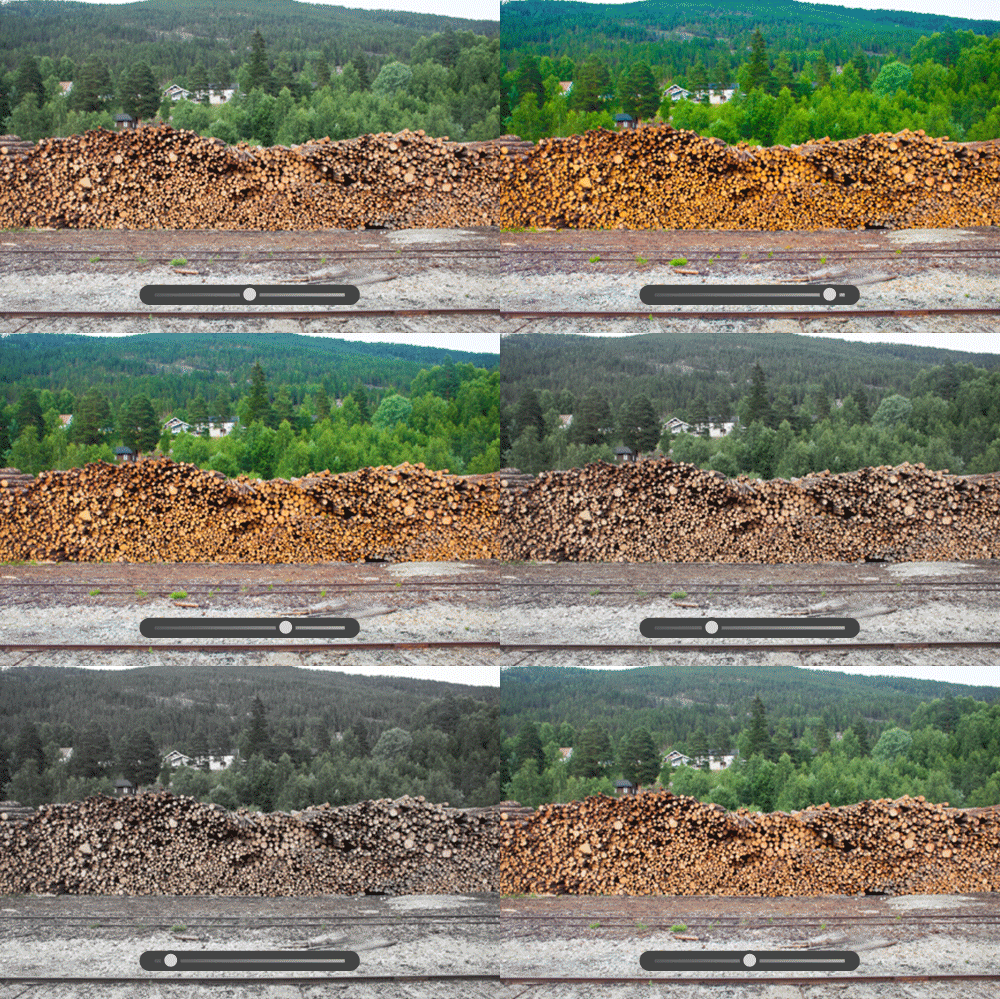
The editing sliders in the Color panel let you quickly and easily adjust colors in your videos. You can also use the Color Mixer and Color Grading options to enhance the color scheme in your videos and achieve desired editing results.
|
Temp |
Tint |
|---|---|
|
|
|
|
This control sets how yellow/warm or blue/cool your video looks. |
This control sets how green or magenta your video looks. |
|
Vibrance |
Saturation |
|---|---|
|
|
|
|
Use this control to increase the intensity of muted colors in your video. |
Use this control to increase the intensity of all colors in your video. |
For more details, see Color.
Add effects to your videos by using Vignette and Grain adjustment sliders in the Effects panel.
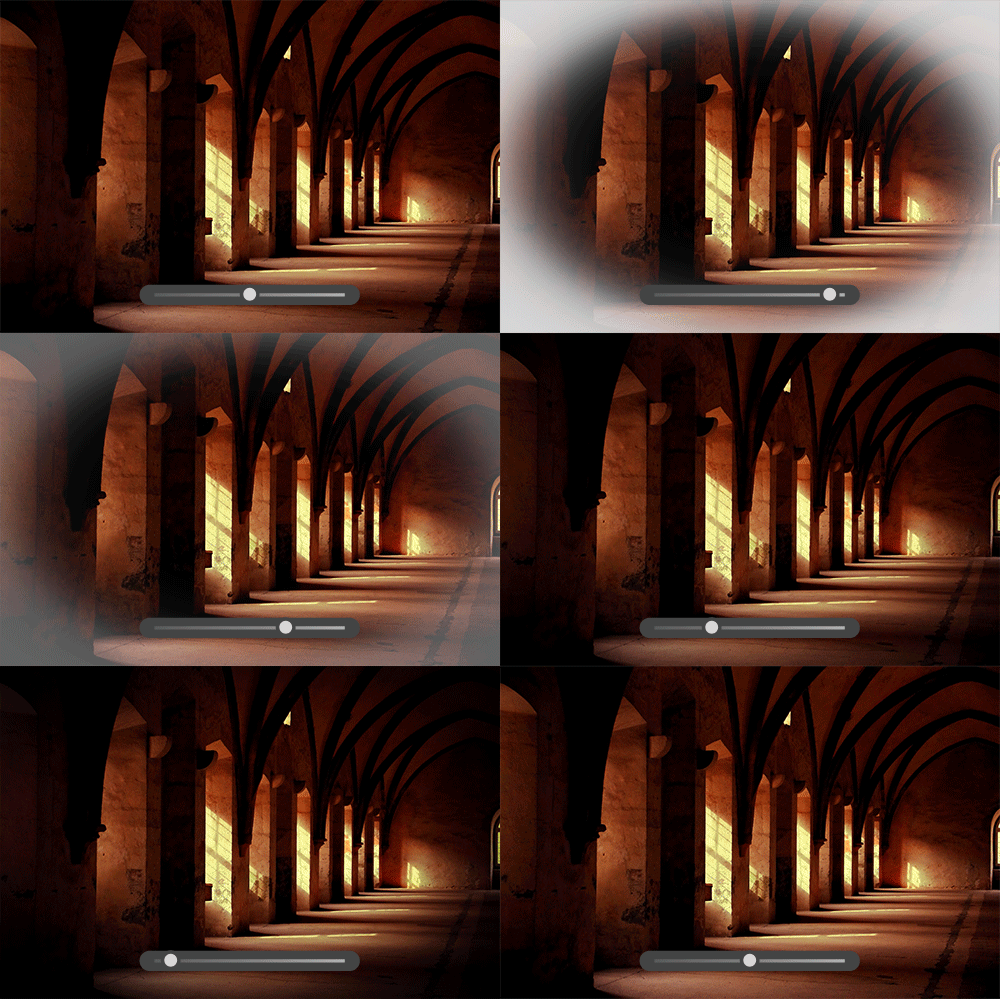
Vignette
Use this slider to make the outer edges of your video darker or lighter.
- Feather - Lower values reduce softening between the vignette and the vignette’s surrounding pixels. Higher values increase the softening.
- Midpoint - Lower values apply the Amount adjustment to a larger area away from the corners. Higher values restrict the adjustment to an area closer to the corners.
- Roundness - Lower values make the vignette effect more oval. Higher values make the vignette effect more circular.
- Highlights - Controls the degree of highlight contrast preserved when the amount is negative. Suitable for videos with small highlights, such as candles and lamps.

Grain
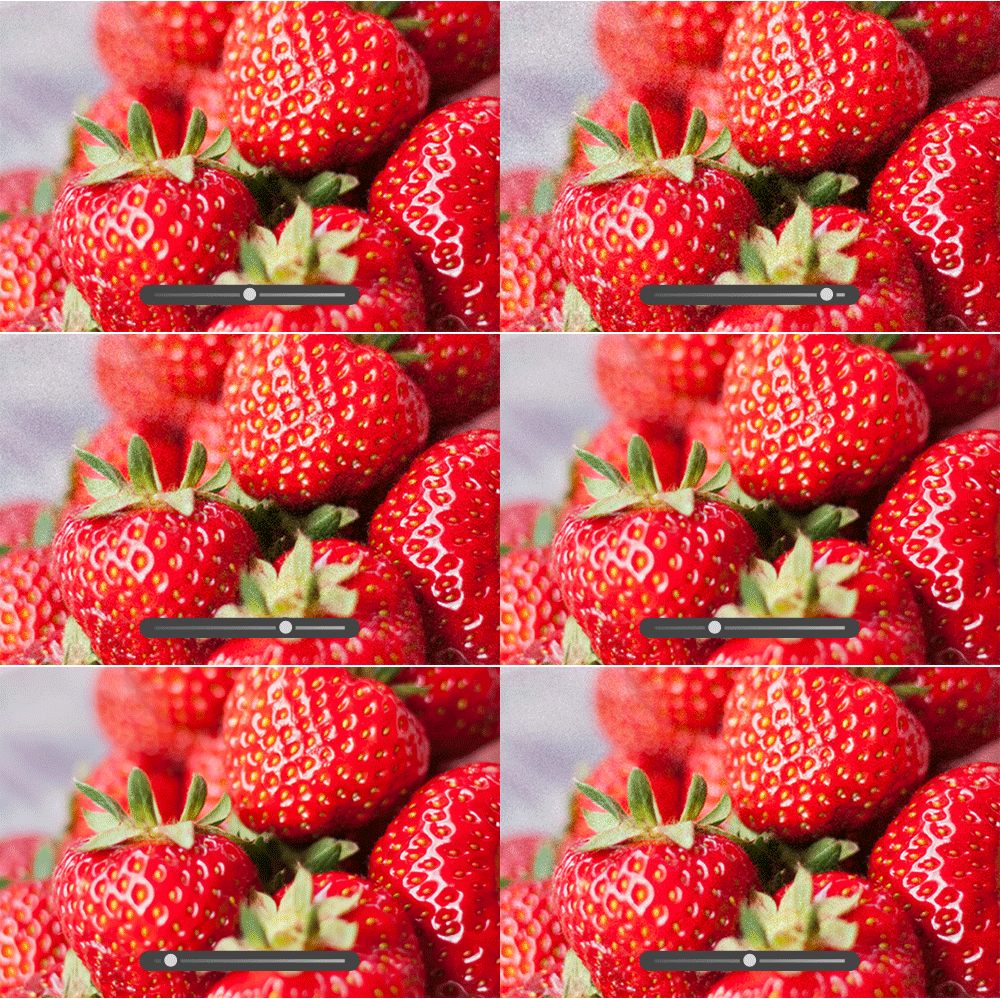
Move this slider to the right to add film grain to your video.
- Size: Controls grain particle size. At sizes of 25 or greater, blue is added to make the effect look better with noise reduction.
- Roughness: Controls the regularity of the grain. Move left to make the grain more uniform; move to the right to make the grain more uneven.

Creating Versions is currently not supported for video editing in Lightroom. As a result, edits made in collaboration with fellow photographers will override the original editing.
Copy-paste edits in videos
If you wish to apply the same edit settings to other videos or photos in an album, copy the edits from the video and batch-paste them to the selected images and videos.
Keyboard shortcuts to copy-paste edits from photos to videos:
- On macOS - Command+C (Copy) and Command+V (Paste)
- on Windows - Ctrl+C (Copy) and Ctrl+V (Paste)
You can also select the Copy Edit Settings option at the bottom of the screen to copy the settings from the selected video.
For more details on copy and paste, view Copy and Paste Edits article.
The Trim & Rotate panel in Lightroom lets you trim parts of your videos. You can also rotate the video and flip it if you need to.
Follow the steps below to trim a video in Lightroom:
After successfully applying the desired edits to your video, you can follow the steps below to export your videos:
-
Select export Video Settings in which you wish to export your video:
- Video Type:
Select Original if you wish to export the original video.
Select MP4 if you wish to export the video with edits.
- You can also extract and export the Current Frame from a video.
- File naming: Original, Custom, or Capture Date filename
Export options to export a video in Lightroom. Export options to export a video in Lightroom. - Video Type:


