Move the playhead to the spot where you want the title to appear in your video.
- Adobe Premiere Rush User Guide
- Introduction
- Import footage
- Edit video
- Edit your video in the timeline
- Add and refine audio
- Change video color, size, and position
- Create titles
- Add transitions, pan and zoom effects and automatically reframe your clips
- Transform clip properties
- Change aspect ratio of your video
- Create a picture-in-picture effect
- Speed up or slow down video
- Use fonts from Adobe Fonts
- Duplicating projects and sequences
- Export video
- Premiere Rush on iOS and Android
- Adobe Premiere Rush on mobile | Common questions
- Create and edit videos using Adobe Premiere Rush on iOS
- Export video to social media channels
- Create and edit videos using Adobe Premiere Rush on Android
- Manage Adobe Premiere Rush subscriptions on iOS
- Manage Adobe Premiere Rush subscriptions on Android
- Manage Adobe Premiere Rush subscriptions on Samsung Galaxy Store
Learn how to add titles, transition graphics, and overlays in your Adobe Premiere Rush video project.
As we introduce the next generation of Adobe Premiere mobile apps, we are discontinuing Adobe Premiere Rush. Effective September 30, 2025, Premiere Rush will no longer be available on Adobe.com. As an alternative, we recommend Premiere on iPhone; a version for Android is currently also in development. For more information, visit the Premiere Rush Discontinuation FAQ.
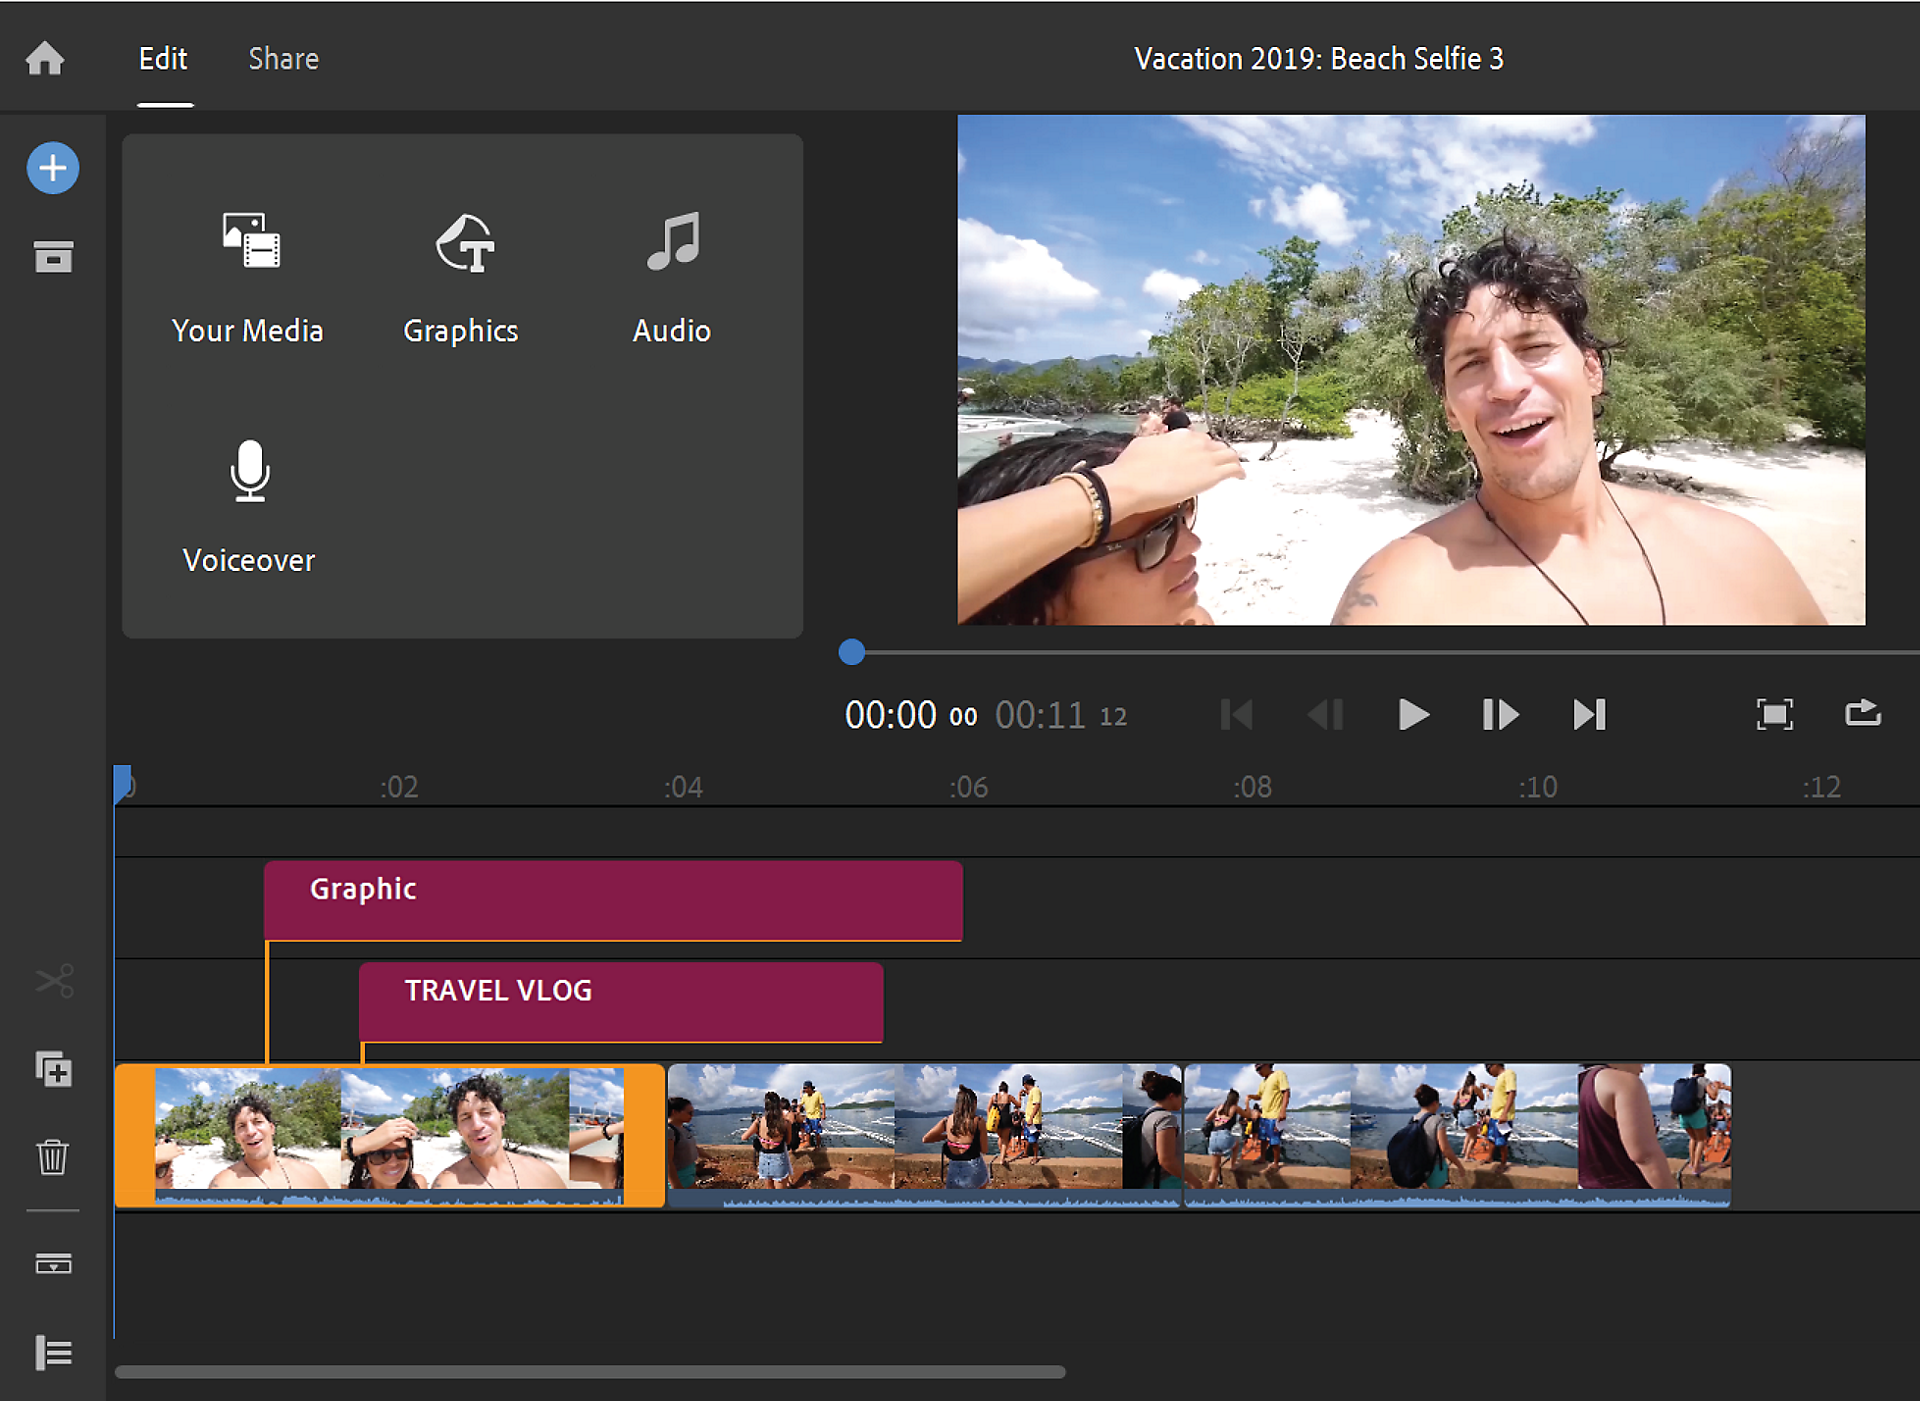
You can add a title to any video clip or photo in your Premiere Rush project. You can create simple text-only titles or jazzy titles with text, graphics, and animation using Motion Graphics templates. Premiere Rush lets you access a variety of Motion Graphics templates from the Titles panel.
When you add a title, Premiere Rush creates a clip with only the title. You can easily select a clip, and edit or delete the clip.
Create titles
You can add graphics like titles, transitions, and overlays. You can search across all graphics categories in Premiere Rush. To add graphics to your project, do the following:
Add a title
-
-
Click the blue + icon on the left toolbar, and select Graphics.
Select graphics Select graphics -
Select Titles. Choose a title style that you want to add to your project. Click Add.
To see more title styles, click More.
Select title Select title Premiere Rush adds a default title clip to your timeline, showing you a preview of it in your Preview monitor as well.
To see more title styles, click More. You can search for specific title styles using the search bar.
-
Select the title clip in the timeline and double-click the text in the Preview monitor to edit it.
Edit the default title text Edit the default title text -
To customize the appearance of the title, use the Graphics panel. You can change the font, font size, and other format and appearance controls.
Edit the appearance of the title Edit the appearance of the title If you want additional font options, you can add fonts from Adobe Fonts. For more information, see Use fonts from Adobe Fonts.
Change title style
You can edit the text, font, size, color, and position of a title. You can also preview other title styles and change the title to a style you like better.
-
Select the title clip in the timeline, and click the Titles icon to open the Titles panel.
-
From the Titles panel, select a template with the style you want.
-
To further customize the title, select Edit in the Titles panel.
-
Select your text layer in the Preview monitor and then change the font, size, color, and other properties of your title.
Adjust the position, size, and duration of a title
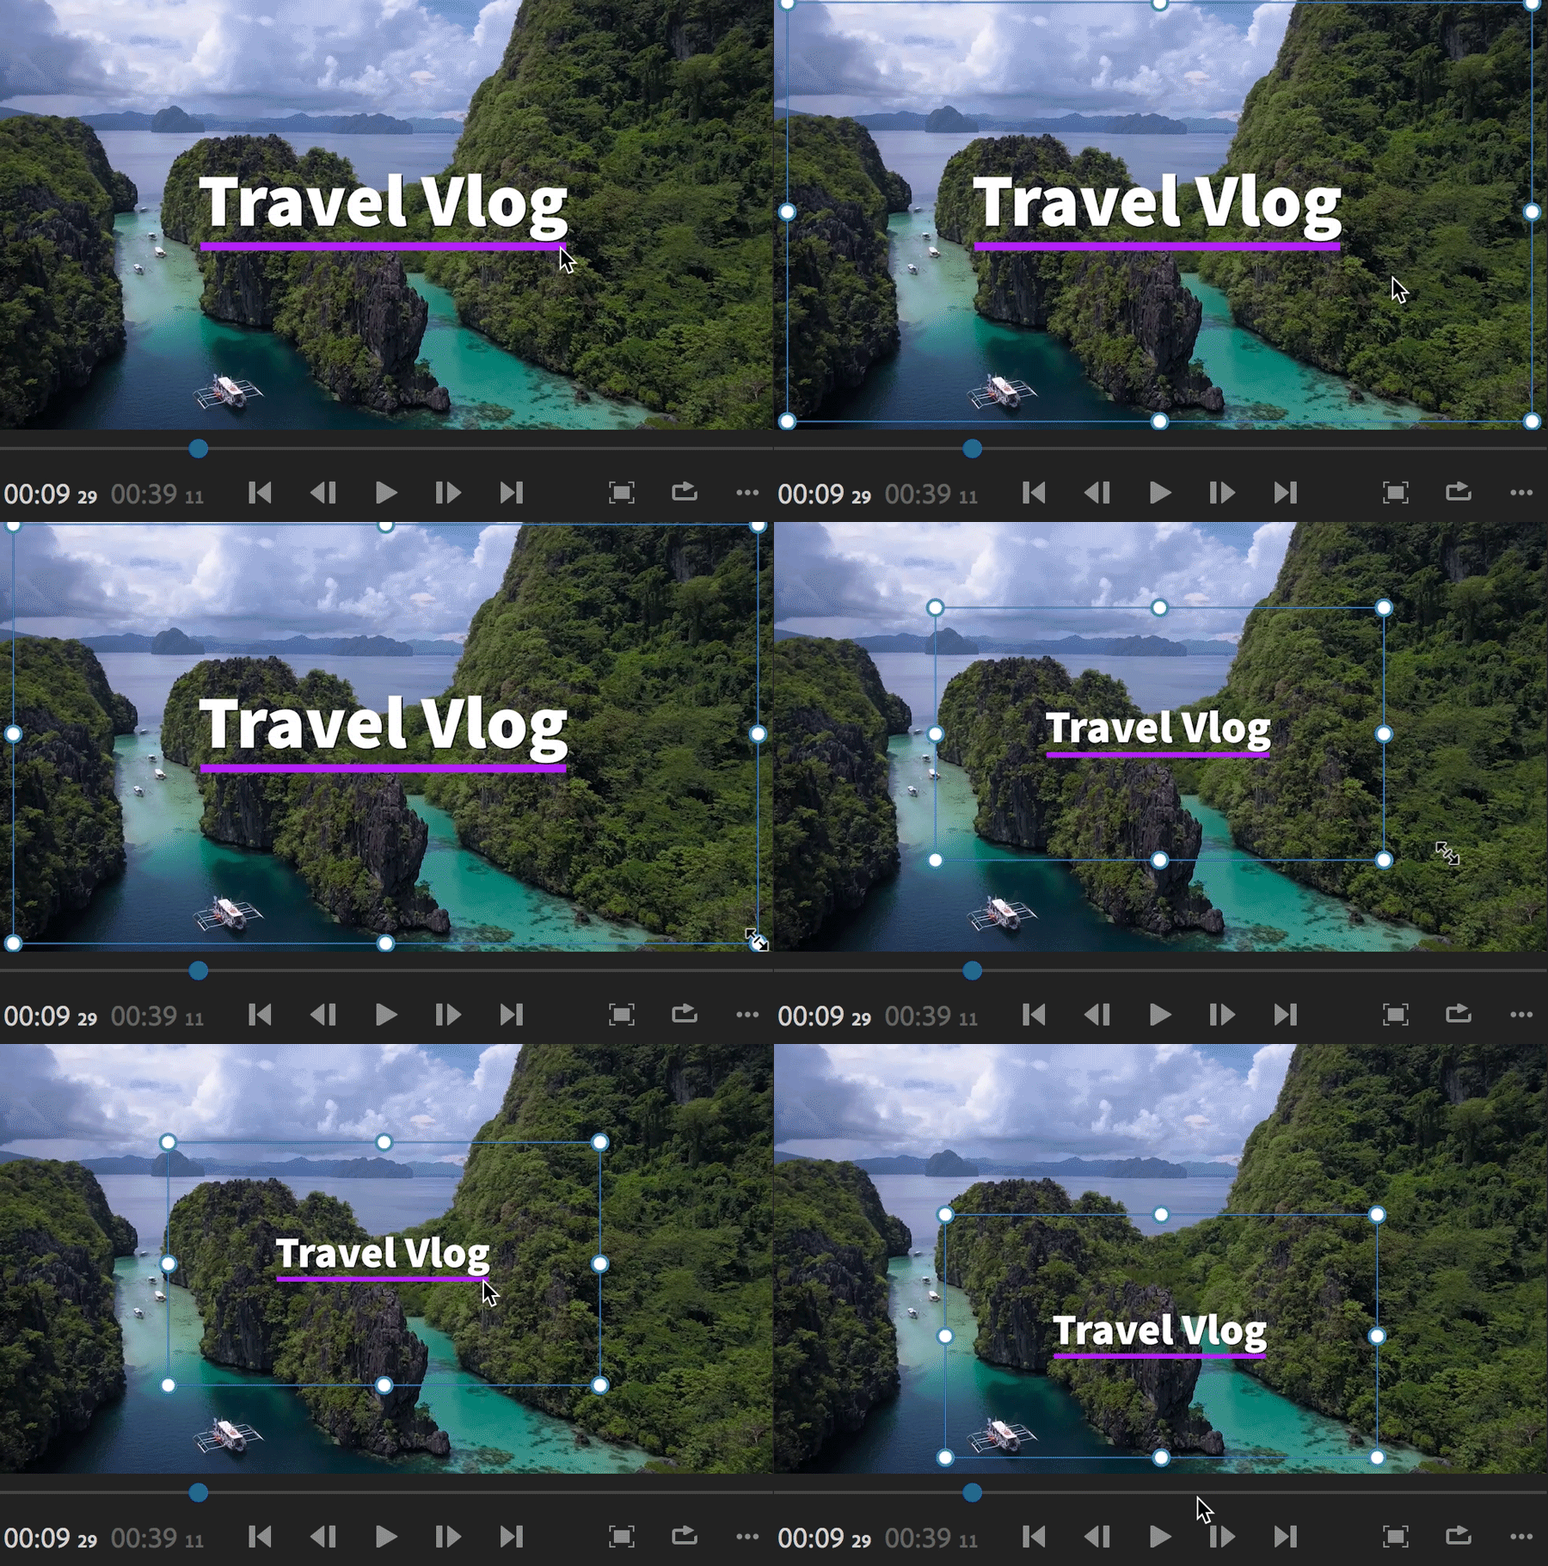
Adjust the position and size of a title.
Select the title clip in the timeline.
Then click the Preview monitor to bring up the blue handles that allow you to adjust the position and size of the title. You can now move the title and position it anywhere on the monitor.


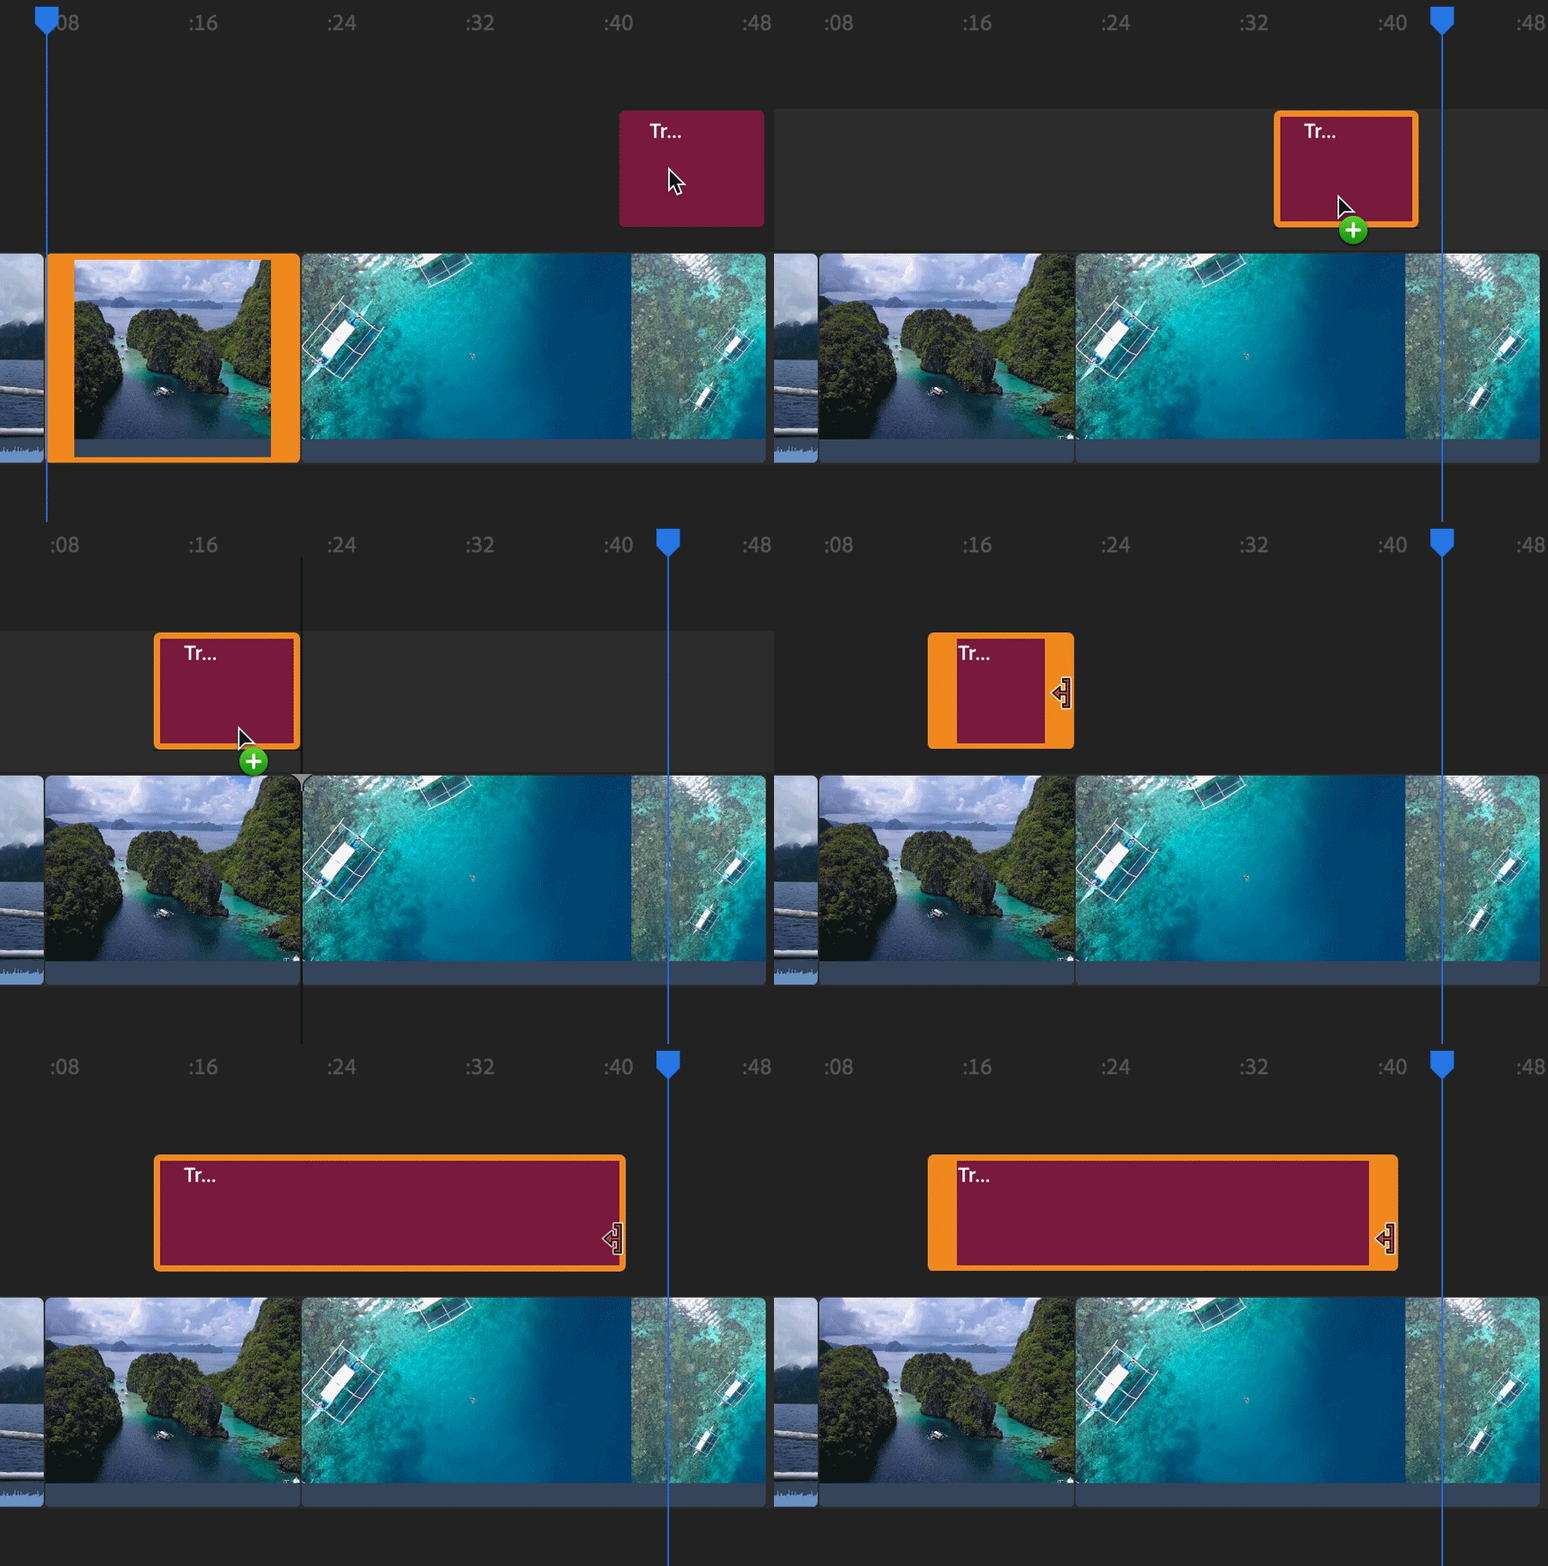
Adjust the duration of a title.
Use the orange trim handles around the clip to increase or decrease the duration of the clip.
To move a clip, just select it and move it in the timeline.


Add transition graphics
-
Move the playhead to the spot where you want the transition to appear in your video.
-
Click the blue + icon on the left toolbar, and select Graphics.
Select graphics Select graphics -
Select Transition Graphics. Choose a transition graphic style that you want to add to your project. Click Add.
Select transition graphic Select transition graphic To see more title styles, click More. You can search for specific transition graphics using the search bar.
-
To customize the transition graphic, use the Graphics panel.
Edit the appearance of the transition graphic Edit the appearance of the transition graphic
Add an overlay
-
Move the playhead to the spot where you want the overlay to appear in your video.
-
Click the blue + icon on the left toolbar, and select Graphics.
Select graphics Select graphics -
Select Overlays. Choose an overlay style that you want to add to your project. Click Add.
Select overlay Select overlay To see more title styles, click More. You can search for specific overlay styles using the search bar.
-
To customize the overlay, use the Graphics panel.
Edit the appearance of the overlay graphic Edit the appearance of the overlay graphic
Save titles or graphics
-
To save a title or graphic, click the ... icon.
-
Select Save as.
Saving a title or a graphic Saving a title or a graphic -
Enter a name. Click OK.
This template is available to you from the Saved section in the Graphics Media Browser, and you can use it in any Premiere Rush project.
Saved section of the Graphics Media Browser Saved section of the Graphics Media Browser
Delete title clips
To delete a title clip, select the clip in the timeline and click the Delete icon on the left toolbar.


