
Open the Control Panel and double-click Internet Options.
Last updated on
21 December 2023
Adobe Document Cloud provides a web-based installer and related tools to deploy the Adobe Acrobat for SharePoint and OneDrive.
Supported browsers
The Adobe Acrobat for SharePoint and OneDrive is supported on all modern browsers such as Microsoft Edge, Chrome, Firefox, and Safari.
Alert:
Beginning October 1, 2021, Acrobat tools will no longer support Internet Explorer and Microsoft Edge Legacy browsers.
Note:
The Document Cloud integration will not work if third-party cookies are blocked in the browser. Ensure that third-party cookies are unblocked for the browser you are using.
Problem: Microsoft Edge browser security zone protected mode issue.
A security zone issue arises if your Microsoft Office 365 server and the Document Cloud server are in two different security zones and one of those zones is running in protected mode and the other zone is not running in protected mode. In this configuration, the Microsoft server is not able to communicate with the Adobe server and the session cookie fails to validate your session.
Solution
To fix this issue, make sure that you either follow solution 1 or solution 2 as mentioned below:
Note:
The administrator has to enforce this configuration for all the users, else the users have to configure the browser settings manually.
Solution 1: None of the server URLs are listed in the trusted zone.
Make sure that none of the server URLs are listed in the trusted zone. If it is listed, remove it from the trusted zones list.
Solution 2: Configure your browser by adding all the server URL entries to the trusted sites zone.
To add a site to the Internet trusted sites zone perform the following steps:
-
-
Click the Security tab in the Internet Properties dialog box.
-
Click Trusted Sites > Sites.
-
Add *.microsoftonline.com to the Trusted Zone if it is not already added.
-
Add the below Adobe server address to the Trusted Zone if it is not already added.
*.adobe.com
*.acrobat.com
*.adobe.io
*.adobelogin.com -
Close the Trusted Sites dialog box. Click OK.
A limitation in the Edge browser is the security zone protected mode issue where two servers are configured with different security zone or protected mode settings.
Add the site https://adobe.io to the list of exceptions in the browser's privacy settings. To add the site, do the following:
-
In the Edge browser, click the options (
 ) icon in the top-right corner, and then click Settings.
 -
Click the menu (
 ) icon > Privacy And Services.
 -
Click Exceptions.
-
Click Add A Site. Enter the address https://adobe.io, and click Add.


Deploy Adobe Acrobat for SharePoint and OneDrive
Follow the steps below to deploy Adobe Acrobat for SharePoint and OneDrive account.
-
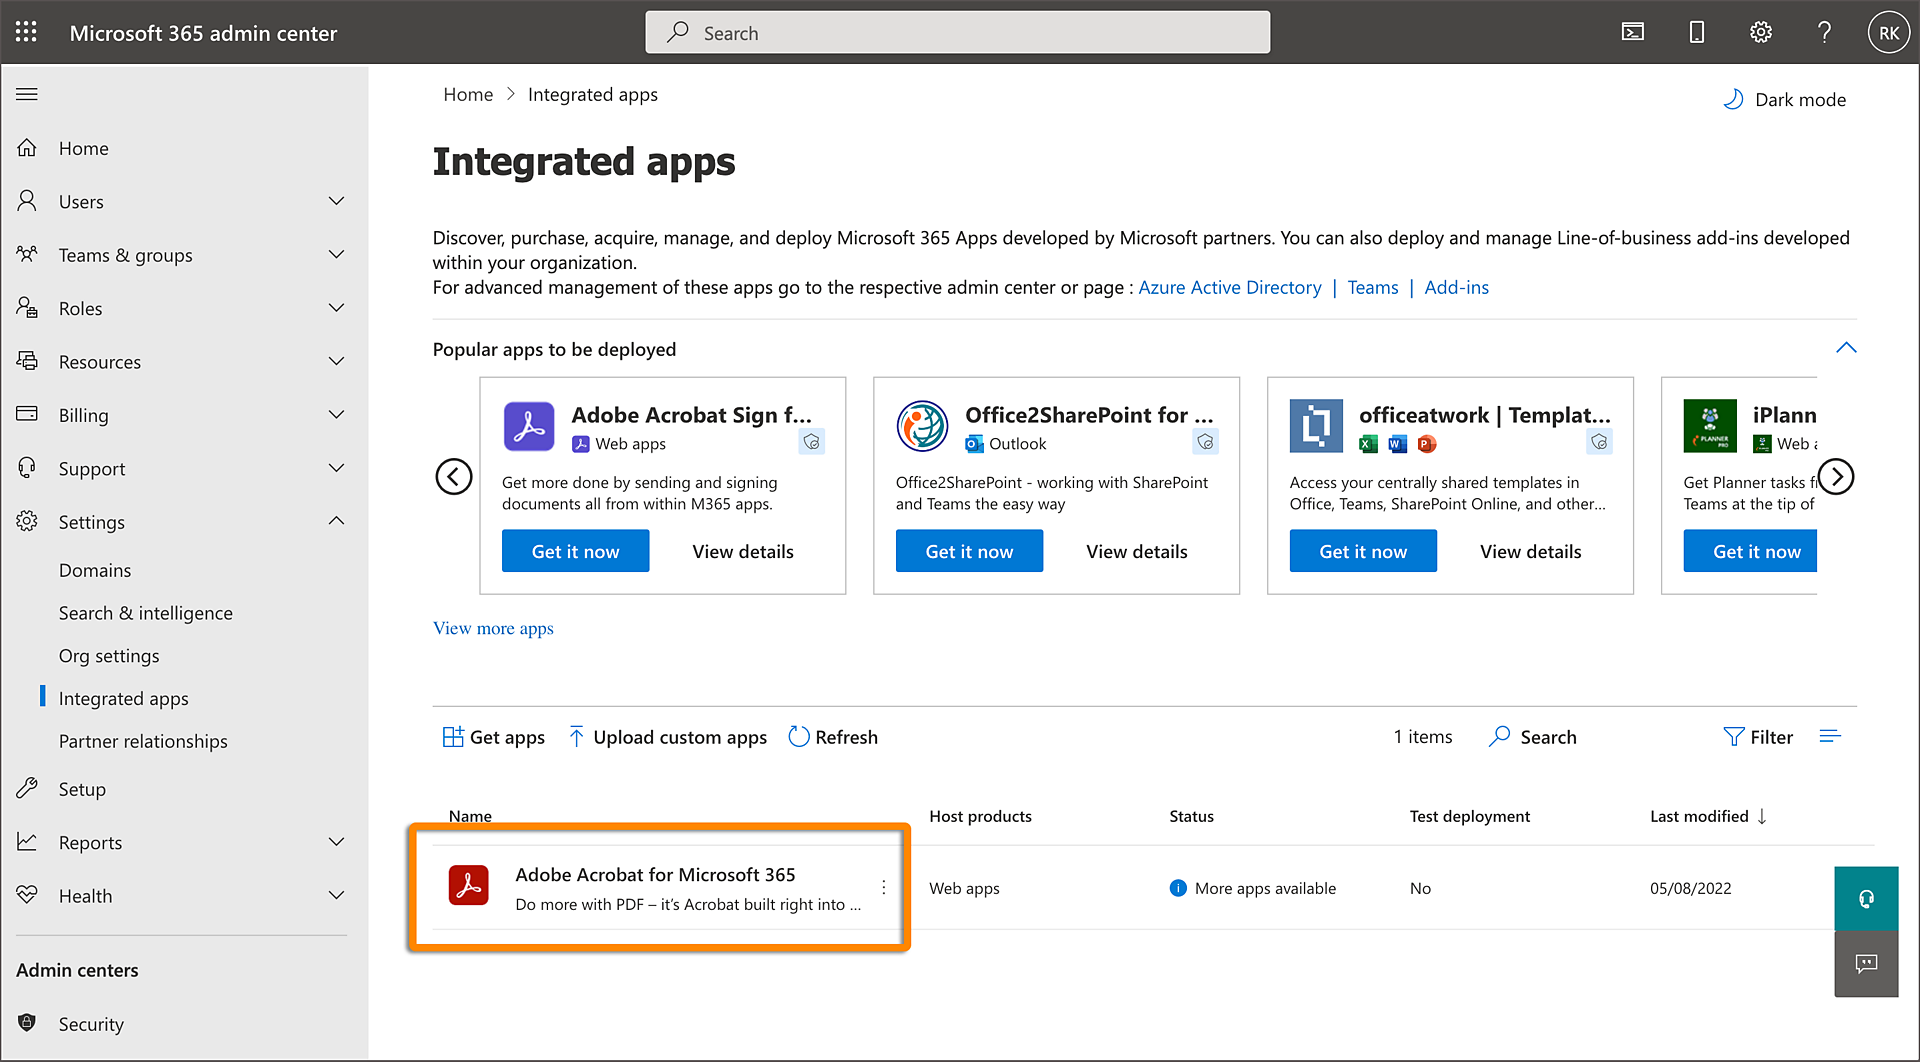
Go to Microsoft 365 Admin center and log in using your credentials.


Manage your installation
The user management is currently not supported in Azure Active Directory, even though the Adobe Acrobat for SharePoint and OneDrive is visible in it.
Alternative method for deploying Adobe Acrobat on SharePoint and OneDrive
If Adobe Acrobat isn't visible after 24-48 hours, deploy it using this method.
-
Navigate to the URL: https://documentcloud.adobe.com/o365pdf/start.html.
-
Select the Install & Configure button below the SharePoint OneDrive section.
-
Select Continue in the Note For Admin dialog box.
Note:If you're signed in as an individual user, you'll still see the Note For Admin message. Select Continue, as this does not apply to you.
-
The Microsoft online login page is displayed. Sign in with your credentials.
-
The application permission window is displayed. Do one of the following:
- If you're logged in as an administrator and want to deploy the application to your account only, select Accept.
In this case, you have the option to deploy the application later to all users of the tenant. For more information, see Deploy to all users. - If you're logged in as an administrator and want to deploy the application to your account as well as all users of the tenant, select the checkbox Consent On Behalf Of Your Organisation, and then select Accept.
- If you're logged in as an individual user, you won't see the Consent On Behalf Of Your Organization option in the permissions dialog. Select Accept.
Note:The application does not modify any permissions and requires your consent for the following purpose:
- User profile access.
- Access token for file handling operations.
The Adobe Acrobat for SharePoint and OneDrive deployment is completed, and a confirmation message is displayed in the green bar. Generally, due to caching, it takes up to 48 hours to display the Adobe Acrobat for SharePoint and OneDrive.
- If you're logged in as an administrator and want to deploy the application to your account only, select Accept.
-
You can deploy the application to all the tenant users after the deployment is completed for your account. In the installation confirmation window, select Deploy To All Users.
-
In the Deploy the Acrobat App To All Tenant Users dialog box, click Continue.
-
Sign in with your Microsoft login credentials if prompted.
-
In the permissions dialog box, click Accept.
The Adobe Acrobat for SharePoint and OneDrive deployment is completed, and a confirmation message is displayed in the green bar. Microsoft caching infrastructure delays the deployment of the app. Generally, it takes up to 48 hours to display the Adobe Acrobat for SharePoint and OneDrive in your user's account.


Uninstall Adobe Acrobat for SharePoint and OneDrive
-
Sign in to https://portal.azure.com with your Microsoft admin account.
-
In the left pane, click Azure Active Directory > Enterprise Applications.
-
Click All Applications. From the list of deployed applications, click Adobe Document Cloud.
-
Click Properties, and then click Delete.
Note:Microsoft caching infrastructure delays the deletion of the app. It might take upto 24 to 36 hours for the Adobe Acrobat for SharePoint and OneDrive to be removed from your account. After 24 to 36 hours, log out and log in back to your OneDrive and SharePoint account. The Adobe Acrobat for SharePoint and OneDrive is removed.


Frequently asked questions
Installation
Yes, you can install the app for selected users, or user groups using the Microsoft 365 Admin Center.
To install Adobe Acrobat for SharePoint and OneDrive to your tenant users, go to the URL https://documentcloud.adobe.com/o365pdf/bookmark.html, and click Deploy To All Users.
For more information, see Deploy the application to all users.

Yes, as an individual user you can install the app to your account from the Appsource, or the Adobe web-page.
- Once the app is installed, Adobe Acrobat web becomes the default PDF experience in Sharepoint & OneDrive. In the list of files, users will now see an Adobe icon instread of the default PDF icon.

- Upon file selection, users now see a Document Cloud button in the command bar to convert, export, or combine. All users will see this button, irrespective of their current subscription status.

When your tenant user opens a PDF, the PDF opens in the embedded Adobe Acrobat viewer.

Once you have deployed Adobe Acrobat for SharePoint and OneDrive to all the tenant users, any newly added users automatically get access to the application.
No, you cannot uninstall or restrict the application usage for selected users or user groups. If you want to remove, you have to uninstall from the entire tenant in the Microsoft Admin console.
Microsoft caching infrastructure delays the installation or removal of the application. It takes up to 48 hours to install the Adobe Acrobat for SharePoint and OneDrive. If the application is not installed even after 48 hours, try reinstalling the application, or contact Microsoft Support.
Microsoft’s file handler framework does not support the Adobe Acrobat for SharePoint and OneDrive application to surface in the recent files page at the moment.
Using the free and paid features
Your tenant users do not need an Adobe Acrobat subscription, or an Adobe ID to view the PDFs, view bookmarks, search a PDF, or comment and annotate PDFs. Once you have installed Adobe Acrobat for SharePoint and OneDrive across the tenant, all the tenant users automatically have access to these application features and can use it.
To Create, Organize, Combine, or Export a PDF, the tenant users will need an Adobe Acrobat subscription, and an Adobe ID. Even though all users can see these options in their respective accounts, only the users with an active subscription will be able to use these functions.
Your organization might be using an older perpetual licensing agreement vs. the named licensing agreement that provides online IDs for licensed users. To migrate to the named licensing agreement, contact your reseller.
Data and security
Your documents are stored in their original location on Sharepoint or OneDrive. Actions such as viewing, commenting, and search occurs on your machine. Any changes made are saved to your Sharepoint or OneDrive account. If you create, organize, combine, or export a document, it is sent to the Adobe Document Cloud servers for transient processing from where It is deleted within 24 hours. The modified document is saved back to your Sharepoint or OneDrive account.
When an individual user installs the Adobe Acrobat for SharePoint and OneDrive application from AppSource or the Adobe website, only the contact information is shared with Adobe for marketing purposes. If an administrator installs the application across the tenant, none of the tenant users contact information is shared with Adobe.
Other
Visit our support page https://documentcloud.adobe.com/o365pdf/support.html, and log a support ticket.
To share your feedback with us, open a PDF document. Click the More menu (...) button, and then click the Share Feedback button.
