Match
- Character Animator User Guide
- Introduction
- Creating and controlling puppets
- Rigging
- Behaviors
- Recording and playback
- Export projects
A puppet has many layers to control specific body parts. These layers are often grouped. You can select layers to modify their properties, rearrange and reposition layers, and hide or show layers. Read on to know more about working with layers.
Puppet layers
A puppet has layers, some of which are groups. The layers that have twirl-down arrows are referred as groups. You can select layers to modify their properties, assemble a puppet from parts in the Project panel (including parts from multiple puppets or artwork files), rearrange and reposition layers, and hide or show layers.
At any time, you can switch to Photoshop or Illustrator to make artwork changes or use tagging in Character Animator to control behavior.
The layer list in the left sidebar of the Puppet panel indicates the following:
- The number of behaviors applied to and number of handles in a puppet layer’s source puppet.
These details can help you determine where behaviors and handles exist in a puppet hierarchy, and the letters available to press to trigger various actions (showing or hiding layers, cycling layers, and so on).


Organize layers
Locate specific layers in a puppet using the search filter in the Puppet panel. You can search for layers based on their name or the name of a behavior that’s applied. Filter the layer list to easily select layers that you want to add the same behavior or tags to, reposition, delete, or any other layer operation in the Puppet panel.
To filter the layer list:
1. Click in the search filter field above the layer list in the Puppet panel. If the panel is focused, you can also choose Edit > Find(Command/Ctrl+F).


2. Enter all or part of the name of a layer or behavior as the search term. The layer list shows only layers with matching layer and behavior names (regardless of case), and their groups in the puppet layer. Behaviors are matched against their current name, not original name (e.g., if you renamed Dragger as Left Hand, it won’t match if filtering on the term “dragger”).
If you enter multiple search terms, they can either be required or optional matches, as described below:
|
|
Type |
Example |
Matched content |
|
All search terms |
Separate terms by a space |
right eye |
Right Eye, right Eyeball |
|
Any search term |
Separate terms by a comma (space after comma is optional) |
right, eye |
Right Eye, right pupil, right Eyeball, RIGHT LEG, Right Hand, Left Eye, left Eyeball, layer with the Eye Gaze behavior applied |
Tip: To select filtered layers, make sure the search filter field isn’t focused (if focused in the field, press Return on macOS or Enter on Windows), then press Command/Ctrl+A.
To show all layers and remove the filter, click the “x” in the search field.
Most operations work on the selected layers in the Puppet panel. Select or deselect layers, as follows:
- To select a single layer, click it in the layers list.
- To select a range of layer, click the first layer in the range in the layers list, then Shift-click the last layer in the range.
- To select or deselect individual layers, Command-click (macOS) or Ctrl-click (Windows) the layer in the layers list.
- To select all layers, choose Edit > Select All.
- To deselect all items, either choose Edit > Deselect All or click away from any layer.
Rename items in the Project panel for easier identification. Rearrange items into folders in the Project panel to keep your work organized.
1. Do either of the following:
- Select the layer, then press Return (macOS) or Enter (Windows).
- Right-click above the layer in the layers list, then choose Rename.
2. Type the new name, then press Return/Enter or click away from the text field. To cancel your changes, press Esc.
Note: Renamed layers don’t get tags auto-applied. If a layer’s name is too long to fit within the Name column, either widen the layers list or hover the mouse pointer above the name to view the full name in a tooltip.
Select the layer, then choose Edit > Duplicate. When you duplicate a layer, the duplicated layer shares the same source artwork. Layers and groups in the Puppet panel can be duplicated (Edit > Duplicate menu command), so that you can modify the duplicate without affecting the original.
When a group is duplicated, its entire structure (layers and groups within it) is also duplicated. If, instead, you want to keep the structure of both groups the same — for example, deleting a layer in one also deletes it in the other — make it shareable (via the Make “group-name” Shareable context menu command).
- Drag the layer vertically in the layers list, within the layer’s group.
Note: A layer cannot be moved outside of its current group, at least within the Puppet panel. If you need to move a layer to a different group, edit the puppet’s artwork (via Edit > Edit Original).
- Select the layers, then choose Puppet > Group.
The selected layers are enclosed in a group. (Recommended) Rename the new group to be more descriptive. It can be used as a separate puppet directly in the scene. It’s best to rename the “group” project item that was created, so that the new puppet layer uses the new name by default. Renaming the puppet layer directly doesn't update the source puppet item’s name.
To change the order of a layer, drag it vertically relative to its sibling layers within the sidebar.
Note: You cannot drag a layer outside a puppet or into another group.
Drag one or more puppets, including previously shared puppets, from the Project panel into the layers list of the puppet that’s open in the Puppet panel.
Select the layer and press Delete or Backspace or choose Edit > Delete.
Note: Removing a layer does not affect the original artwork on disk.
Warping inside a puppet affects its layers, whereas capabilities such as key-triggered replacements require groups. You can combine any number of layers into a group.
Modify layer properties
To change the properties of a layer (such as position, scale, and rotation):
-
Select the layer in the left sidebar.
-
In the Properties panel, adjust the following layer-specific properties:
- X and Y (for position), X Scale and Y Scale (for size), Opacity, and Rotate (for rotation) of the layer relative to its original transform. You can also reposition a selected layer by dragging inside the gray highlighted area.
- Warp Independently controls whether a layer warps on the same rubber sheet as other layers in the puppet.
- Attach To controls the handle to stay attached to (for example, if you have a hand group that wants to move with an arm).
- Trigger section: Specifies the trigger key to use to show the layer or start a cycle of layers. For more information, see the Editing keyboard triggers section.
-
To modify a warp mesh associated with the layer, adjust the following Layer Mesh properties:
- Mesh Shape controls the form of the source puppet’s warp mesh. Rectangle uses the content’s rectangular bounding box, Contour follows the outline of the content, and Auto (the default) automatically uses Contour for most cases or Rectangle if disconnected content is detected.
- Mesh Expansion specifies the number of pixels to extend the mesh from the layer’s boundary (contoured or rectangular). Higher expansion values can reduce the possibility of curved edges appear cut, but can cause regions that warp separately (for example, a character’s legs) to warp together.
-
If a puppet layer is selected, adjust the applied behaviors for the source (primary) puppet in the Behaviors section. You can add or remove behaviors or adjust the behavior parameter values like you would if the puppet item in the Project panel was selected. For more information, see Control puppets using behavior.
NoteBecause you are changing the source, all instances of that puppet in the scene and other puppets are affected.
-
If a layer is selected, enable the Render As Vector option if you want to use a more accurate representation of the artwork.
NoteBecause you are changing the source item, all instances of that layer in other puppets are affected.
Layer blending modes
Blending modes control how layers interact with the layers beneath them. Character Animator provides a set of blending modes, which you can apply to any layer or group in a puppet. You can set the opacity and experiment with the various blending modes to achieve different results.
To adjust the blending modes, follow these steps:
- Select the layer or group in the Puppet panel.
- In the Properties panel, select the Layer section and adjust the Opacity and the Blending Mode.
The following descriptions use these terms:
- The source color is the color of the layer to which the blending mode is applied.
- The underlying color is the color of the composited layers below the source layer.
- The result color is the output of the blending operation; the color of the composite.
| Blending Mode | Description | Example |
|---|---|---|
| Pass Through | For groups only, it allows blending mode adjustments and opacity adjustments done to the layer within the group to affect layers below the group. | 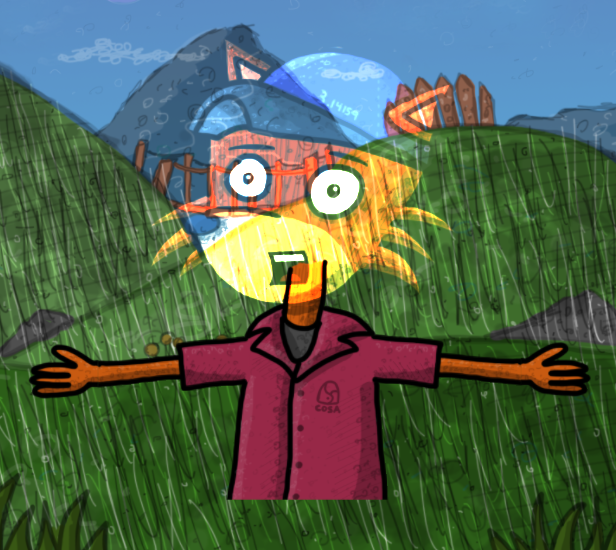 |
| Normal | To restrict blending and opacity from affecting layers other than the layers in the group, change the group’s blending mode to Normal. |  |
| Normal | No specific blending modes are applied. The result color is the source color. Normal is the default mode. |  |
| Darken | Reads the color information in each channel to identify the darker color between source color and underlying color. The darker color is the result color. | 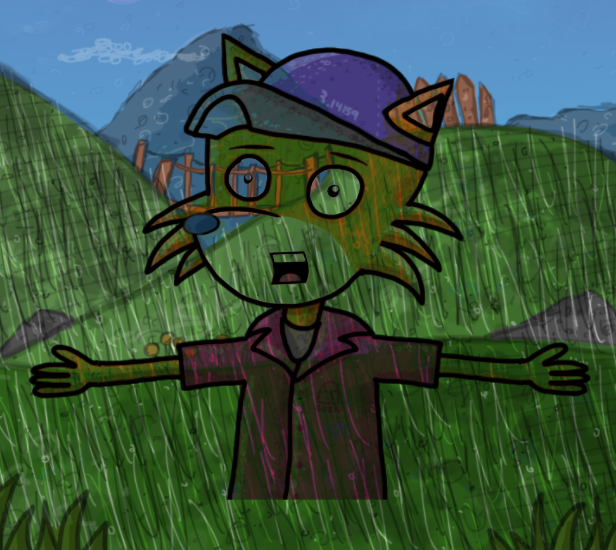 |
| Multiply | Reads the color information in each channel and multiplies source color with underlying color. The result color is a darker color. Multiplying any color with black results in a darker color and multiplying any color with white results in no change. For example, placing multiple gels in front of a light. | 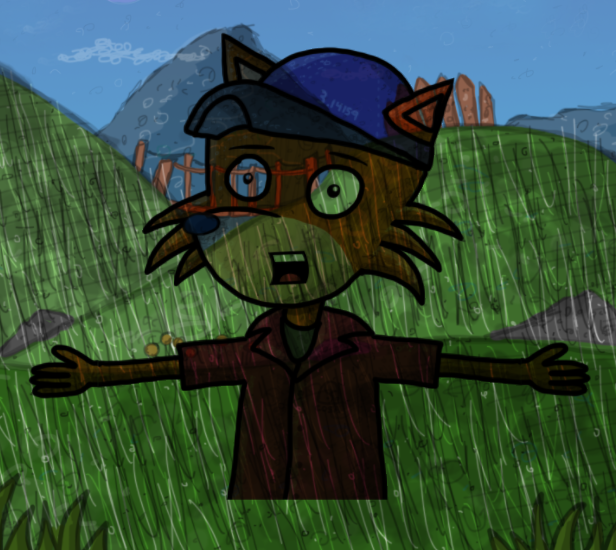 |
| Color Burn | Reads the color information in each channel and darkens the source layer to reflect the underlying color by increasing contrast. Blending with white produces no change. | 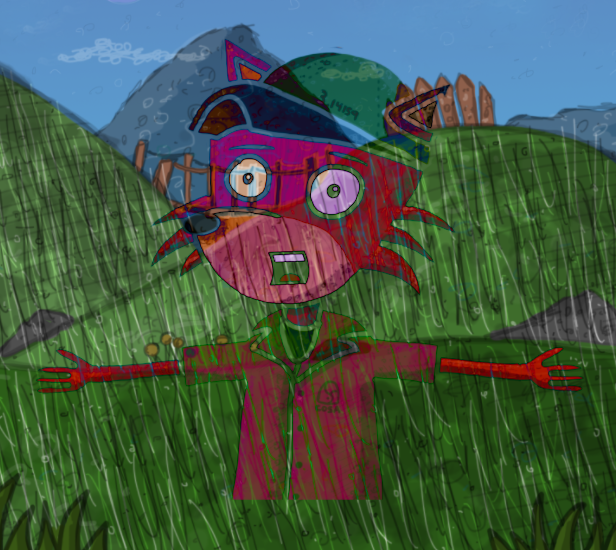 |
| Linear Burn | Reads the color information in the channels and darkens the source color to reflect the underlying color by reducing brightness. Blending with white produces no change. | 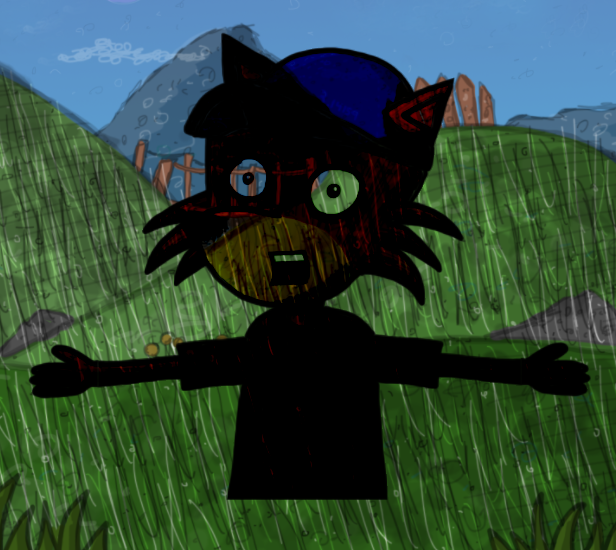 |
| Darker Color | Darker Color is similar to Darken, but Darker Color reads composite color channel, instead of individual RGB color channels. This blending mode extracts lowest value colors from source color and underlying color to create a result color. | .png) |
| Lighten | Reads color information in each channel to identify the lighter color between source color and underlying color. The lighter color is the result color. |
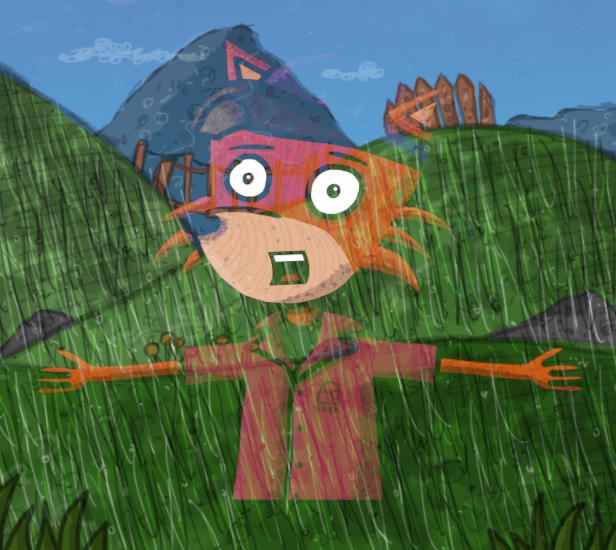 |
| Screen | Reads the color information in each channel and multipies opposite of source color with underlying color. The result color is a lighter color. Using the Screen mode is similar to projecting multiple photographic slides simultaneously onto a single screen. | 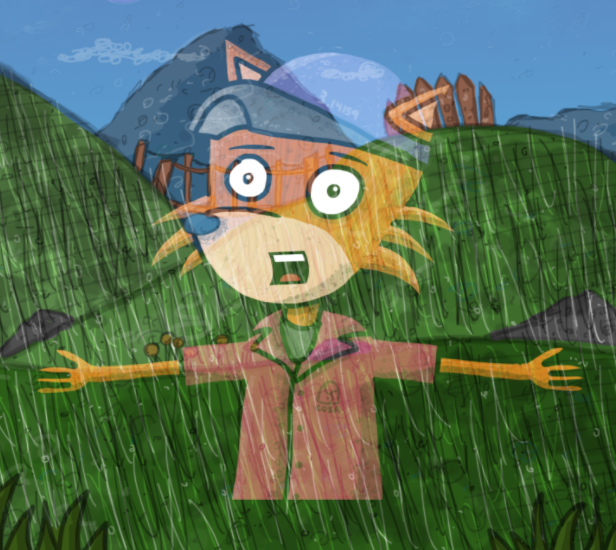 |
| Color Dodge | Reads the color information in the channels and brightens the source color to reflect the underlying color by reducing contrast. If the source color is pureblack , the result color is the underlying color. | 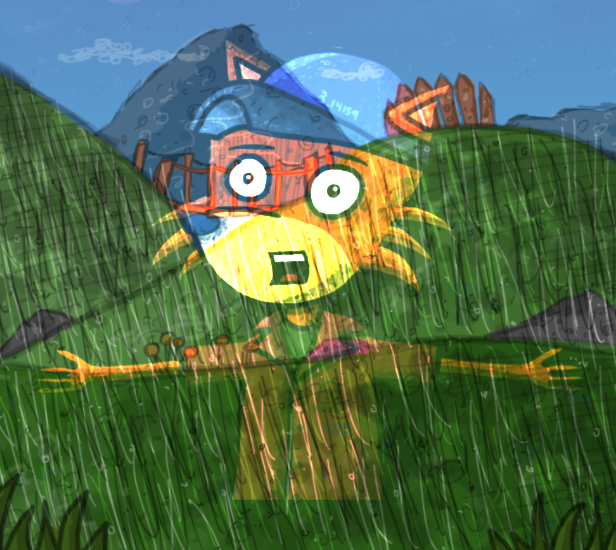 |
| Linear Dodge (Add) | Reads the color information in the channels and brightens the source color to reflect the underlying color by increasing brightness. Blending with black produces no change. | .png) |
| Lighter Color | Lighter Color is similar to Lighten, but Lighter Color reads composite color channel, instead of individual RGB color channels. This blending mode extracts highest value colors from source color and underlying color to create a result color. |
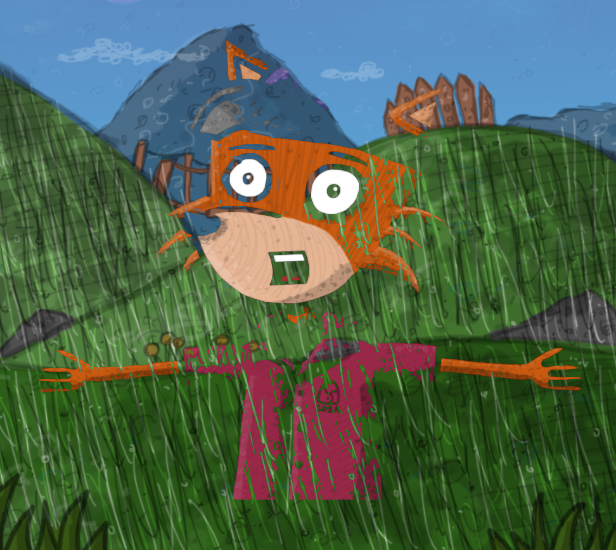 |
| Overlay | Multiplies if source color is darker than the underlying color, and screens if the source color is lighter than the underlying color. Produces saturated colors. Blending with 50% gray produces no change. | 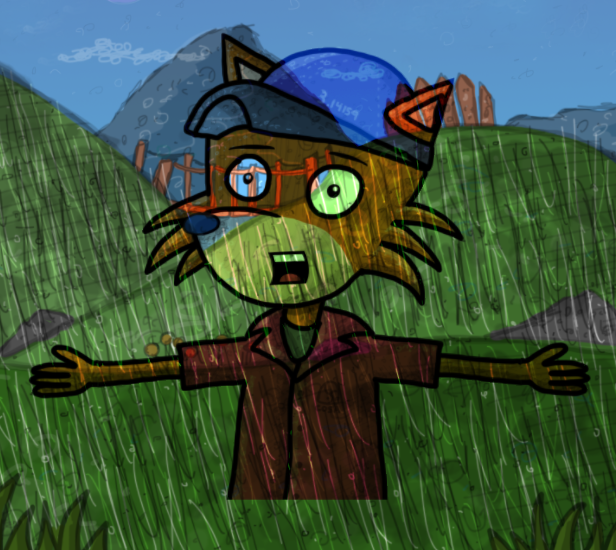 |
| Soft Light | Darkens or lightens the color channel values of the underlying layer, depending on the source color. The result is similar to shining a diffused spotlight on the underlying layer. If the source color is lighter than 50% gray, the result color is lighter than the underlying color, as if dodged. If the source color is darker than 50% gray, the result color is darker than the underlying color, as if burned. | 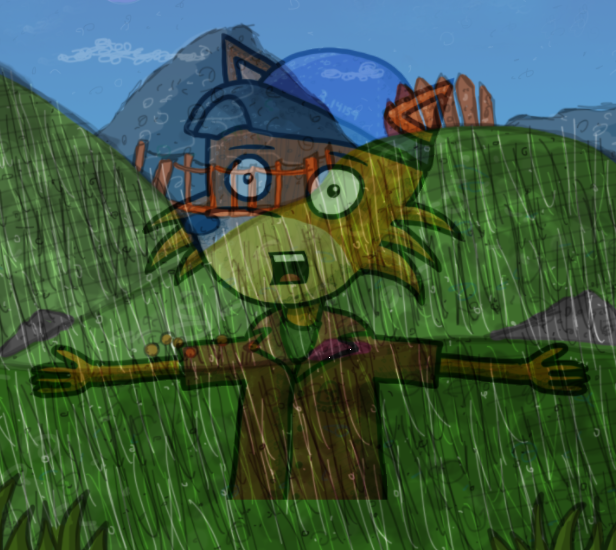 |
| Hard Light | Color multiplies if the underlying color is darker than 50% gray, and screens if underlying color is lighter than 50% gray. The result is similar to shining a harsh spotlight on the layer. | 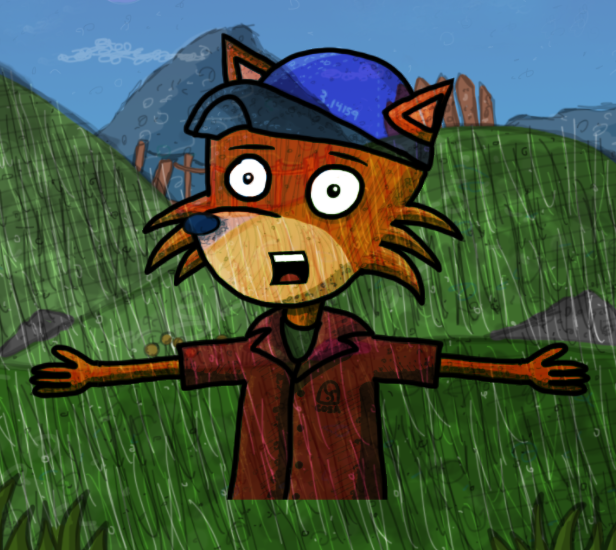 |
| Vivid Light | Burns or dodges the colors by increasing or decreasing the contrast, depending on the underlying color. If the underlying color is lighter than 50% gray, the layer is lightened because the contrast is decreased. If the underlying color is darker than 50% gray, the layer is darkened because the contrast is increased. |
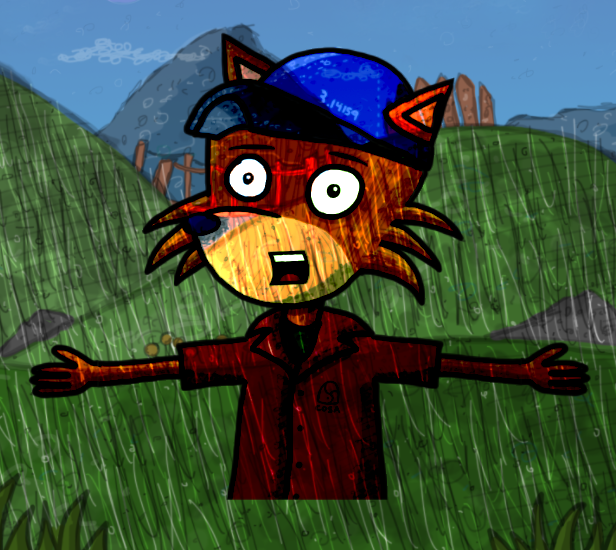 |
| Linear Light | Burns or dodges the colors by decreasing or increasing the brightness, depending on the underlying color. If the underlying color is lighter than 50% gray, the layer is lightened because the brightness is increased. If the underlying color is darker than 50% gray, the layer is darkened because the brightness is decreased. | 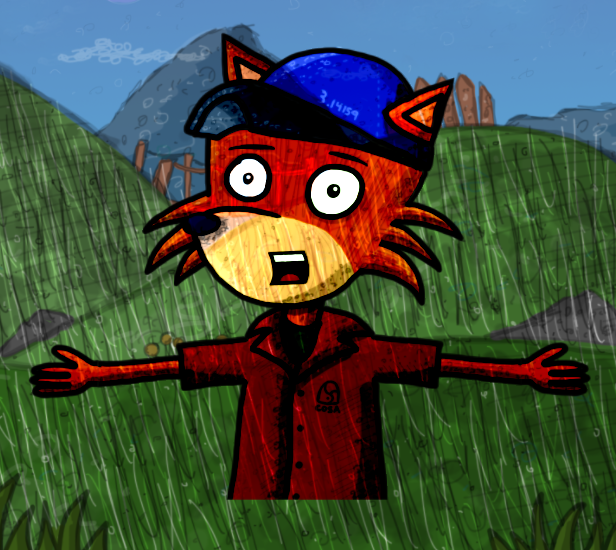 |
| Pin Light | Replaces the colors, depending on the underlying color. If the underlying color is lighter than 50% gray, pixels darker than the underlying color are replaced, and pixels lighter than the underlying color do not change. If the underlying color is darker than 50% gray, pixels lighter than the underlying color are replaced, and pixels darker than the underlying color do not change. | 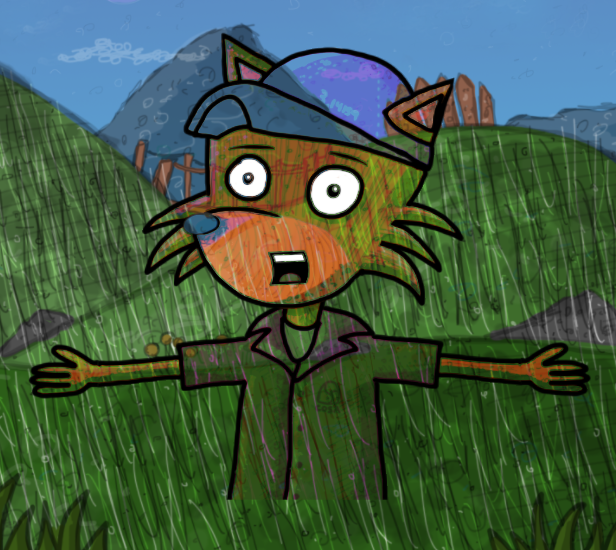 |
| Difference | Looks at the color information in each color channel and subtracts the lighter colors from the darker colors. Blending with white inverts the backdrop color and blending with black results in no change. |
 |
| Exclusion |
Creates a result similar to but lower in contrast than the Difference blending mode. If the source color is white, the result color is the complement of the underlying color. If the source color is black, the result color is the underlying color. | 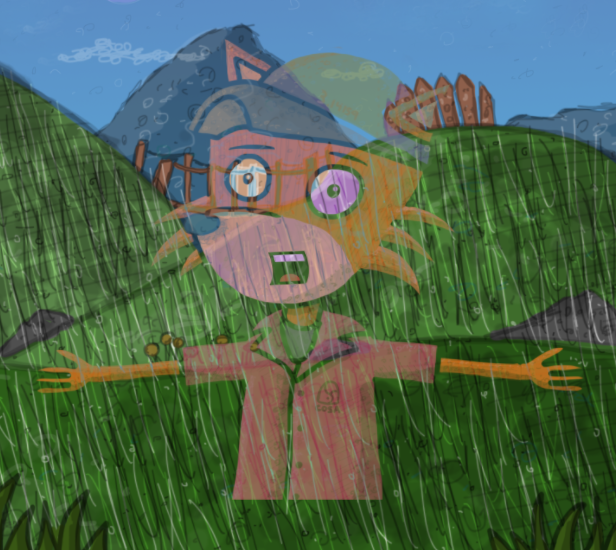 |
| Subtract | Subtracts the source color from the underlying color. If the source color is black, the result color is the underlying color. | 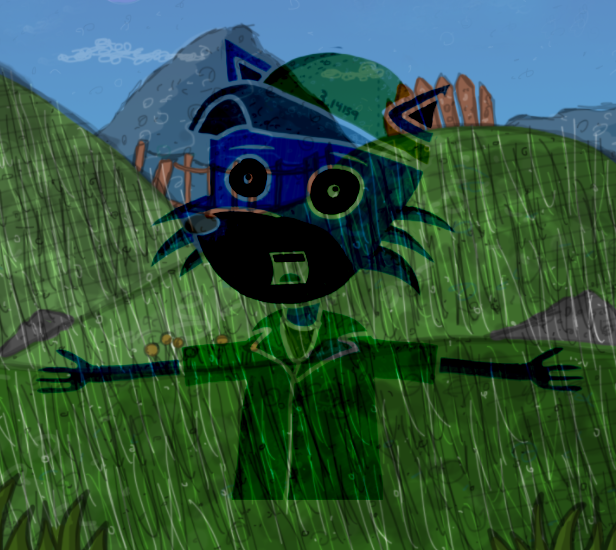 |
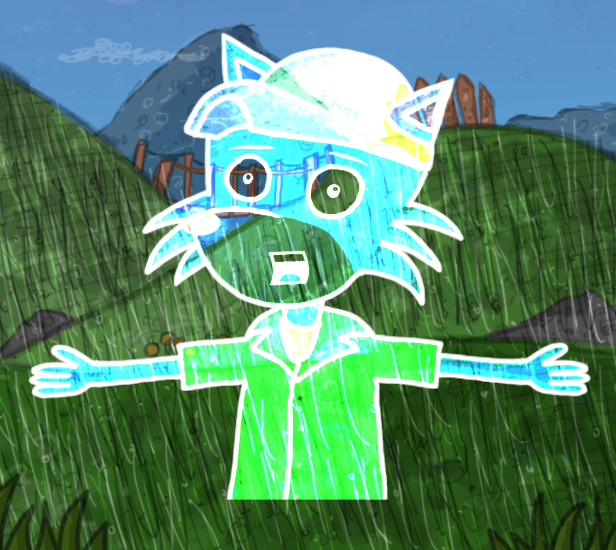
| Divide | Divides underlying color by source color. If the source color is white, the result color is the underlying color. |
 |
Rasterization control for vector artwork
Puppets based on vector formats such as Illustrator or SVG artwork are rasterized by default at 200% resolution, but you can adjust the rasterization scaling or render the artwork as vectors. However, some features are not currently supported when rendering as vectors.
To control how vector-based puppets are rendered:
- Select the puppet in the Project panel or open the puppet in the Puppet panel.
- In the Puppet section of the Properties panel, select the Render as Vector option to keep the artwork as smooth as possible (but with rendering limitations) or deselect the option to rasterize the artwork at a specific resolution but with full fidelity.
To adjust rasterization control for a vector-based puppet:
- In the Puppet section of the Properties panel, uncheck the Render as Vector option to rasterize the artwork.
- Adjust the Resolution to control the maximum quality of the vector artwork when it is rasterized.
The default is 200%, but you can increase it to 400% to scale it up for better quality but requiring more memory, or reduce it to a draft (50%) or low (100%) resolution if scaling down and wanting to preserve memory usage.
Note: Scenes sent via Dynamic Link to After Effects, Premiere Pro, or Adobe Media Encoder are rasterized, so if you wanted to scale up the footage in those other applications, it’s still recommended to use a larger scene size in Character Animator instead to retain as much detail.


Add content to a puppet
Drag the content you wish to add from the Project panel onto the puppet open in the Puppet panel. If no puppet is open, the dropped items are added to a new puppet. If dropped on the left sidebar, you can control where in the hierarchy they are added; when dropped on the right side of the panel, they are always added at the top level of the puppet. The dropped items become layers, and are selected. Unlike puppet layers, layers are the “flattened” representation of its content.
When a puppet is added as a layer, you can twirl the layer open to reveal the layers inside that added puppet, and modify that puppet’s layers within the context of the current puppet. Be careful when doing this as you are modifying the modifying the source (primary definition) of that added puppet.
Reuse a group
- Context (right)-click the group in the layers list (left side) of the Puppet panel, then choose Make Sharable. The source group item for the layer appears and is selected in the Project panel. The menu command is disabled if the source item is already visible in the Puppet panel.
- Open a different puppet in the Puppet panel.
If the target puppet was created by importing Photoshop or Illustrator artwork, you can turn off the “Auto-sync with Artwork” option (in the Properties panel) for the puppet to avoid losing layer modifications done in the Puppet panel due to structural content changes in the artwork. Or, create a New Empty Puppet and open it instead.
3. Drag the revealed source item into the Puppet panel.
Using clipping masks to mask layers
A clipping mask lets you use the content of a layer to mask the layers above it. The masking is determined by the content of the bottom or base layer. The non-transparent content of the base layer clips (reveals) the content of the layers above it in the clipping mask. All other content in the clipped layers is masked out.
You can use multiple layers in a clipping mask, but they must be successive layers. The name of the base layer in the mask is underlined, and the names for the overlying layers are indented. The overlying layers display a clipping mask icon.
To create a clipping mask, follow these steps:
In the Puppet panel, arrange the layers in a way that the layer with the mask is placed below the layers you want to mask.
Select the layers you want to mask and choose Puppet > Create Clipping Mask (Command+Option+G (mac) or Ctrl+Alt+G (Windows). Multiple selected layers can be masked if they are adjacent in the layers list and don’t include the last layer in a group.
If a layer is inserted between layers in a clipping mask, it becomes the base layer for the layers above it and is not clipped.
The name of the base layer in the mask is underlined in the Puppet panel and the names of the overlying layers are indented. The overlying layers also display a clipping mask icon.


Release layers in a clipping mask
To release clipping masks from layers, follow these steps:
Select all the successive clipping mask layers (with  icons) which are above the base layer.
Choose Puppet > Release clipping Mask (Command+Option+G (MAC) or Ctrl+Alt+G (Windows).
The clipping masks you create in Photoshop artwork and import to Character Animator is converted into clipping masks in the puppet panel. The ones created using Illustrator artwork (<Clip Group>) is not converted into clipping masks in the puppet panel. But, you can create clipping masks from Illustrator sourced layers in the Puppet panel.
Layer picker behavior
You can trigger a specific layer in a puppet or group using the Layer Picker behavior. For information about this behavior, see Layer Picker: Choose a layer to show or trigger.