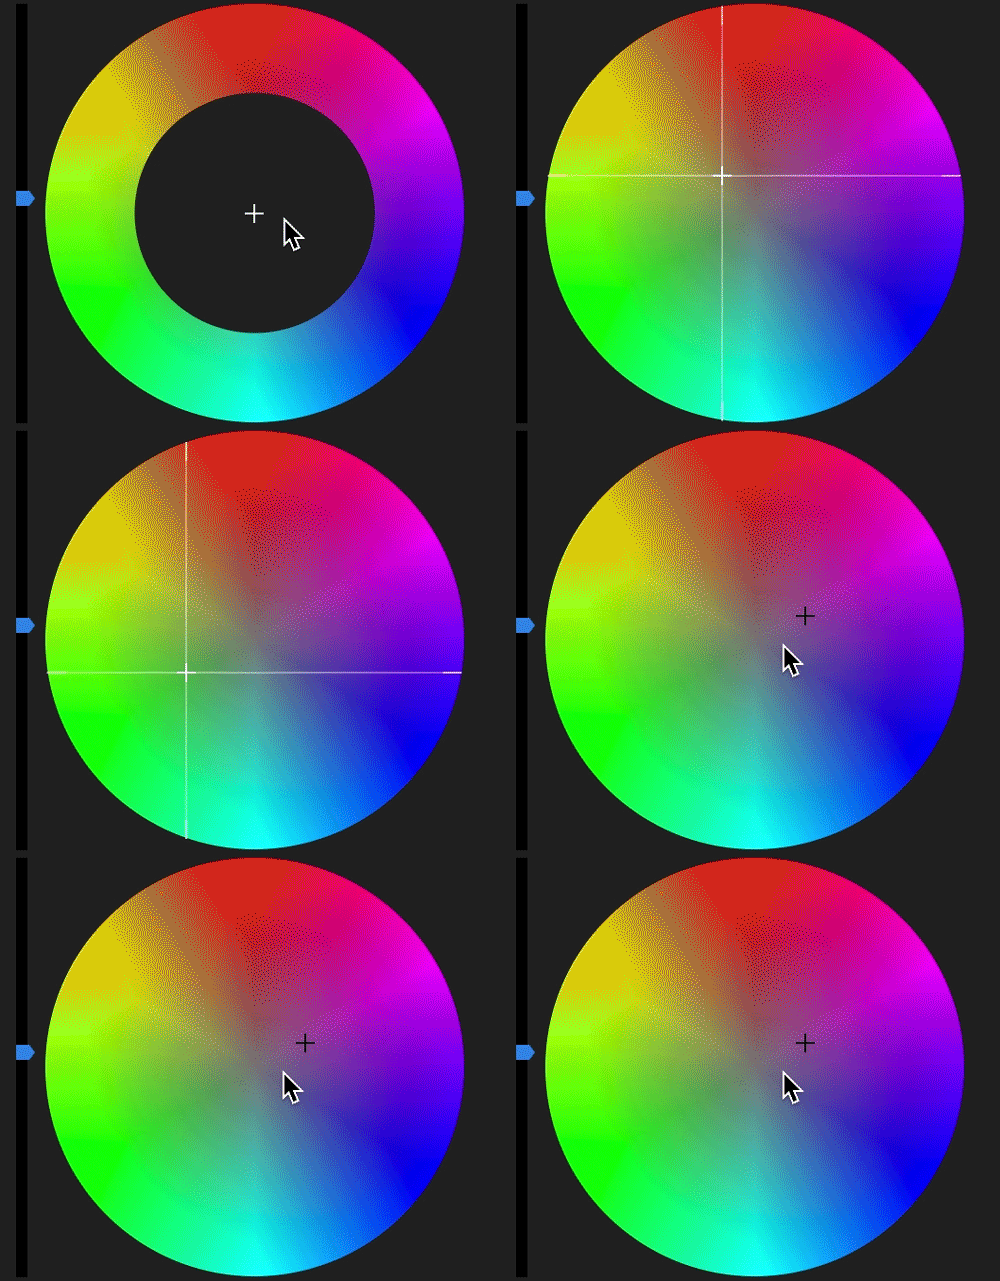
Click the wheel to add color.
Wheels with empty centers indicate that no adjustments have been made. Click in the middle of the wheel and drag the cursor to fill in the wheels and make adjustments as required.
Use the color wheels in the Lumetri color panel to make subtle color corrections in your shot. You can also quickly match color between different shots to make the overall look of your video consistent.

A. Midtones color wheel B. Cursor or color puck C. Highlights color wheel D. Slider E. Shadows color wheel

Color wheels allow you to make color adjustments to just the dark or light areas of a shot. The extra control can help you fix subtle problems in clips and add nuance to a look you are creating.
Premiere Pro offers three color wheels - to adjust midtones, shadows, and highlights. With the three-way color correction, you can adjust the brightness, hue, and saturation for shadows, midtones, and highlights independently.
You can adjust the shadow or highlight detail to brighten or darken areas in an otherwise well-lit clip. You can isolate the regions that need correction and apply these adjustments. Use the Midtone color wheel to adjust the overall contrast of the clip.
Another option is to use the accompanying sliders instead of the wheels to make these adjustments.


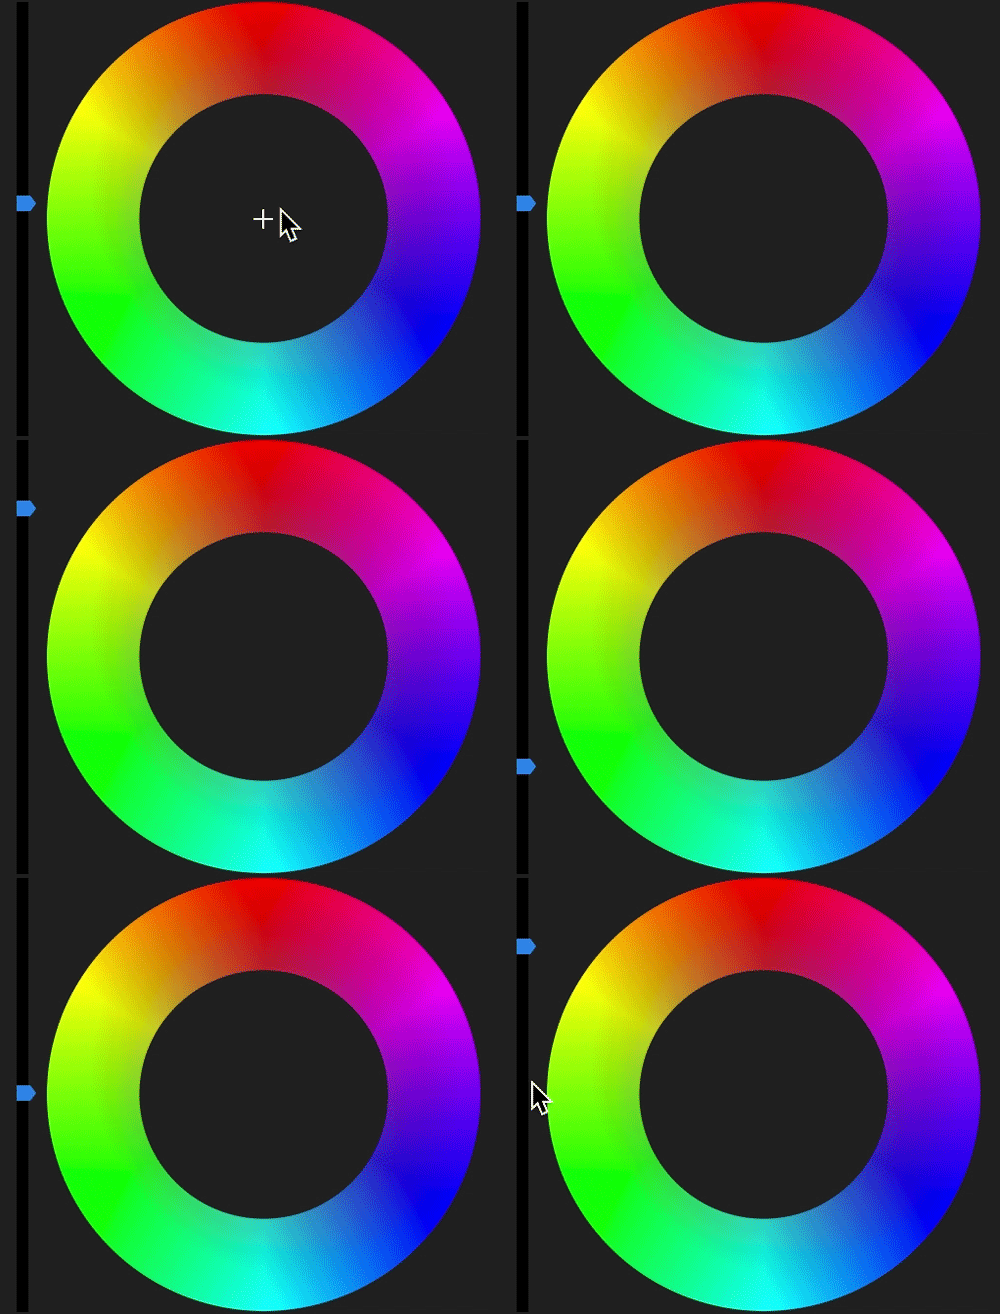
Click the wheel to add color.
Wheels with empty centers indicate that no adjustments have been made. Click in the middle of the wheel and drag the cursor to fill in the wheels and make adjustments as required.


Drag the slider to adjust color.
To use the slider control, drag the slider up to increase the value or drag the slider down to decrease the value. For example, drag the Shadow slider up to lighten shadows, and drag the Highlights shadow down to darken highlights.
Color Matching allows you to compare looks of two different shots across an entire sequence to ensure color and light appearances match within a scene or across multiple scenes.
To match the "current shot" (the selected clip under the playhead):
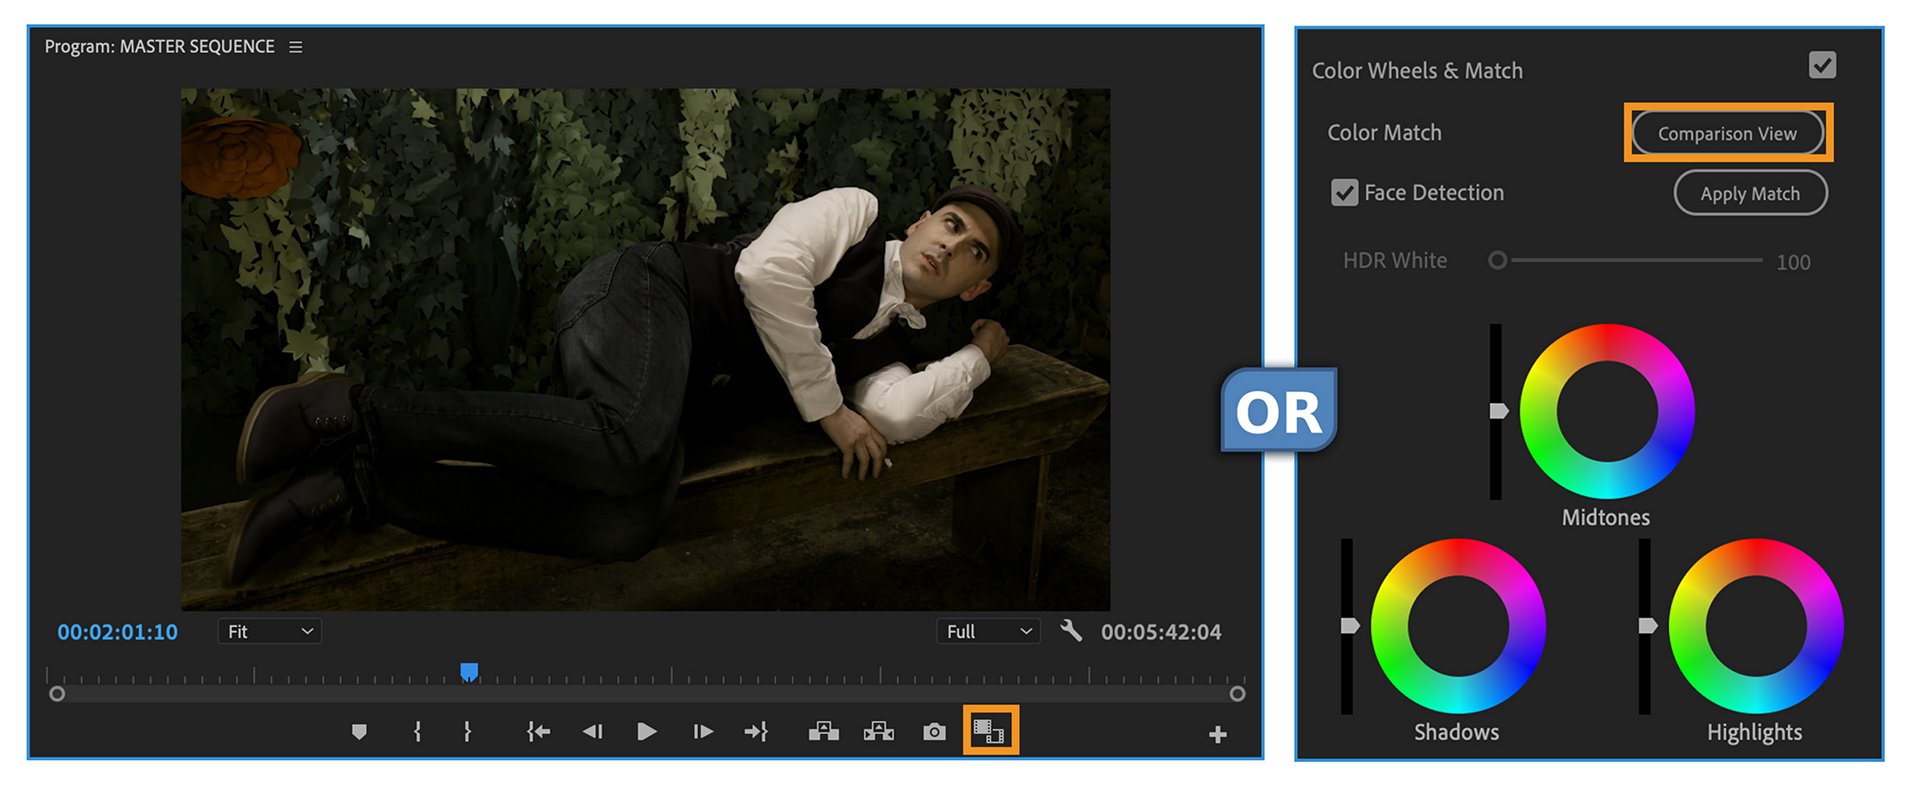
Switch to Comparison View.
Click the Comparison View button in the Program Monitor or in the Lumetri Color panel. This view allows you to select and display a reference frame, and compare colors across shots.


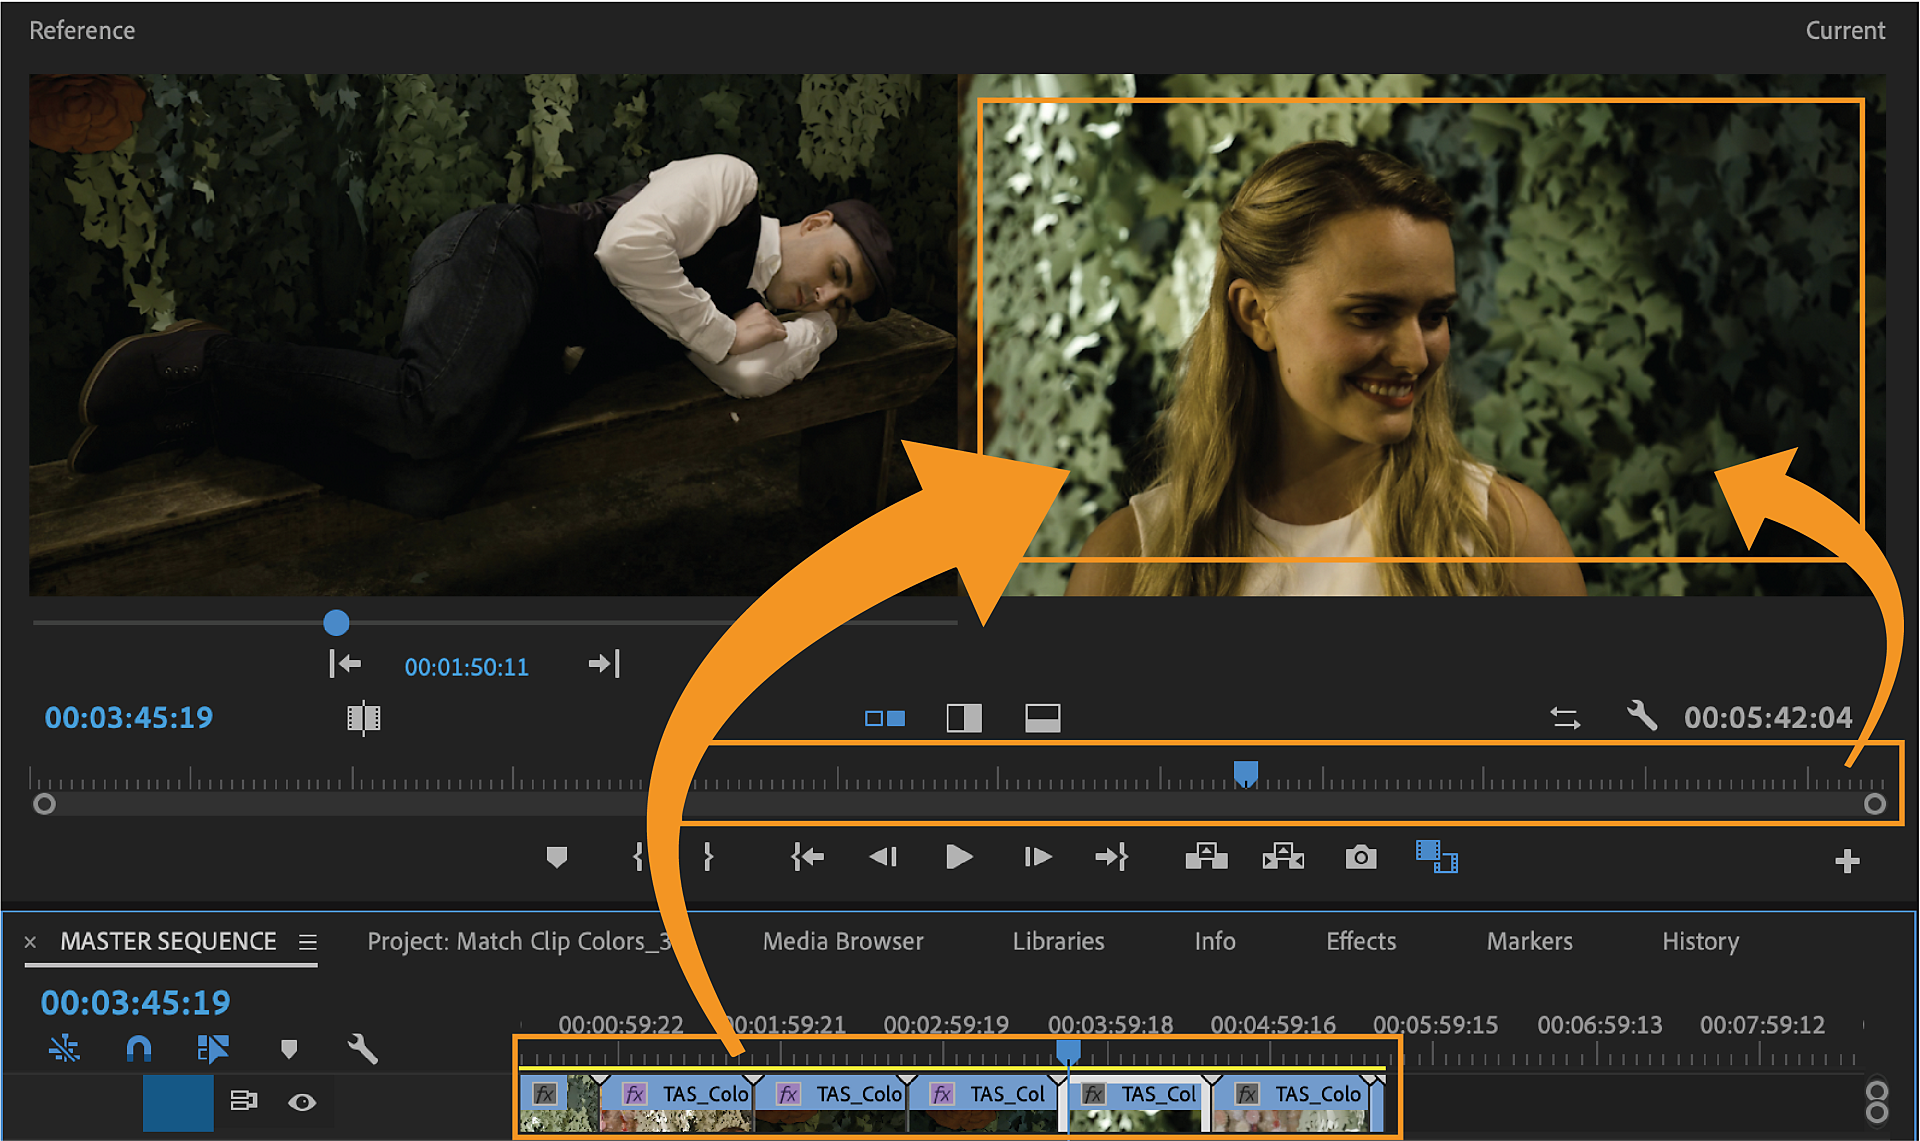
Choose a reference frame.
Select the reference position via a slider bar, timecode, or by jumping between edit points with arrows. Select the target location by simply positioning the playhead over the desired clip. Once you have both the reference and target locations set, you can adjust the comparison view to the desired display. Choose either a side-by-side or a vertical/horizontal split display. In split mode, you can drag the location of the split to view a specific area of the screen.


Choose a target clip.


![]() The current frame is matched to the reference frame, so if the content changes over time, choose a part of the clip that is a good indication of the overall color and brightness of the clip.
The current frame is matched to the reference frame, so if the content changes over time, choose a part of the clip that is a good indication of the overall color and brightness of the clip.
(Optional) Disable Face Detection.
If you have faces in the shots, leave this option enabled.
Face Detection is on by default, and if Auto Color detects faces in either the reference or current frame it gives higher weight to the colors in the facial region.
This feature yields higher quality matches of skin tone especially when there are distracting colors in the background, but you can disable it for situations where you want or need the whole frame to be evaluated equally.
If you use face detection, there is a slight increase in the amount of time it takes to calculate the match. If you are working with footage that does not contain any faces, disable face detection to speed up the color matching.
Click Apply Match.
Premiere Pro automatically applies Lumetri settings using the Color Wheels and Saturation control to match the colors in the current frame to the colors in the reference frame.
The Color Wheels (and Saturation slider if necessary) update to reflect the adjustment that the automatic color matching algorithm has applied.
If you are not satisfied with the results, you can use another shot as a reference, and match the colors again. Premiere Pro overrides the previous changes, and matches the color with the new reference shot.
If there is an existing Lumeti effect on the clip with altered parameters, some of those settings can be reset.
Craft the perfect story with Premiere
Find the best-in-class video-editing tools all in one place.