Tool
Learn how to work with painting and projection.
Painting Tools
|
|
Description |
|---|---|
|
|
Paint |
|
|
Eraser |
|
|
Projection |
|
|
Polygon Fill |
|
|
Smudge |
|
|
Clone |
|
|
Material Picker |
Paint tool basics
The Paint tool is the default brush for painting colors and material properties on a 3D mesh. It has specific parameters which can be edited in the Properties panel.
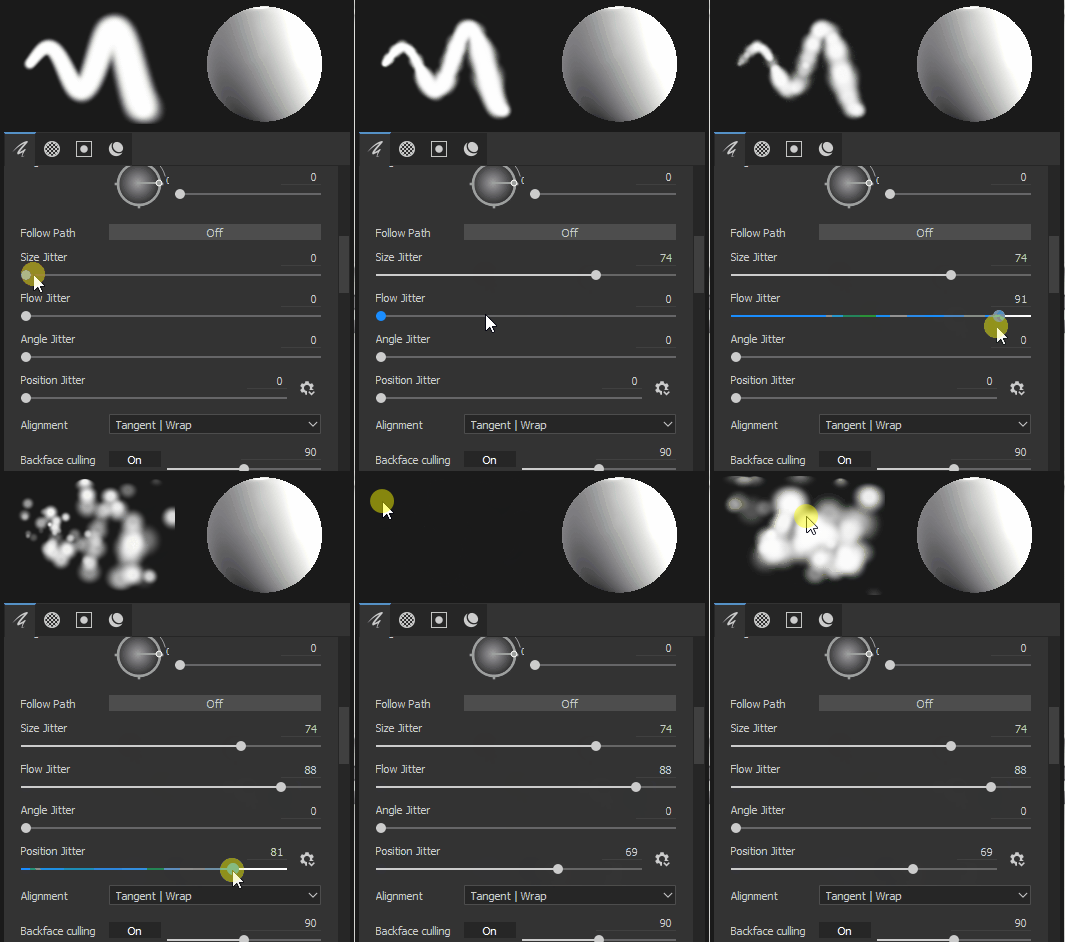
The Paint tool is comprised of a brush, alpha, stencil, and material. The brush properties are similar to the brush properties found in Adobe Photoshop. You have controls for adjusting size, spacing, opacity, flow, and various jitter settings. For a full description of the toolset, please check the Paint Brush page.
The Paint tool has many options to help simulate a wide variety of brushes. The contextual toolbar at the top of the 3D view contains the standard controls for the Paint tool.



Symmetry
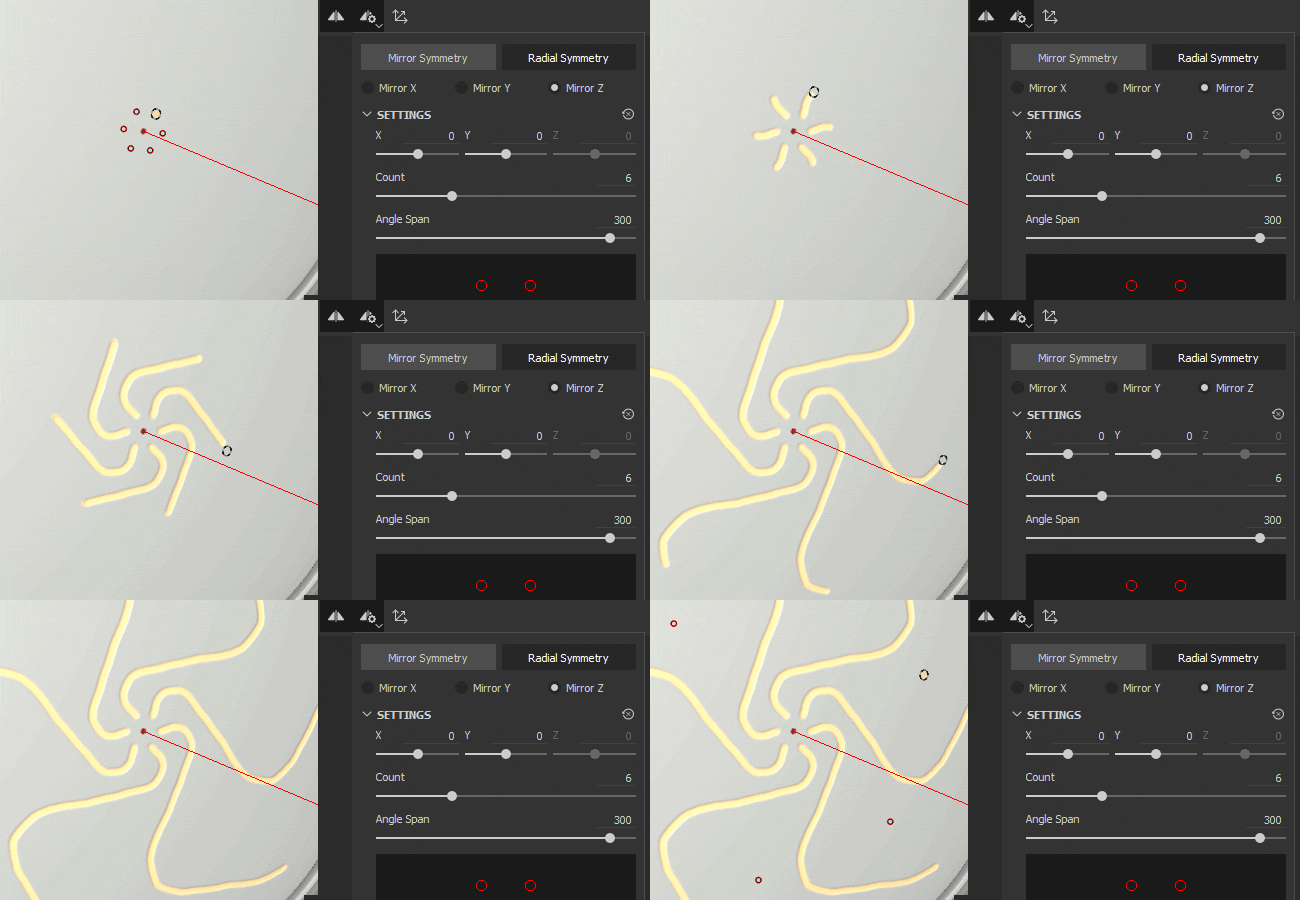
Use Symmetry to duplicate your strokes based on geometric constraints. Enable Symmetry by clicking the Symmetry button in the Contextual Toolbar. Symmetry is only available when using the Paint tool or Eraser tool.
There are two main Symmetry modes:
- Mirror Symmetry: reflect brush strokes across a 3D plane
- Radial Symmetry: duplicate brush strokes around a line in 3D space

Lazy Mouse
Lazy Mouse lets you paint smoother, more precise strokes. Lazy Mouse offsets the distance between the cursor and the brush stroke so that the stroke drags behind the cursor instead of being attached to it.


Material
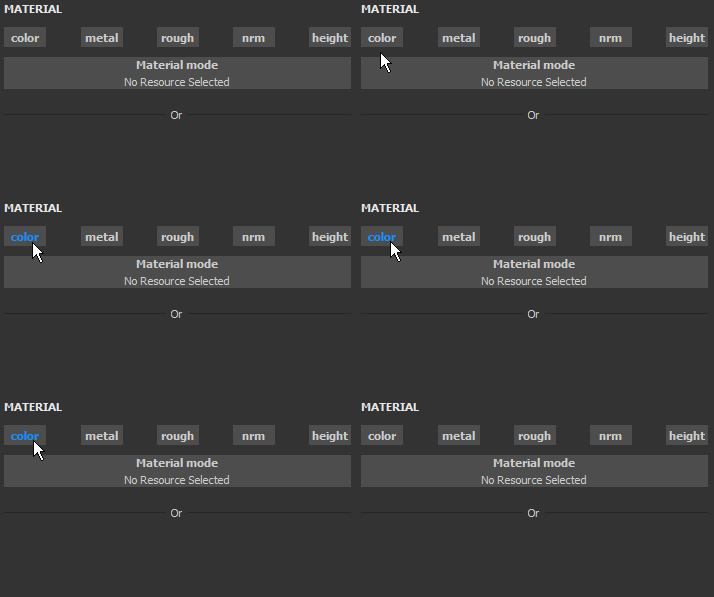
Materials are composed of multiple channels where each channel represents specific surface properties. Which channels are available depends on those defined in Texture Set Settings window.
In Painter, you can paint data across multiple channels. Enable and disable channels in the Properties panel, click a channel button to toggle it on or off. When disabled, channel parameters cannot be changed and the channel is not modified by the painting process.
The Material mode button is an easy way to load a material and quickly set multiple channels.

Alpha
The Alpha determines the shape of the brush tip. Painter includes hundreds of alphas by default. Change your alpha by selecting a new one in Assets > Alphas or by clicking your current Alpha in the Properties panel.
Many Alphas have parameters that you can adjust to create variations. You can create your own parametric Alphas with Adobe Substance 3D Designer.


Stencil
The Stencil is a grayscale mask for the brush stroke. The stencil is attached to the viewport and acts just like stencils do in the physical world. Brush strokes through a stencil will only be applied where the stencil isn't black. More information on how to use the Stencil is available here.


Projection
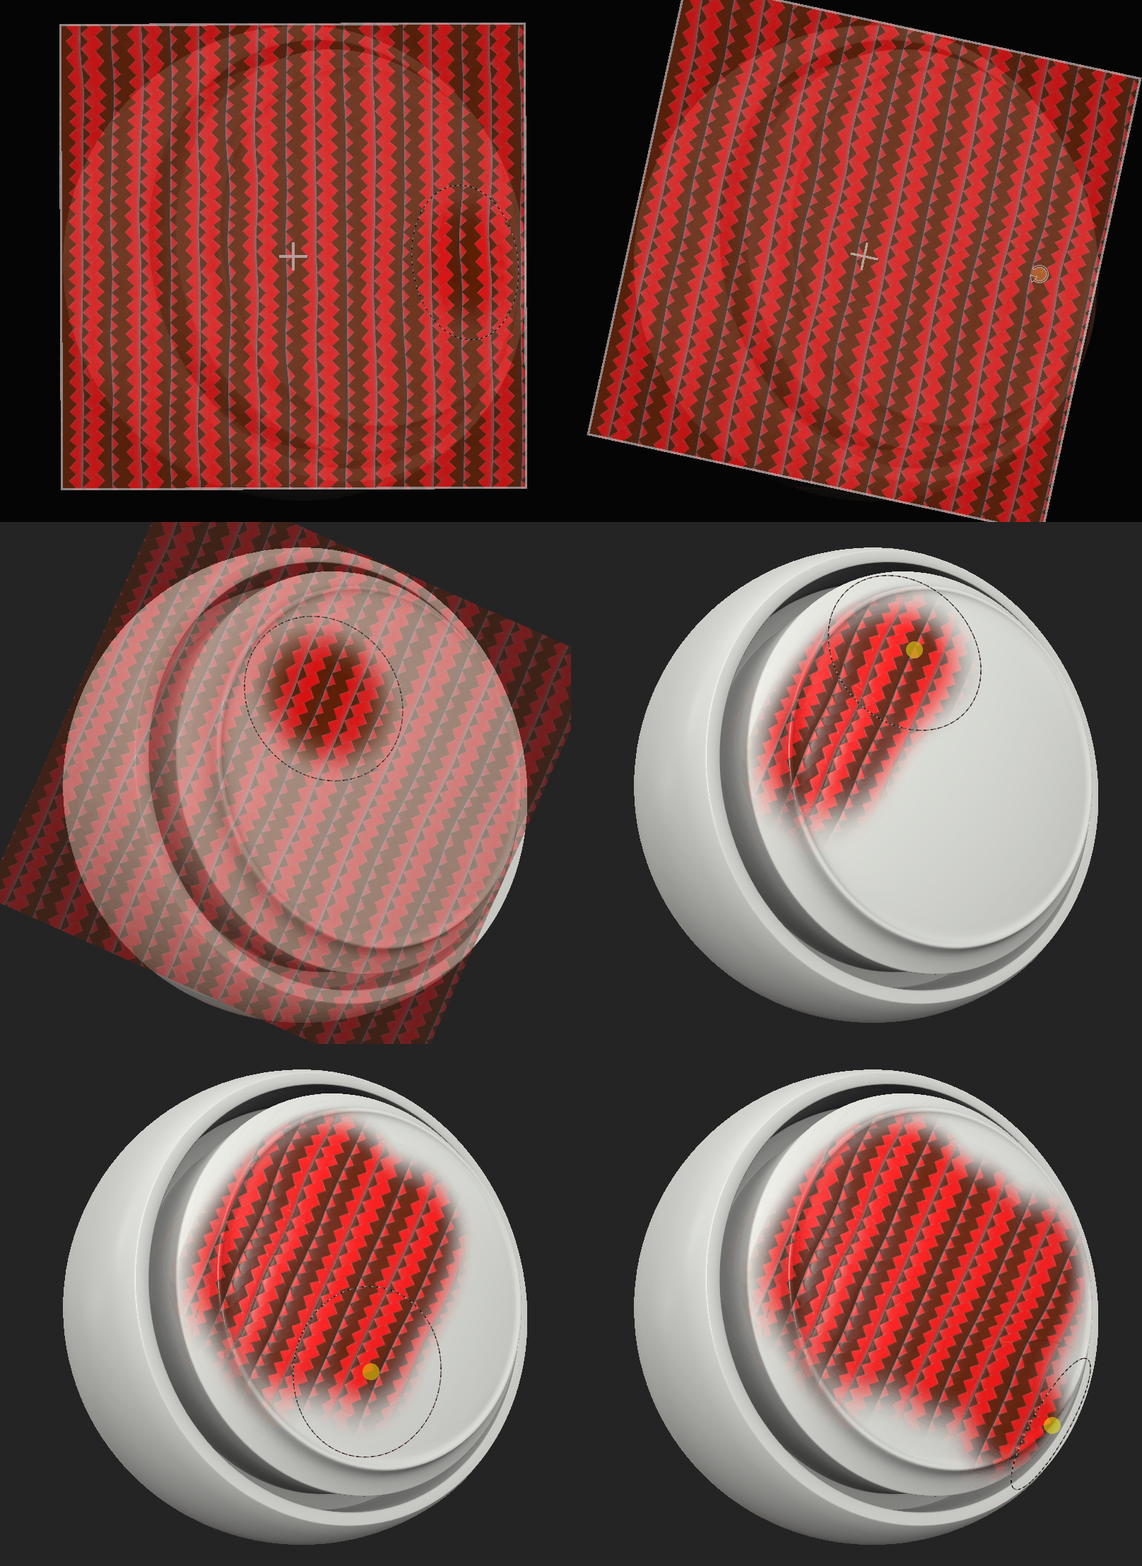
Projection is a tool in the toolbar that allows you to paint a material by projecting it in screen/viewport space. Projection works like the Stencil and shares similar controls.
To learn more about using the Projection tool, go to the Projection documentation.

What's Next?
You now know all about Substance 3D Painter's paint and projection tools. Next, you can learn more about exporting your work to use in any 3D software.
Have a question or an idea?
If you have a question to ask, come and participate in the Substance 3D Painter community. We would love to hear from you.
You can also share your ideas of new features with us!
