Follow the Generic steps for HTML Workspace customization.
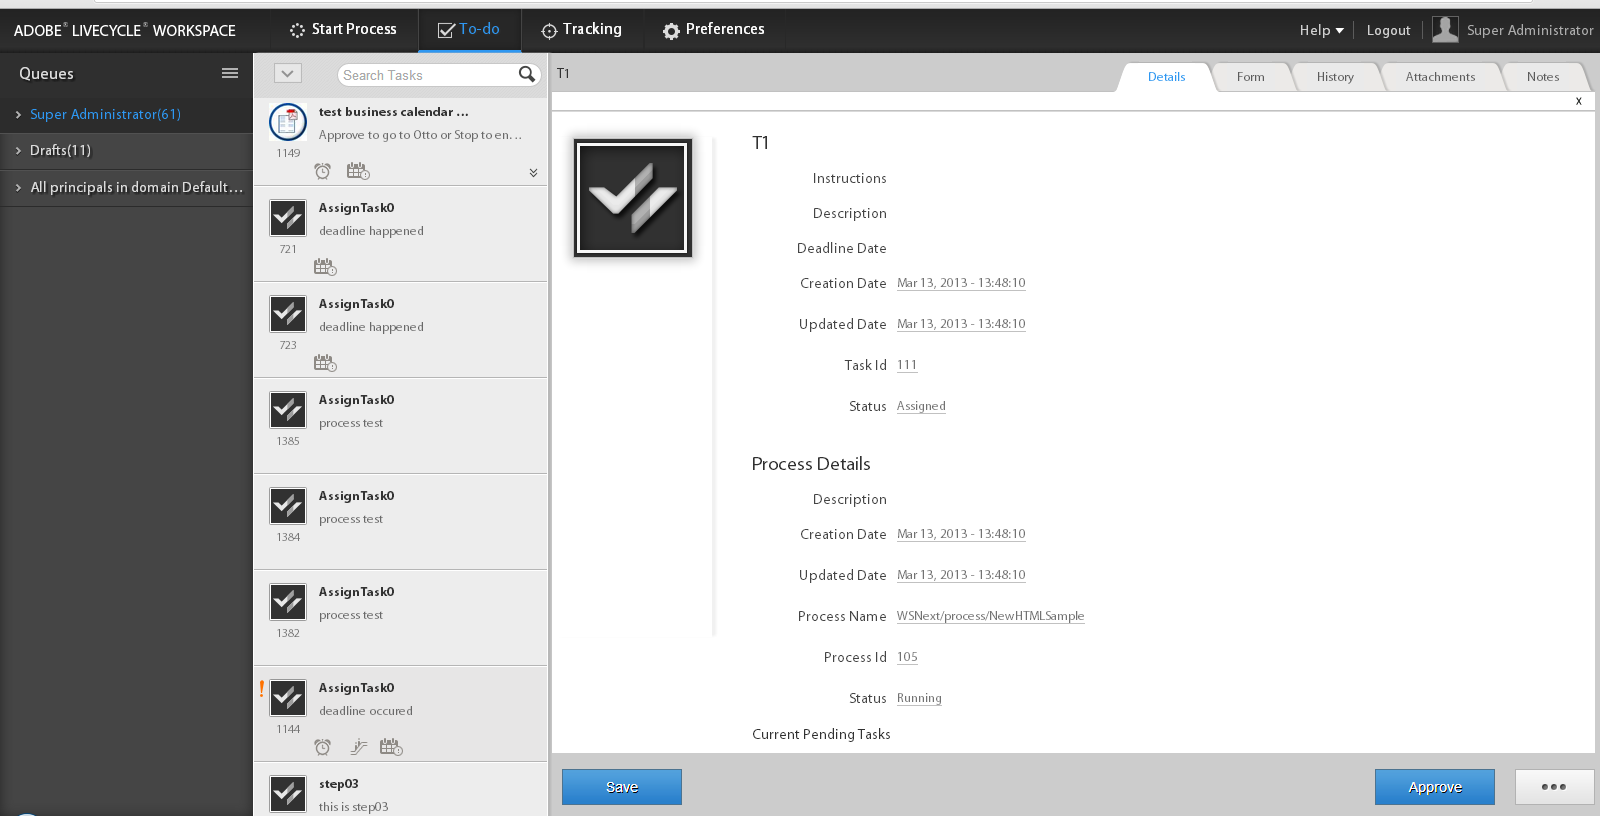
By default, the HTML Workspace To-do list displays the task display name and description. However, you can add other information such as creation date, deadline date. You can also add icons and change the style of the display.


This article details the steps to add information to display for each task in the ToDo list.
What can be added
You can add the information available in task.json sent by the server. The information can be added as plain text or you can use styles to format the information.
For more information about the JSON Object description, see this article.
Displaying information on a task
-
-
To display additional information for a task, the corresponding key-value pairs must be added within the task block of translation.json.
For example change /apps/ws/locales/en-US/translation.json for English:
"task" : { "reminder" : { "value" : "Reminder", "tooltip" : "This is reminder __reminderCount__, for this task." }, "deadlined" : { "value" : "Deadlined", "tooltip" : "This task has deadlined" }, "save" : { "message" : "Task has been saved successfully" }, "status" : { "deadlined" : "Deadlined", "created" : "Created", "assignedsaved" : "Draft from assigned task", "terminated" : "Terminated", "assigned" : "Assigned", "unknown" : "Unknown", "createdsaved" : "Draft from created task", "completed" : "Completed" }, "draft" : { "value" : "Saved", "tooltip" : "This task is marked as a draft" }, "escalated" : { "value" : "Escalated", "tooltip" : "This task has been escalated" }, "forward" : { "value" : "Forwarded", "tooltip" : "This task was forwarded" }, "priority" : { "highest" : "Highest priority", "normal" : "Normal priority", "high" : "High priority", "low" : "Low priority", "lowest" : "Lowest priority" }, "claimed" : { "value" : "Claimed", "tooltip" : "This task has been claimed" }, "locked" : { "value" : "Locked", "tooltip" : "This task is locked" }, "consulted" : { "value" : "Consulted", "tooltip" : "This task has been consulted" }, "returned" : { "value" : "Returned", "tooltip" : "This task was returned back" }, "multiplesubmitbuttons" : { "message" : "The form associated with this task has multiple submit buttons so the Workspace Complete button will be disabled. Click the appropriate button on the form to submit it." }, "nosubmitbutton" : { "message" : "The form associated with this task does not appear to have submit buttons. You may need to upgrade your Adobe Reader version to 9.1 or greater and enable the Reader Submit option in your process." }, "icon" : { "tooltip" : "open the task __taskName__" } }Note:Add corresponding key-value pairs for all supported languages.
-
For example, add information inside the task block:
"stepname" : {
            "value" : "Step Name",
            "tooltip" : "This task belongs to __stepName__ step"
}
Defining CSS for the new property
-
You can apply style to the information (property) added to a task. To do this, you need to add style information for the new property added to /apps/ws/css/newStyle.css.
For example add:
.task .taskProperties .stepname{
    width: 25px;
    background: url(../images/stepname.png) no-repeat; /*-------- Or just reuse background image / image-sprite defined .task .taskProperties span of style.css---------------------*/
    background-position: 0px 0px; /*-------- Dummy values, need to be configured as per user background image / image-sprite ---------------------*/
}
Adding entry in the HTML Template
Finally, you need to include an entry in the dev package for each property that you want to add to the task. To create one refer to Building HTML Workspace code.
-
Copy task.html:
- from: /libs/ws/js/runtime/templates/
- to: /apps/ws/js/runtime/templates/
-
Add the new information to /apps/ws/js/runtime/templates/task.html.
For example, add under div class="taskProperties":
<span class="stepname" alt="<%= $.t('task.stepname.value')%>" title = '<%= $.t("task.stepname.tooltip",{stepName:stepName})%>'/>
More like this
- Introduction to Customizing HTML Workspace
- Generic steps for HTML Workspace customization
- Managing tasks in an organizational hierarchy using Manager View
- Integrating Correspondence Management in HTML Workspace
- Single Sign On and timeout handlers
- Displaying the user avatar
- Displaying information in the Task Summary pane
- Changing the organization logo
- Changing the color scheme of the interface
- Changing the font on the interface
- Changing the locale of the user interface
- Customizing error dialogs
- Customizing tabs for a task
- Customizing Task Actions
- Customizing the listing of process instances
- Customizing the task Details page
- Displaying additional data in ToDo list
- Getting Task Variables in Summary URL
- Images for Route Actions
- Creating a new login screen
- Minification of the JavaScript files
- Sorting of Tracking tables and adding more columns
- Updating the link to the documentation
- Hosting two HTML Workspace instances on one server