The Develop module in Lightroom Classic lets you adjust the color and tonal scale of your photos as well as crop photos, remove red eye, and make other corrections. All the adjustments you make in Lightroom Classic are nondestructive. With nondestructive editing, your original file is not altered, whether it’s a camera raw file or a rendered file such as a JPEG or TIFF. Your edits are stored in Lightroom Classic as a set of instructions that are applied to your photo in memory. Nondestructive editing means you can explore and create different versions of your photo without degrading your original image data.
The panels along the left side of the Develop module let you select photos, select and preview them at various stages of editing, and apply global presets. The center of the Develop module provides a viewing and working area. The tools below the work area provide various functions, from toggling between before-and-after views to turning on soft proofing. The panels along the right side offer tools and controls for adjusting your photos. See Develop module tools.

A. Presets, Snapshots, History, and Collections panels B. Toolbar C. Histogram D. Photo Information E. Smart Preview status F. Tool strip G. Adjustment panels

Because edits are stored in Lightroom as instructions, you do not need to save them in the traditional sense. When you print or export your photos, the adjustments are included. You only need to save your changes if you want them to be available to Adobe Bridge or Camera Raw. See Synchronize Lightroom Classic metadata with Camera Raw and Adobe Bridge.
You can edit camera raw, DNG, JPEG, TIFF, PSD, and PNG files in Lightroom Classic. Applying adjustments to photos is a subjective and individual process. Use the following steps as a guide for editing photos in the Develop module.
1. Select a photo to edit.
Select a photo in the Library module and press D to switch to the Develop module. To switch to a different photo in the Develop module, choose it from the Collections panel or the Filmstrip.
2. Evaluate the photo.
Use the zoom controls in the Navigator panel to inspect your photo and the Hand tool to reposition the photo in the viewing area. When you move the pointer over the photo in the viewing area, notice that the RGB values appear under the Histogram. Use the Histogram panel as a visual guide for measuring color tones, as well as to preview shadow and highlight clipping. You can even drag in the histogram interface to make tonal adjustments to the photo. See Adjust images using the histogram.
3. Make global color adjustments.
The Develop module displays panels for making global adjustments to photos on the right side of the window. You can make Develop module adjustments in any order, but a common approach to using these panels is to start at the top and work down. Starting with the Basic panel, for example, you can adjust the white balance, tonal scale, and color saturation of a photo, including Texture, Clarity, and Vibrance. If desired, you can refine global color and tonal adjustments in the Tone Curve and HSL/Color/B&W panels. You create special effects or colorize monochrome photos using the Color Grading panel. See Working with image color and tone.


4. Reduce noise and apply sharpening.
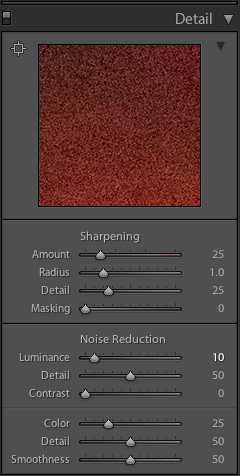
Use the Detail panel to reduce noise and adjust the sharpness in a photo. Use the Lens Corrections panel to correct perspective distortions caused by the camera lens. See Sharpening and noise reduction and Correct lens distortion and adjust perspective.
Use the Before/After button in the toolbar to see the results of your edits, or simply press \ to cycle between before and after views. Use the History panel to return to any previous edit. Click the plus sign (+) in the Snapshots panel to capture any editing state that you can return to at a later time.


5. Retouch and correct flaws.
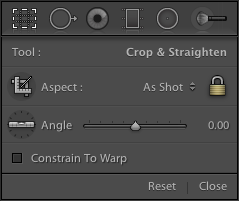
At any time, use the Crop Overlay, Red Eye Correction, and Spot Removal tools to crop and straighten your photo and to remove red eye, dust, and spots. To apply a postcrop vignette or film grain effect, use the options in the Effects panel. See Adjust crop and rotation, Using the Spot Removal tool, and Vignette and grain effects.


6. Apply local adjustments.
Color correct specific areas of a photo by using the Adjustment Brush tool or the Graduated Filter tool. See Apply local adjustments.
7. Apply adjustments to other photos.
You can apply edits from one photo to many others. For example, apply a set of edits to all of the photos from a specific shoot that require the same global adjustments. You can copy and paste them, or synchronize them. When you copy or synchronize corrections, Lightroom Classic allows you to select the specific edits that you want to apply to the other photos. You can also use the Painter tool in the Grid view of the Library to apply Develop settings from one photo to another. See Apply Develop adjustments to other photos.
8. Soft-proof images.
If your image will ultimately be printed, you may want to preview how the colors will look using the Soft Proofing panel.
When you're satisfied with your edits, select the Soft Proofing box in the toolbar to replace the Histogram panel with the Soft Proofing panel. Use the gamut warning icons in the upper corners of the histogram to see which colors are out of gamut for the monitor and which colors are out of gamut for the selected printing conditions.
Use the Profile and Intent menus to preview different color-managed print conditions. See Soft-proof images.

