
某些 Creative Cloud 应用程序、服务和功能在中国不可用。
When working on images in your designs, you may want to go beyond a simple photo to create interesting and unique effects. For example, you may want to add your brand’s color as an effect on your images to create a visually appealing design.
Blend modes allow you to automatically create composite image assets by combining an image layer with another layer using a set of pre-defined modes.
Here are some sample effects created using Multiply, Screen, Hard Light, Exclusion, and Luminosity blend modes.


| Groups | Blend mode | Design outcomes |
| Normal | Normal | This is the default mode and no blending mode is applied. |
| Darken | Darken | Looks at the color information in each image and selects the base or blend color—whichever is darker—as the result color. Pixels lighter than the blend color are replaced, and pixels darker than the blend color do not change. |
| Multiply | Looks at the color information in each image and multiplies the base color by the blend color. The result color is always a darker color. | |
| Color Burn | Looks at the color information in each image and darkens the base color to reflect the blend color by increasing the contrast between the two. | |
| Lighten | Lighten | Looks at the color information in each image and selects the base or blend color—whichever is lighter—as the result color. |
| Screen | Looks at the color information of each image and multiplies the inverse of the blend and base colors. The result color is always a lighter color. | |
| Color Dodge | Looks at the color information in each image and brightens the base color to reflect the blend color by decreasing contrast between the two. | |
| Contrast | Overlay | Multiplies or screens the colors, depending on the base color. Patterns or colors overlay the existing pixels while preserving the highlights and shadows of the base color. |
| Soft Light | Darkens or lightens the colors, depending on the blend color. The effect is similar to shining a diffused spotlight on the image. | |
| Hard Light | Multiplies or screens the colors, depending on the blend color. The effect is similar to shining a harsh spotlight on the image. | |
| Inversion | Difference | Looks at the color information in each image and subtracts either the blend color from the base color or the base color from the blend color, depending on which has the greater brightness value. |
| Exclusion | Creates an effect similar to but lower in contrast than the Difference mode. | |
| Component | Hue | Creates a result color with the luminance and saturation of the base color and the hue of the blend color. |
| Saturation | Creates a result color with the luminance and hue of the base color and the saturation of the blend color. | |
| Color | Creates a result color with the luminance of the base color and the hue and saturation of the blend color. | |
| Luminosity | Creates a result color with the hue and saturation of the base color and the luminance of the blend color. |
-
Before you begin, use these simple rules to understand how objects are handled when applying or modifying blend modes:
- Appearance: applies and affects the whole object.
Master component: applies and affects all instances in your design project. For example, if you change the color of an object in the Master component, the change is cascaded across all instances in your design project.
- Component instance: overrides the applied blend modes in component instances.
- Repeat grid: applies on all the cells.
- Interoperabilty: preserves the blend effect when working with Photoshop, Illustrator, Sketch, and After Effects.
-
Select an image or object (including shapes, text layers, groups, masks, or components) on the design canvas. From the Property Inspector, select and apply the blend mode of your choice.
You can also use Option Shift + / - in MAC and Alt Shift + / - in WIN to toggle through the appearance levels of the applied blend modes.
Blend modes are not supported in these object behaviours:
- Blend effects used in auto-animate change at the start of the transition without any animation.
- You cannot apply blend effects on fills, borders, or shadows.
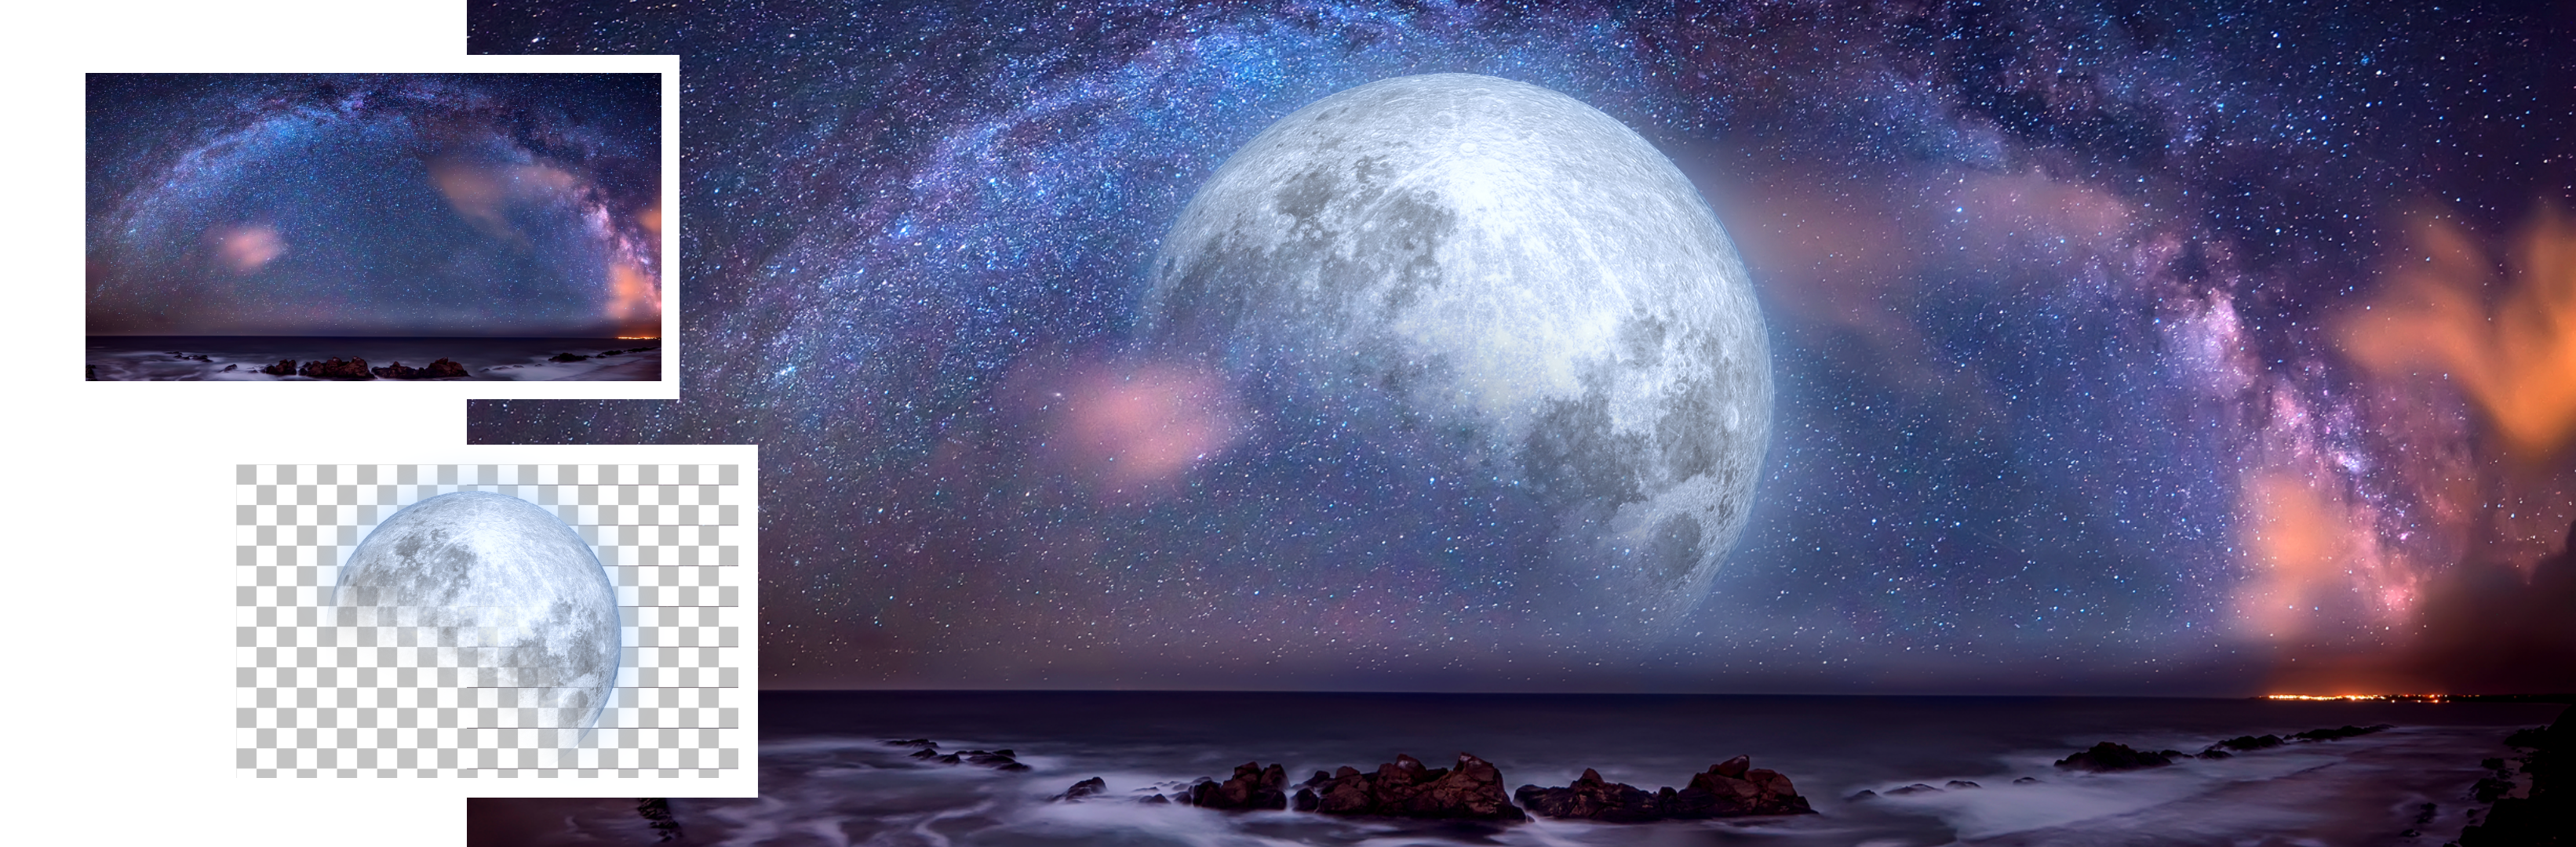 Original image
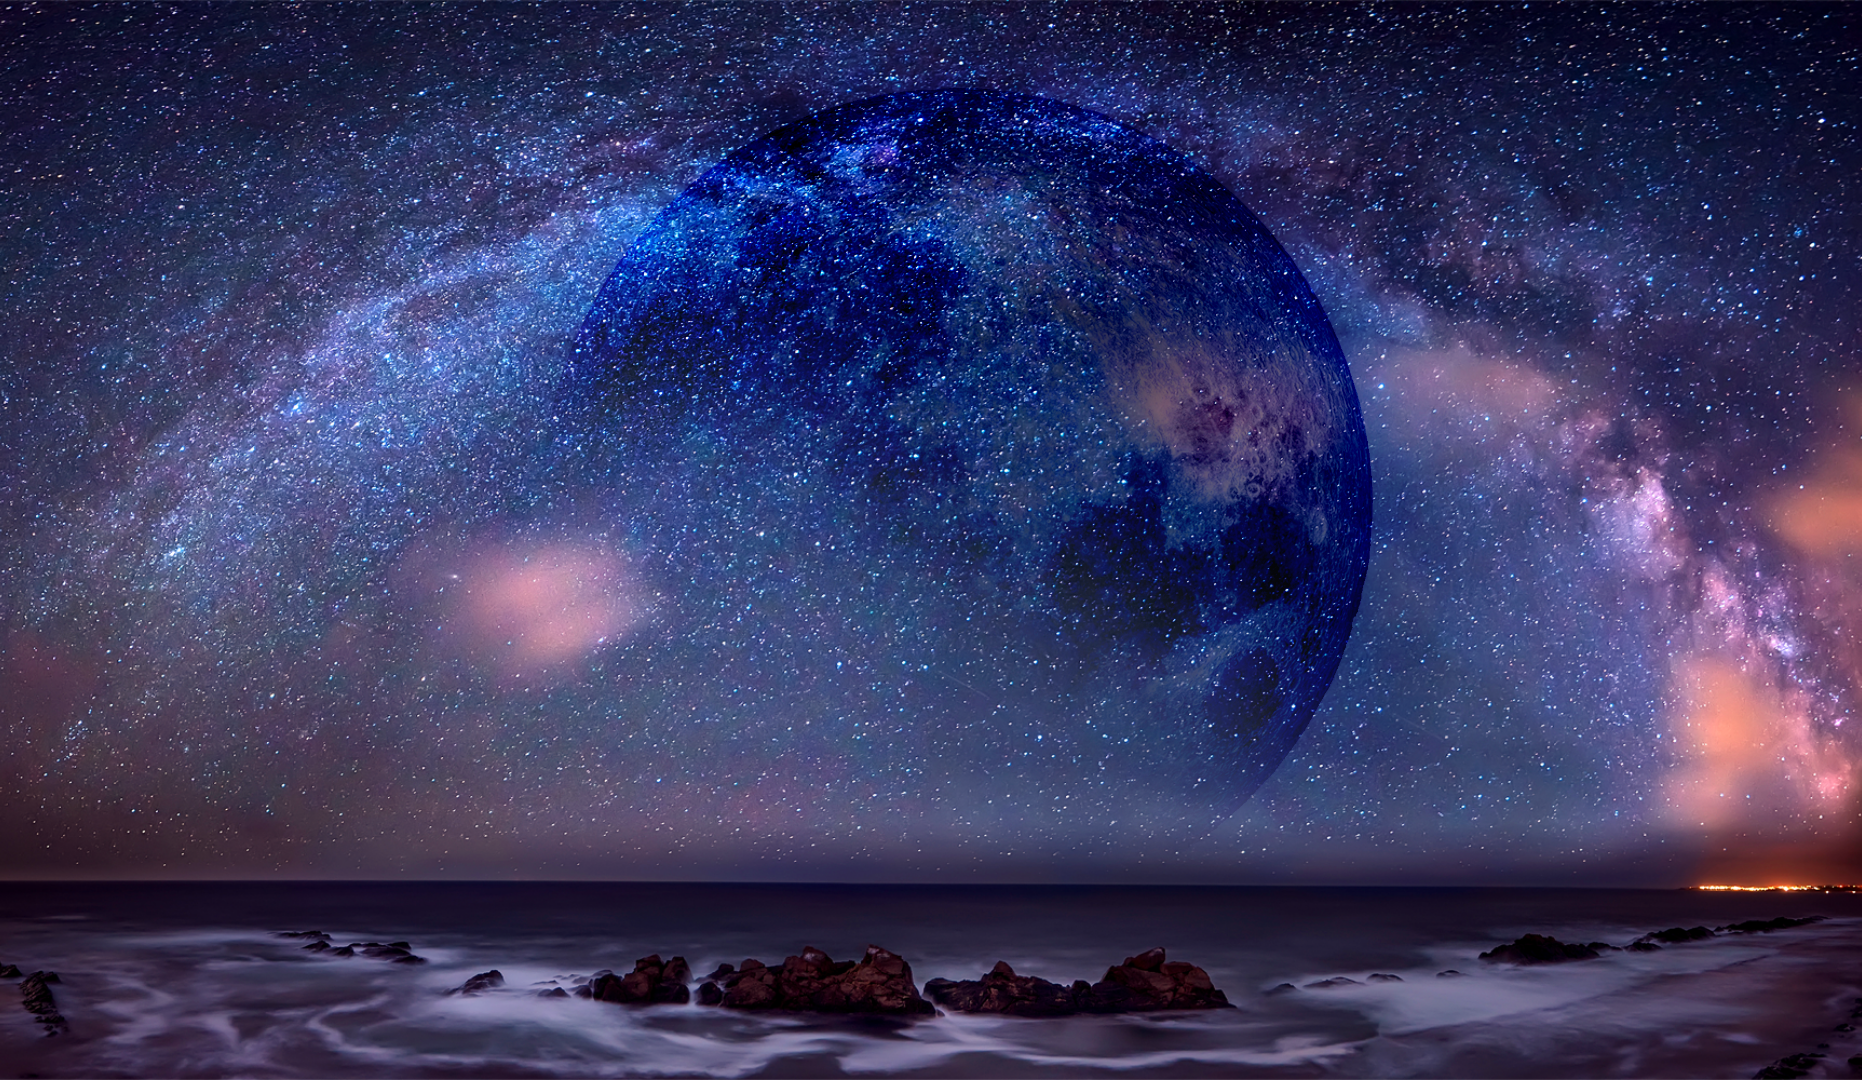 Color Burn
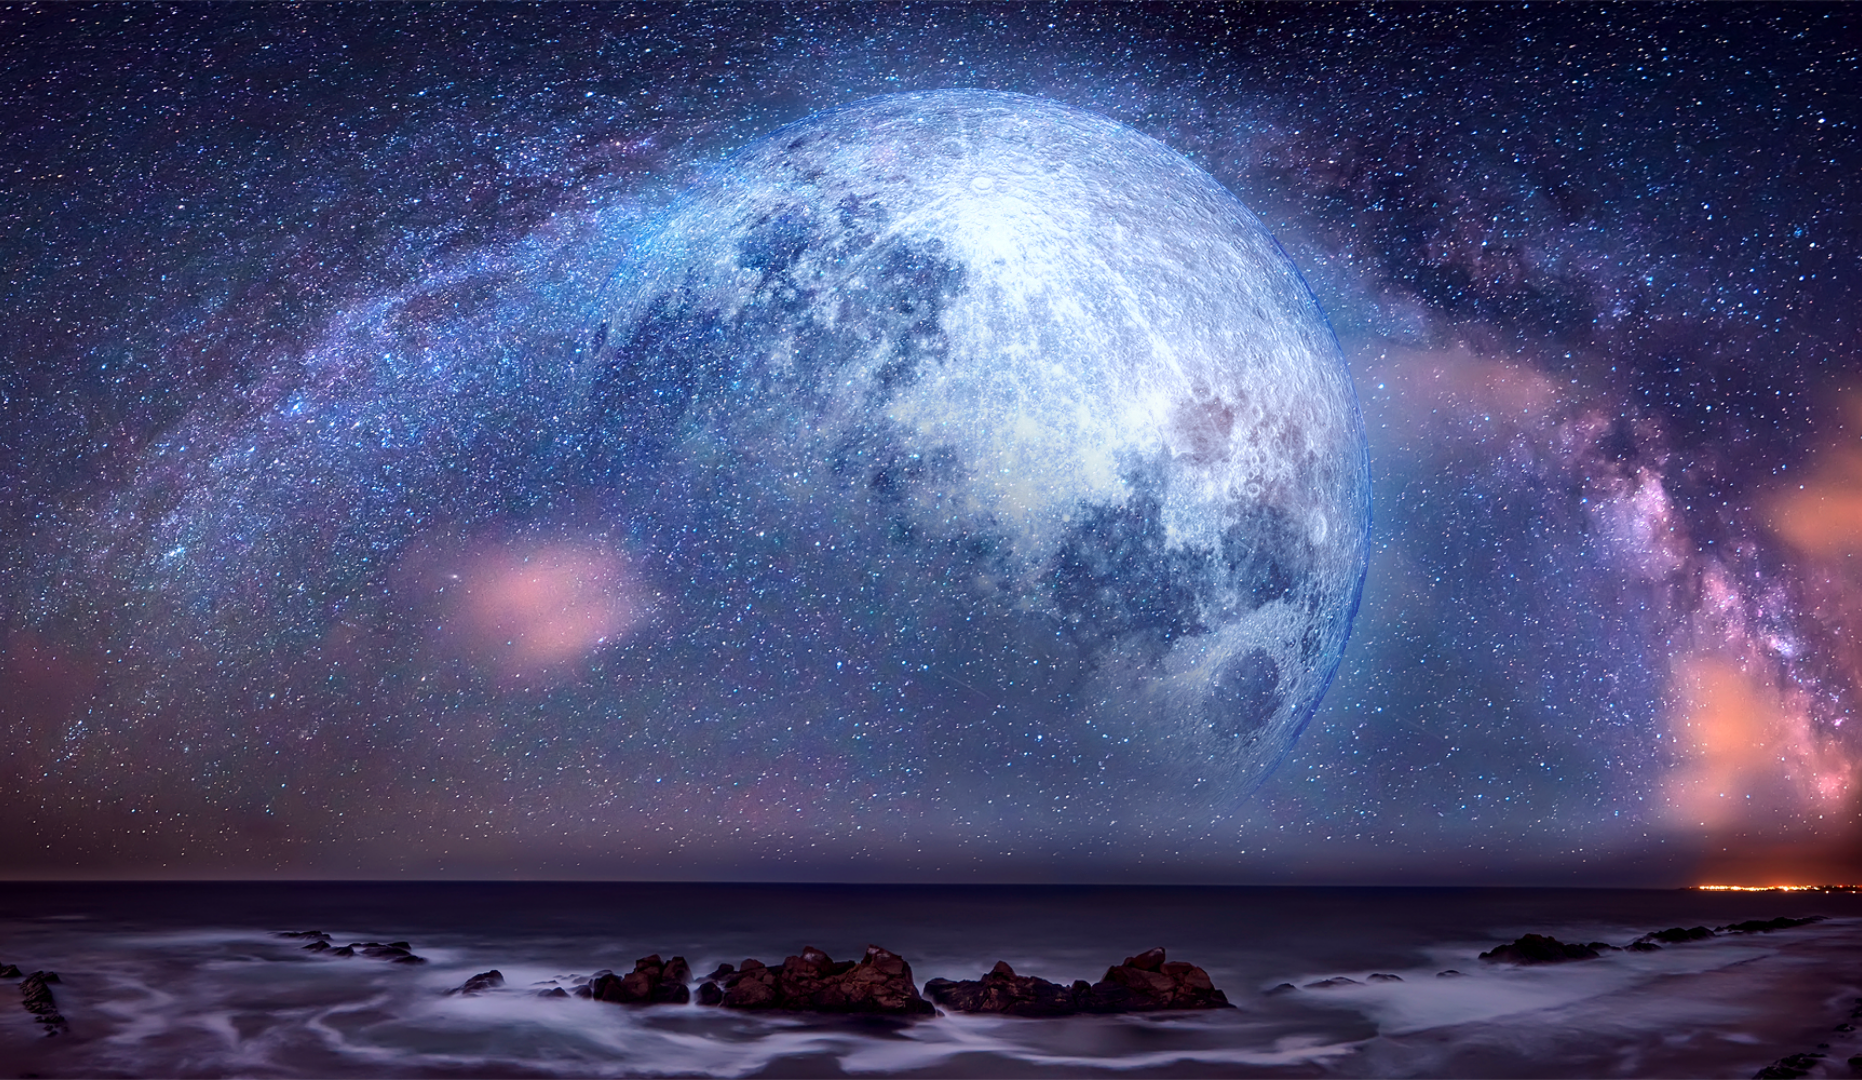 Hard Light
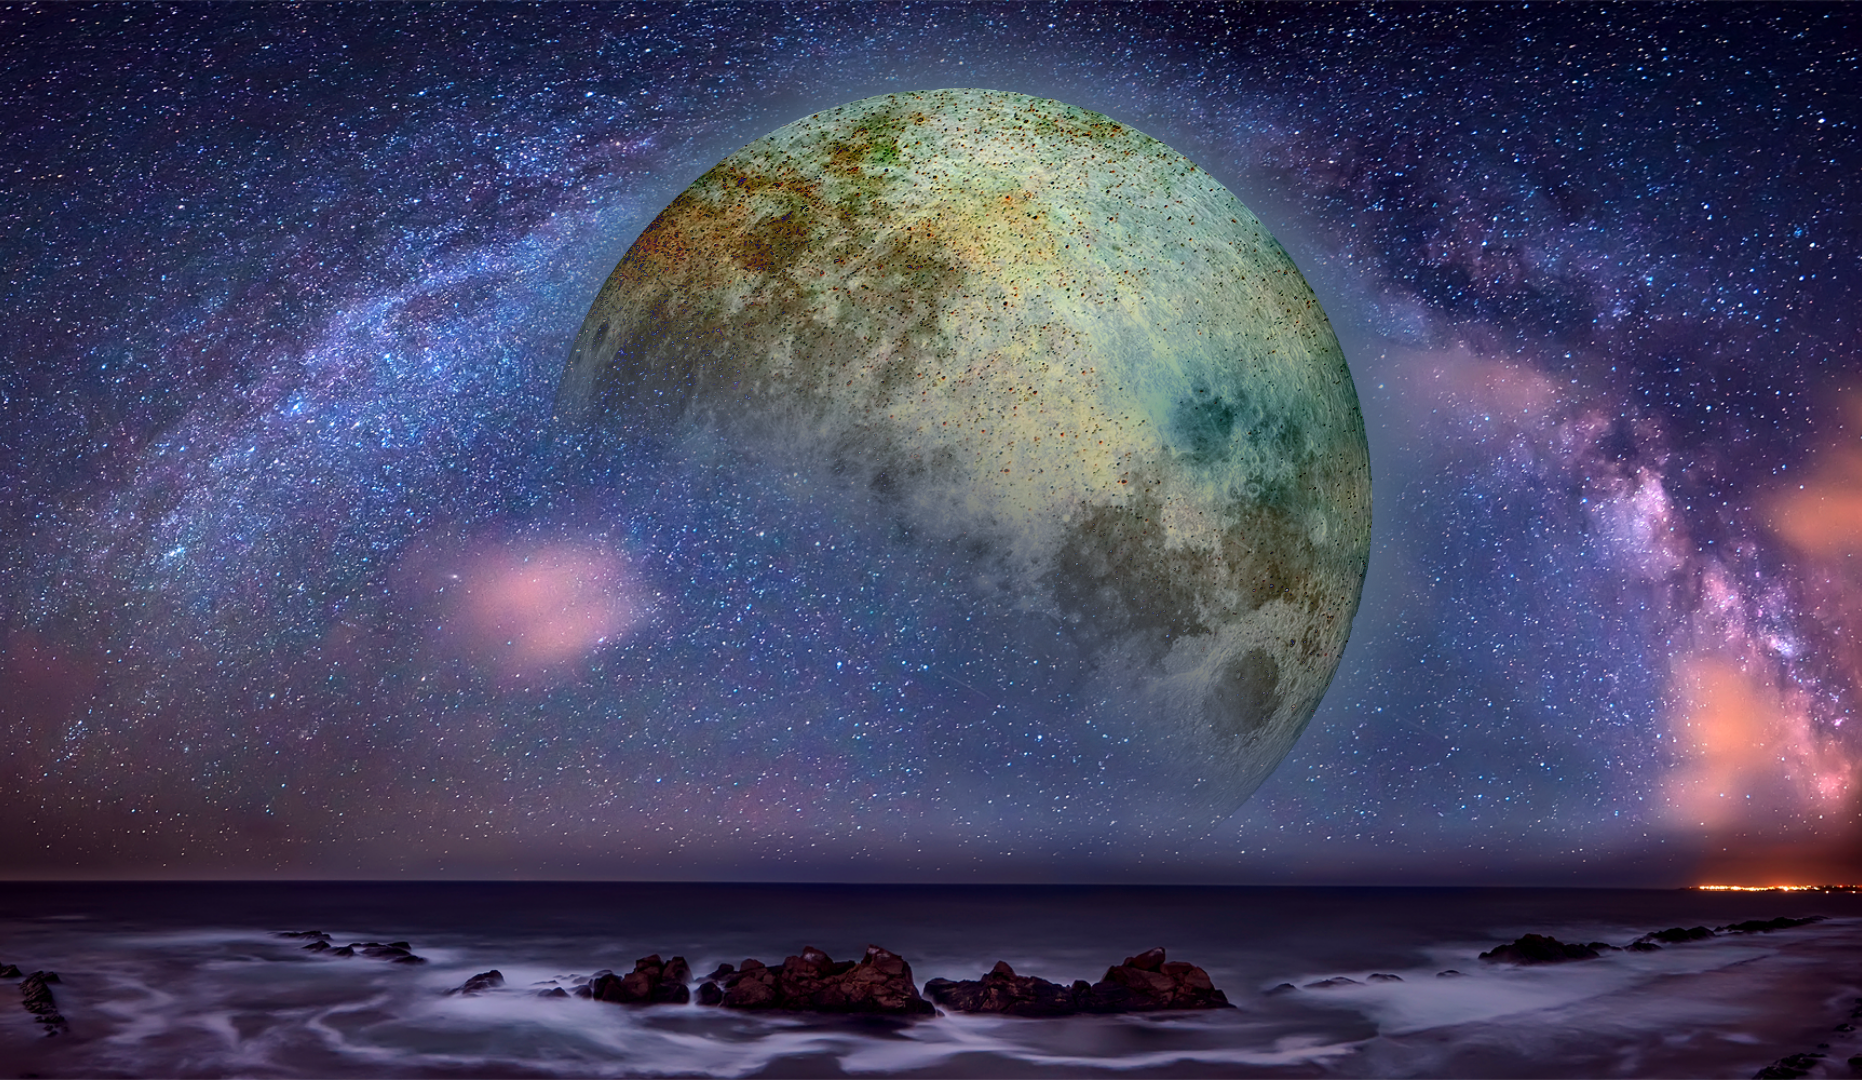 Difference
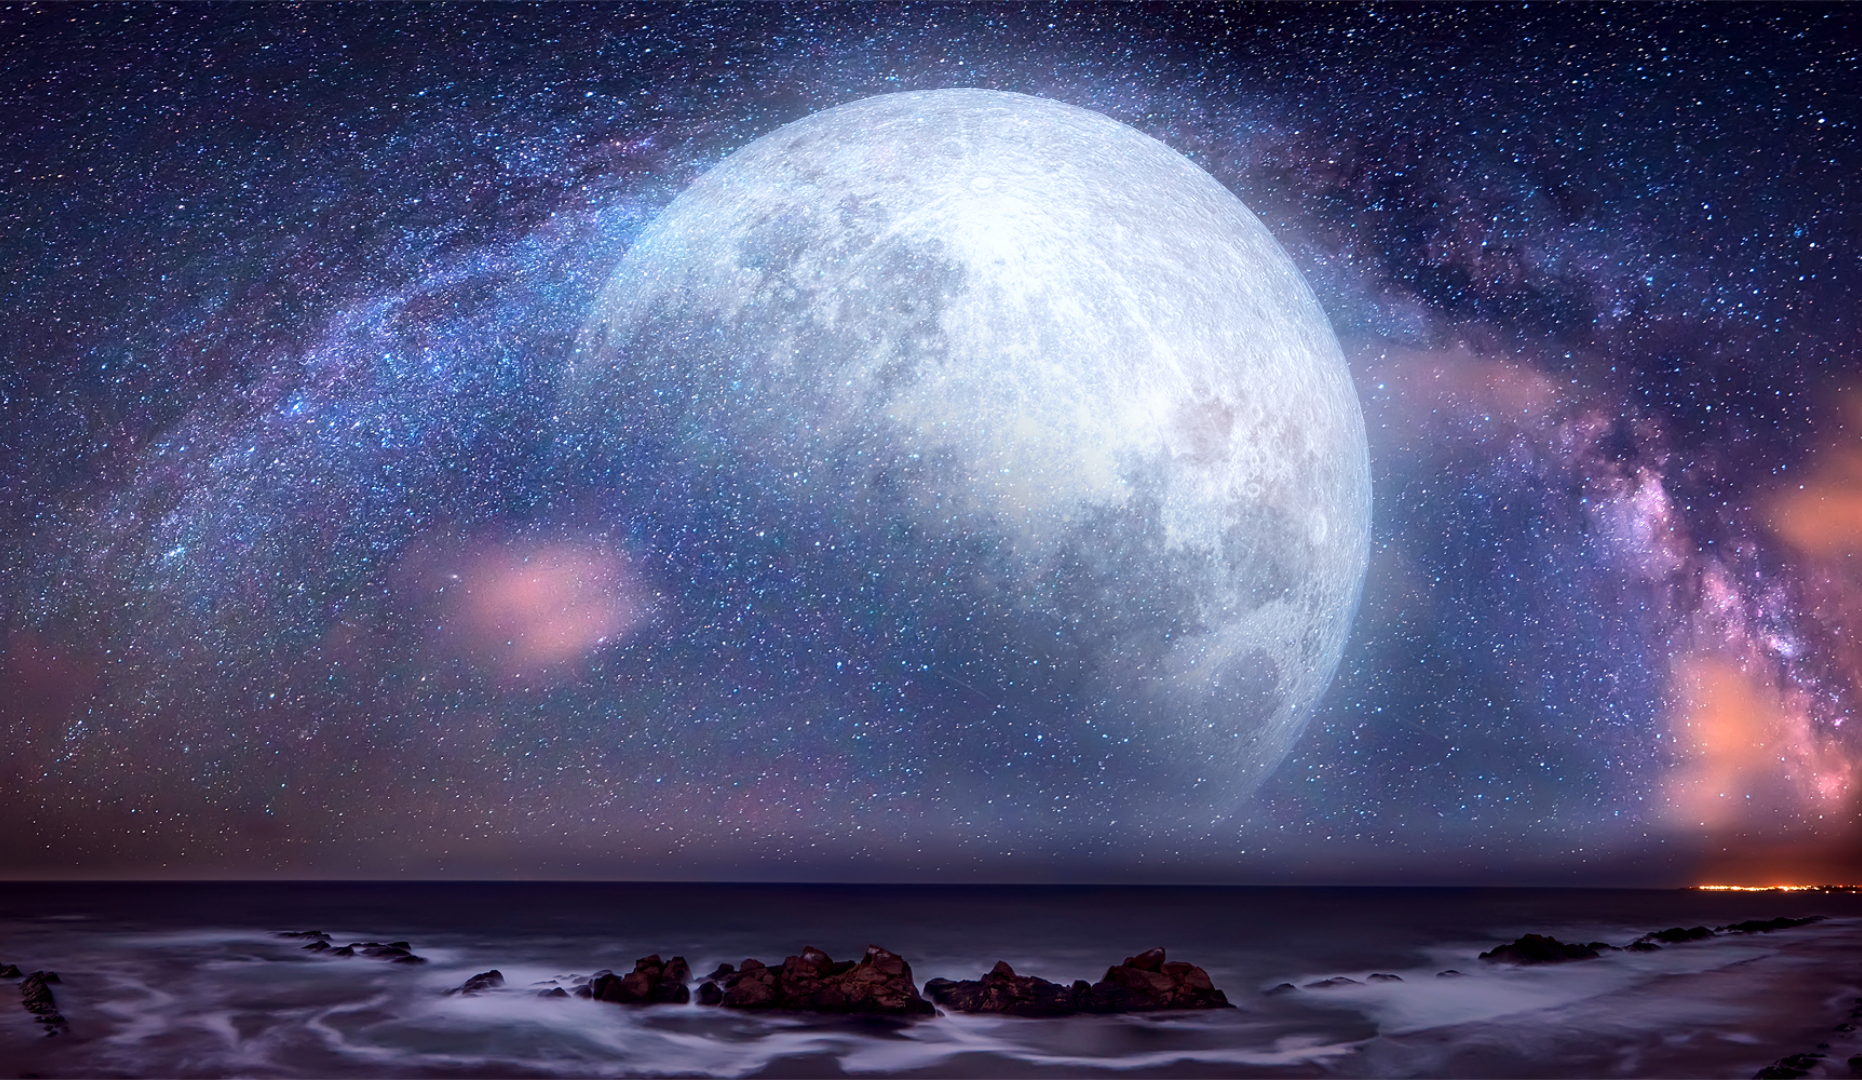 Screen
Watch this video to learn how to blend the color of an object with the background color of an artboard or blend the colors of multiple objects layered on top of one another.
Viewing time: 1 minute.
We've got you started with blend modes in Adobe XD. The interface of Adobe XD is intuitive; we think you will find it easy to unleash your creativity with colors, blurs, and more.
If you have a question to ask or an idea to share, come and participate in Adobe XD Community. We would love to hear from you and see your creations.