Dimension is a design tool which provides access to high-quality 3D built from the ground up for graphic designers. This article outlines the render and export options available in Dimension.
Render overview
Rendering is the process of turning 3D information into a 2D image. To create images that appear photo-realistic, Dimension simulates how light behaves in the real world. When you render an image in Dimension, the computer starts running a simulation which follows the paths of light rays from their sources (the sun, the sky, lights in the scene). The light rays bounce off objects in the scene, and are affected by the materials they interact with. When Dimension knows the color of every pixel in the image, the rendering is complete. This method of rendering is called ray tracing.
Dimension uses three types of rendering:


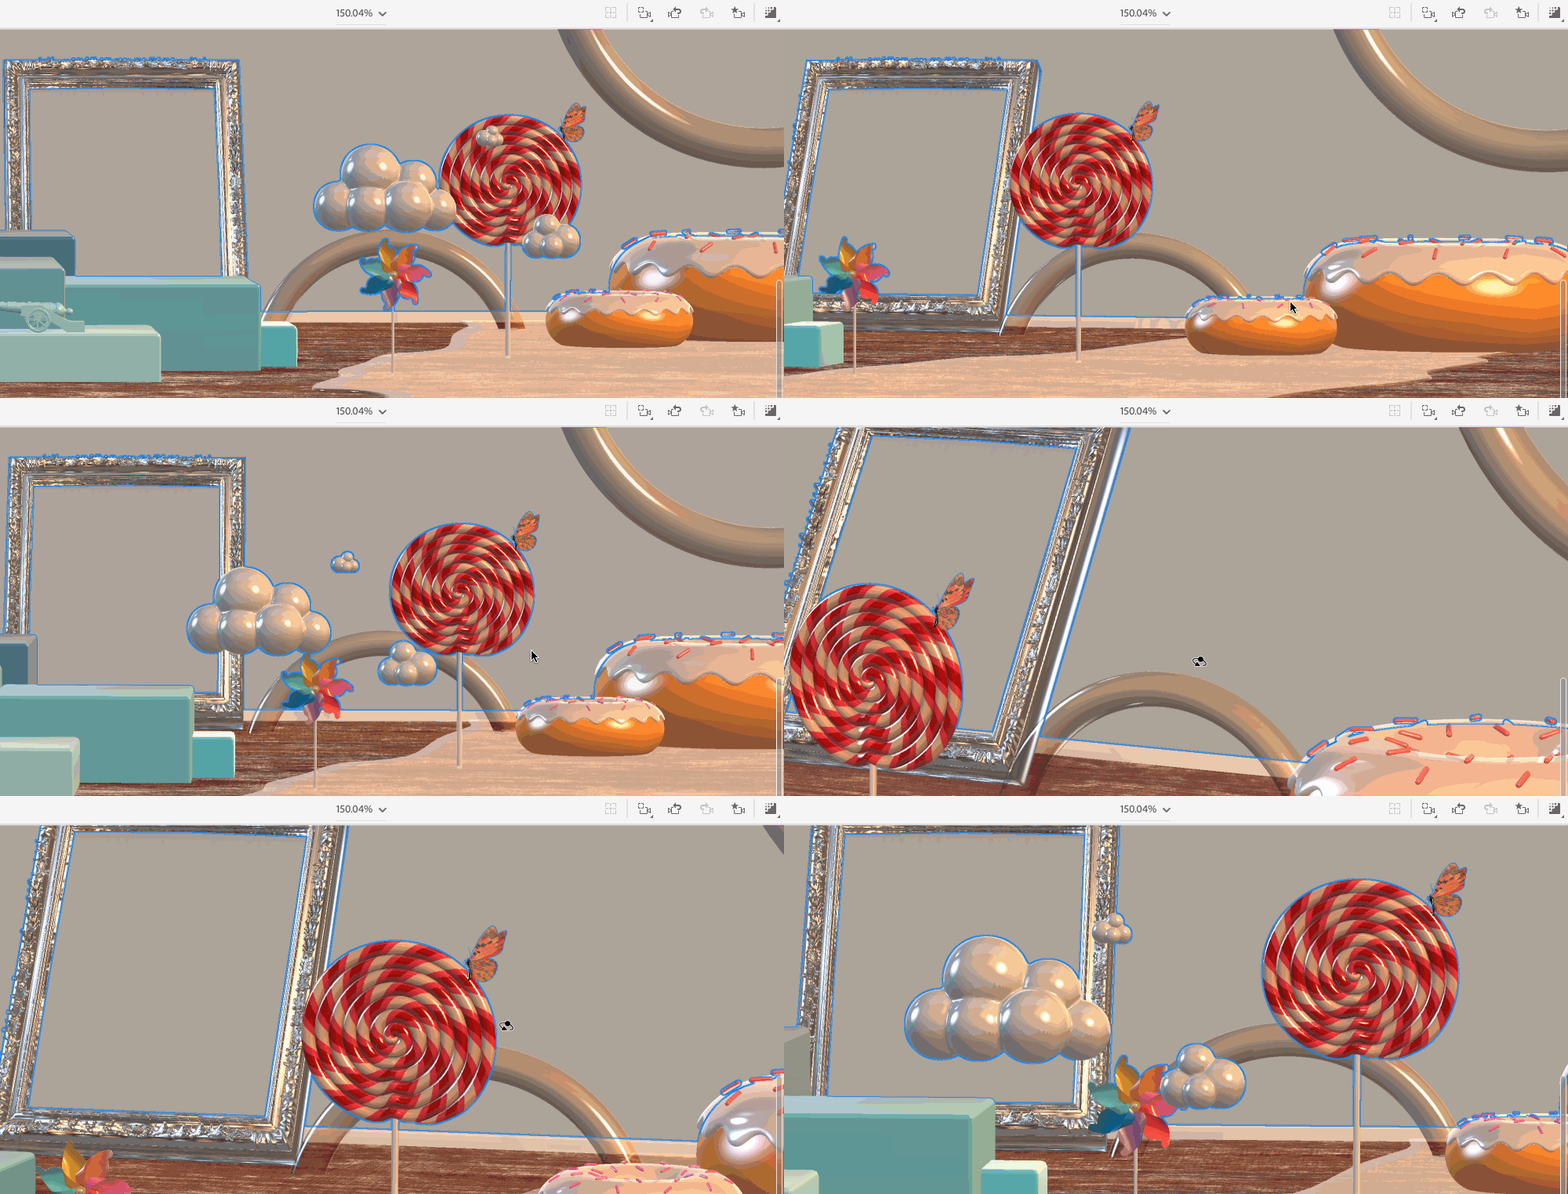
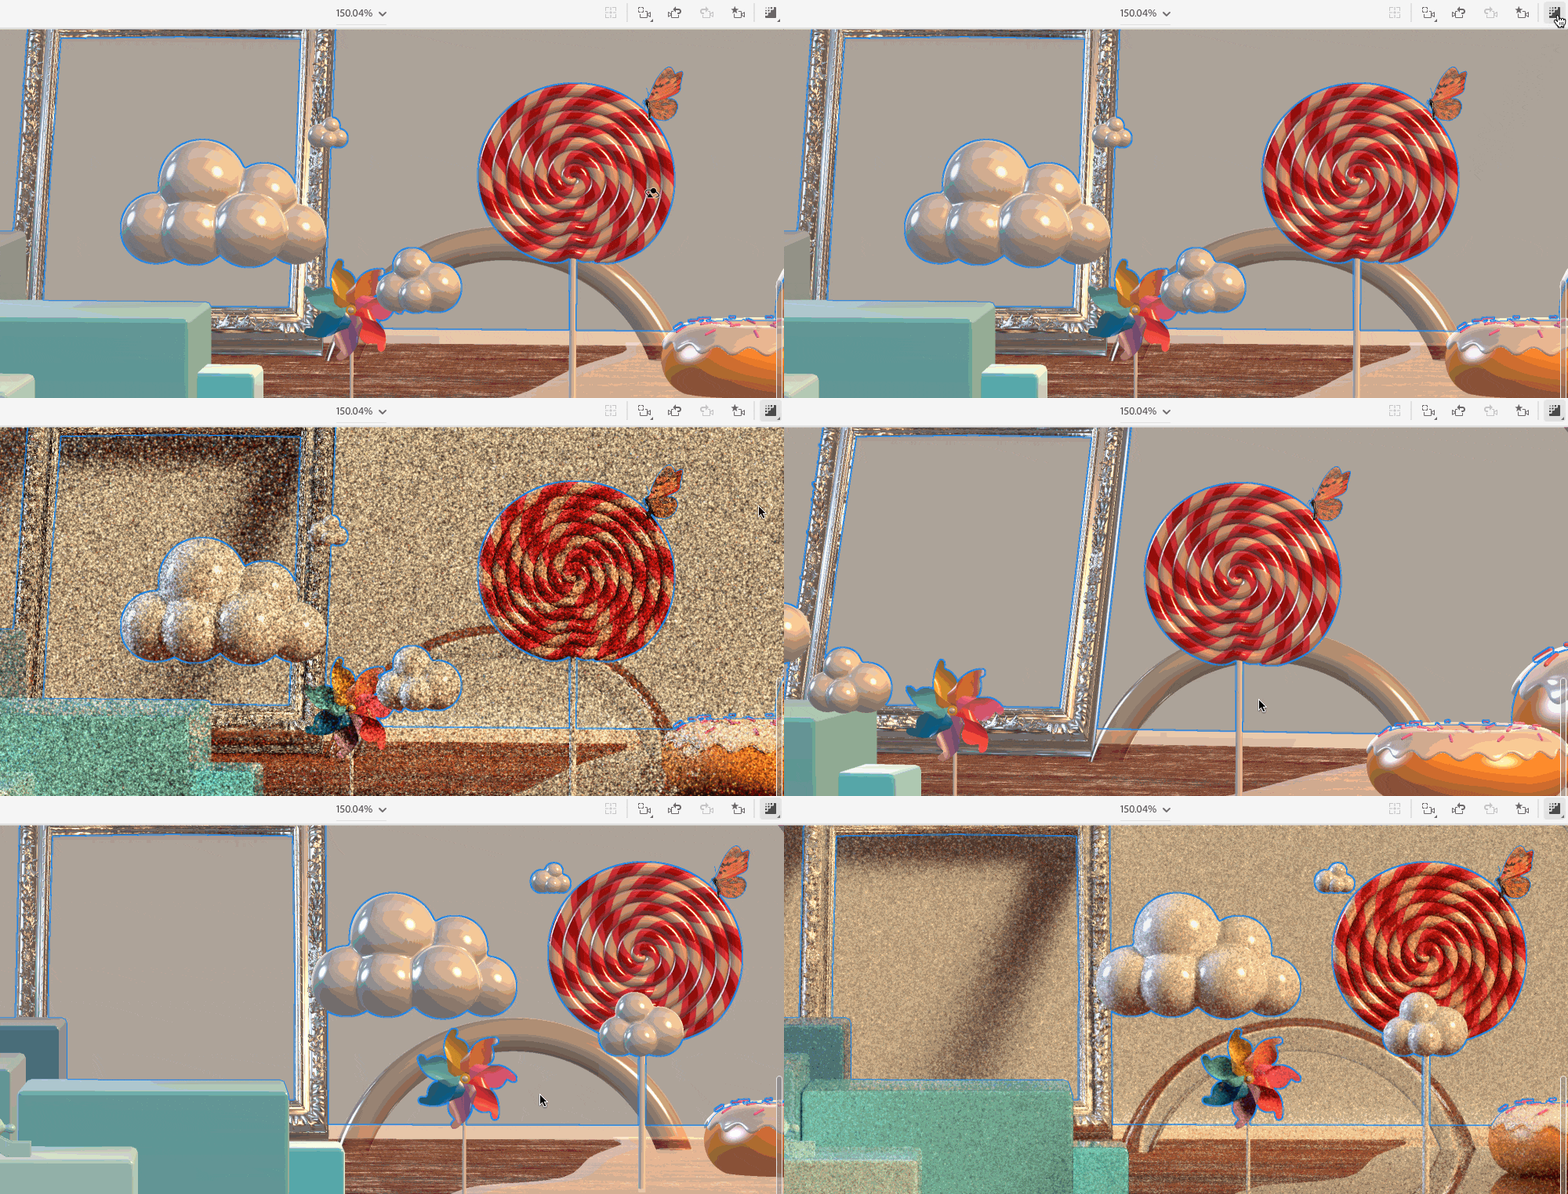
Canvas: The canvas in Design Mode is fast but it's not accurate. It is designed for you to interact with the content to make selections, move objects, and assign materials. Some effects like translucent glass, soft shadows, and reflections are not displayed on the canvas.


Render Preview: Render Preview increases the quality of your preview in Design mode by doing some raytracing. While not as high quality as final rendering, this allows you to easily see what your result will be while making design decisions.


Render Mode: Render Mode allows you to configure your final render and uses a production renderer to give you the best results. You can receive the full quality image after the rendering is complete.


Dimension has two methods of rendering: local rendering and cloud rendering. Local rendering uses the machine Dimension is running on, while cloud rendering syncs your files to the cloud and uses a server to do the rendering. Cloud rendering frees up your system resources so you can keep working and is significantly faster.
Cloud render (beta)
The public cloud rendering (beta) will end on January 11, 2021. Thank you for all who participated in using the beta during this time and for the exceptional feedback provided to the team! We are continuing to develop our rendering solutions including in-app, cloud, and automation offerings and you can expect more rendering news in future releases.
Cloud rendering is a service that is currently a beta feature. For the beta, cloud rendering will be enabled for free, for all users with some constraints. After the beta, we would still like to offer a free option for all subscribers with an option to purchase more on an as-needed basis.
During the beta period, all Creative Cloud users are granted 15 free credits per month.
- Each rendered image uses between 1 - 3 credits (1 credit for low quality, 2 for medium and 3 credits for high quality).
- If your cloud render experiences an error, the credit will be refunded.
- Credits refresh on the first day of each calendar month at 0:00 UTC.
The cloud render feature is currently free for all users but there is a planned cost associated with this in the future. Because of this, it's important to understand when one should use their credits. During the beta, we automatically add denoising to the final render and cloud rendered images have a size limit of 4000 pixels wide by 4000 pixels tall.
In the future, we plan to expand the number of options for controlling cloud render quality. We are looking for feedback around this entire service, please reach out via our forums or fill out our survey.
Render settings
In Dimension, export final files by switching to the Render mode, where you can find options to configure your render and produce a final image.
Views:
(Available for both local and cloud rendering)
In Dimension, you can save your current camera position, angle, and settings as a camera bookmark. If your scene has any saved bookmarks, then you see an option in Render Mode to select which views you want to render. You can choose to render any number of saved views and also the "Current View" which is the current position of the camera object. Note that the current view may be a duplicate of a bookmark if you’re currently on a saved bookmark.


Export filename:
(Available for both local and cloud rendering)
The export filename is what will be used to name your exported documents. By default this field auto-fills with the name of the current document file or "Untitled" if the document is not yet saved and named.


When rendering multiple views the view name will be appended to the export filename. For example, "MyDocument_View1.psd".
Quality:
(Available for both local and cloud rendering)
Render Quality refers to the amount of noise or grain which is displayed in the final image. Low-quality renders are faster but have more noise. High-quality renders are slower but clearer.


Export Path:
Set up a save location and name for your file. When the rendering is complete, Dimension automatically saves the final output at this location.


Format:
(Available for both local and cloud rendering)
Dimension currently offers still image exports and provides three formats:
• PSD 16-bit: (Default) Ideal if you want to do any additional compositing work or post-editing. 16-bit PSDs have the best compatibility with Photoshop’s tools.
• PSD 32-bit: Ideal if you want to do high-end lighting compositing workflows in Photoshop or another application. Not all tools, blend modes, and other features work in Photoshop when using 32-bit PSDs.
• PNG: Ideal if you are not planning on doing any post work and want to share the render as is.


Reduce noise in render:
This option affects local rendering only. Denoising is always used for cloud renders.
This option reduces render times by using image denoising. This setting can be found in the application preferences and is ON by default. The denoising technology has been updated in Dimension 2.3 (July 2019 release) with significant visual improvements, made possible with Adobe Sensei, our artificial intelligence and machine learning technology.
Rendering times
Rendering is a complex process and the time for rendering to finish has many contributing factors. Cloud rendering is significantly faster than local rendering most of the times since it uses multiple computers connected on a cloud server to render.
- Hardware: The largest contributing factor to rendering time is the hardware of the machine. Rendering requires many calculations that powerful GPU and CPU components speed significantly. Review the system requirements for minimum and recommended hardware setups.
- Resolution: The size of the render greatly impacts the time of renders. It is recommended that your preview renders at a lower pixel size to get a sense of the lighting before committing to a final resolution render. You can change the size of the render in Design Mode. You can change the size of the render using the document settings in Design Mode.
- Materials: The combination of materials used in the scene has a high impact on render times. Plastics, metals, and matte materials render quickly while translucent materials like glass, water, or gels render more slowly.
- GPU Rendering (Beta): Dimension has GPU accelerated rendering available as a beta feature, which can significantly speed up rendering by utilizing the GPU for advanced calculations. To learn more about the GPU rendering (beta) requirements, see Dimension system requirements.
Video tutorial
Rendering: Learn how to render your finished scene as an image or layered Photoshop file.